Resin Cast Moulding
To create a resin cast mould, we first need to make a stencil to cast the mould.
Designing a stencil
I first create a stencil by modeling it on Fusion 360.
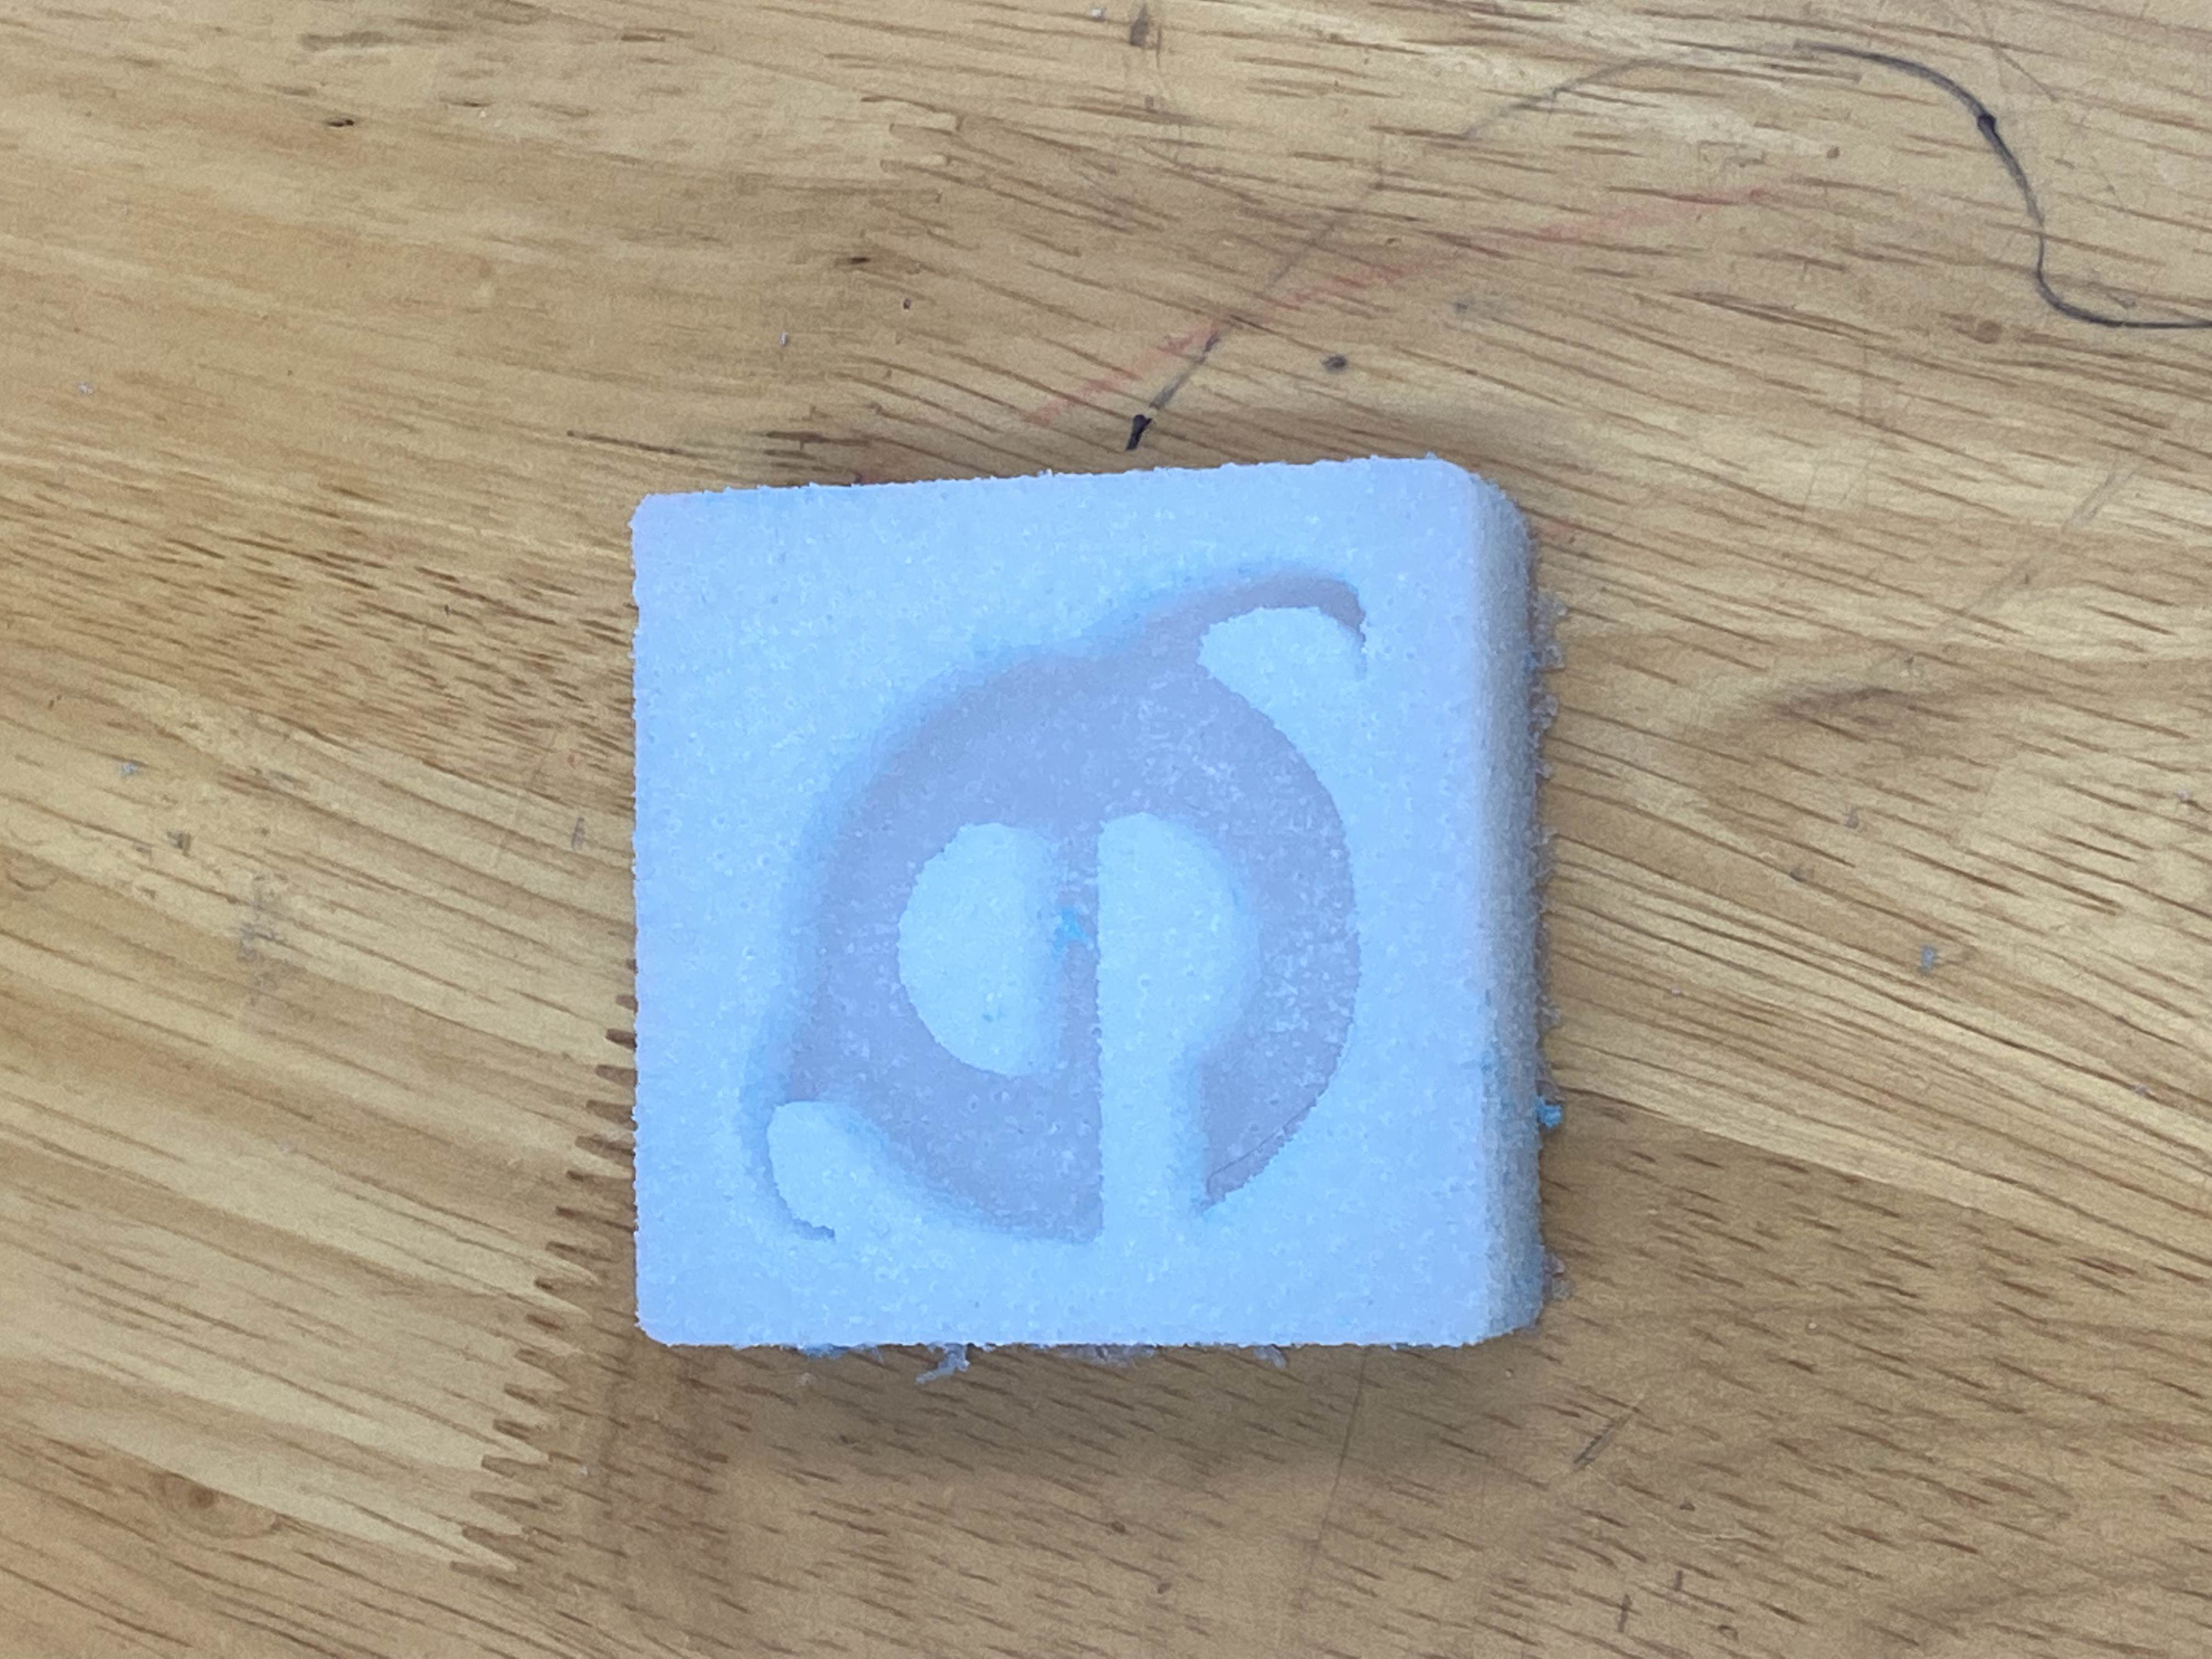
Using an image of the Internet Explorer Icon, I designed a case around it.

The case depth used:
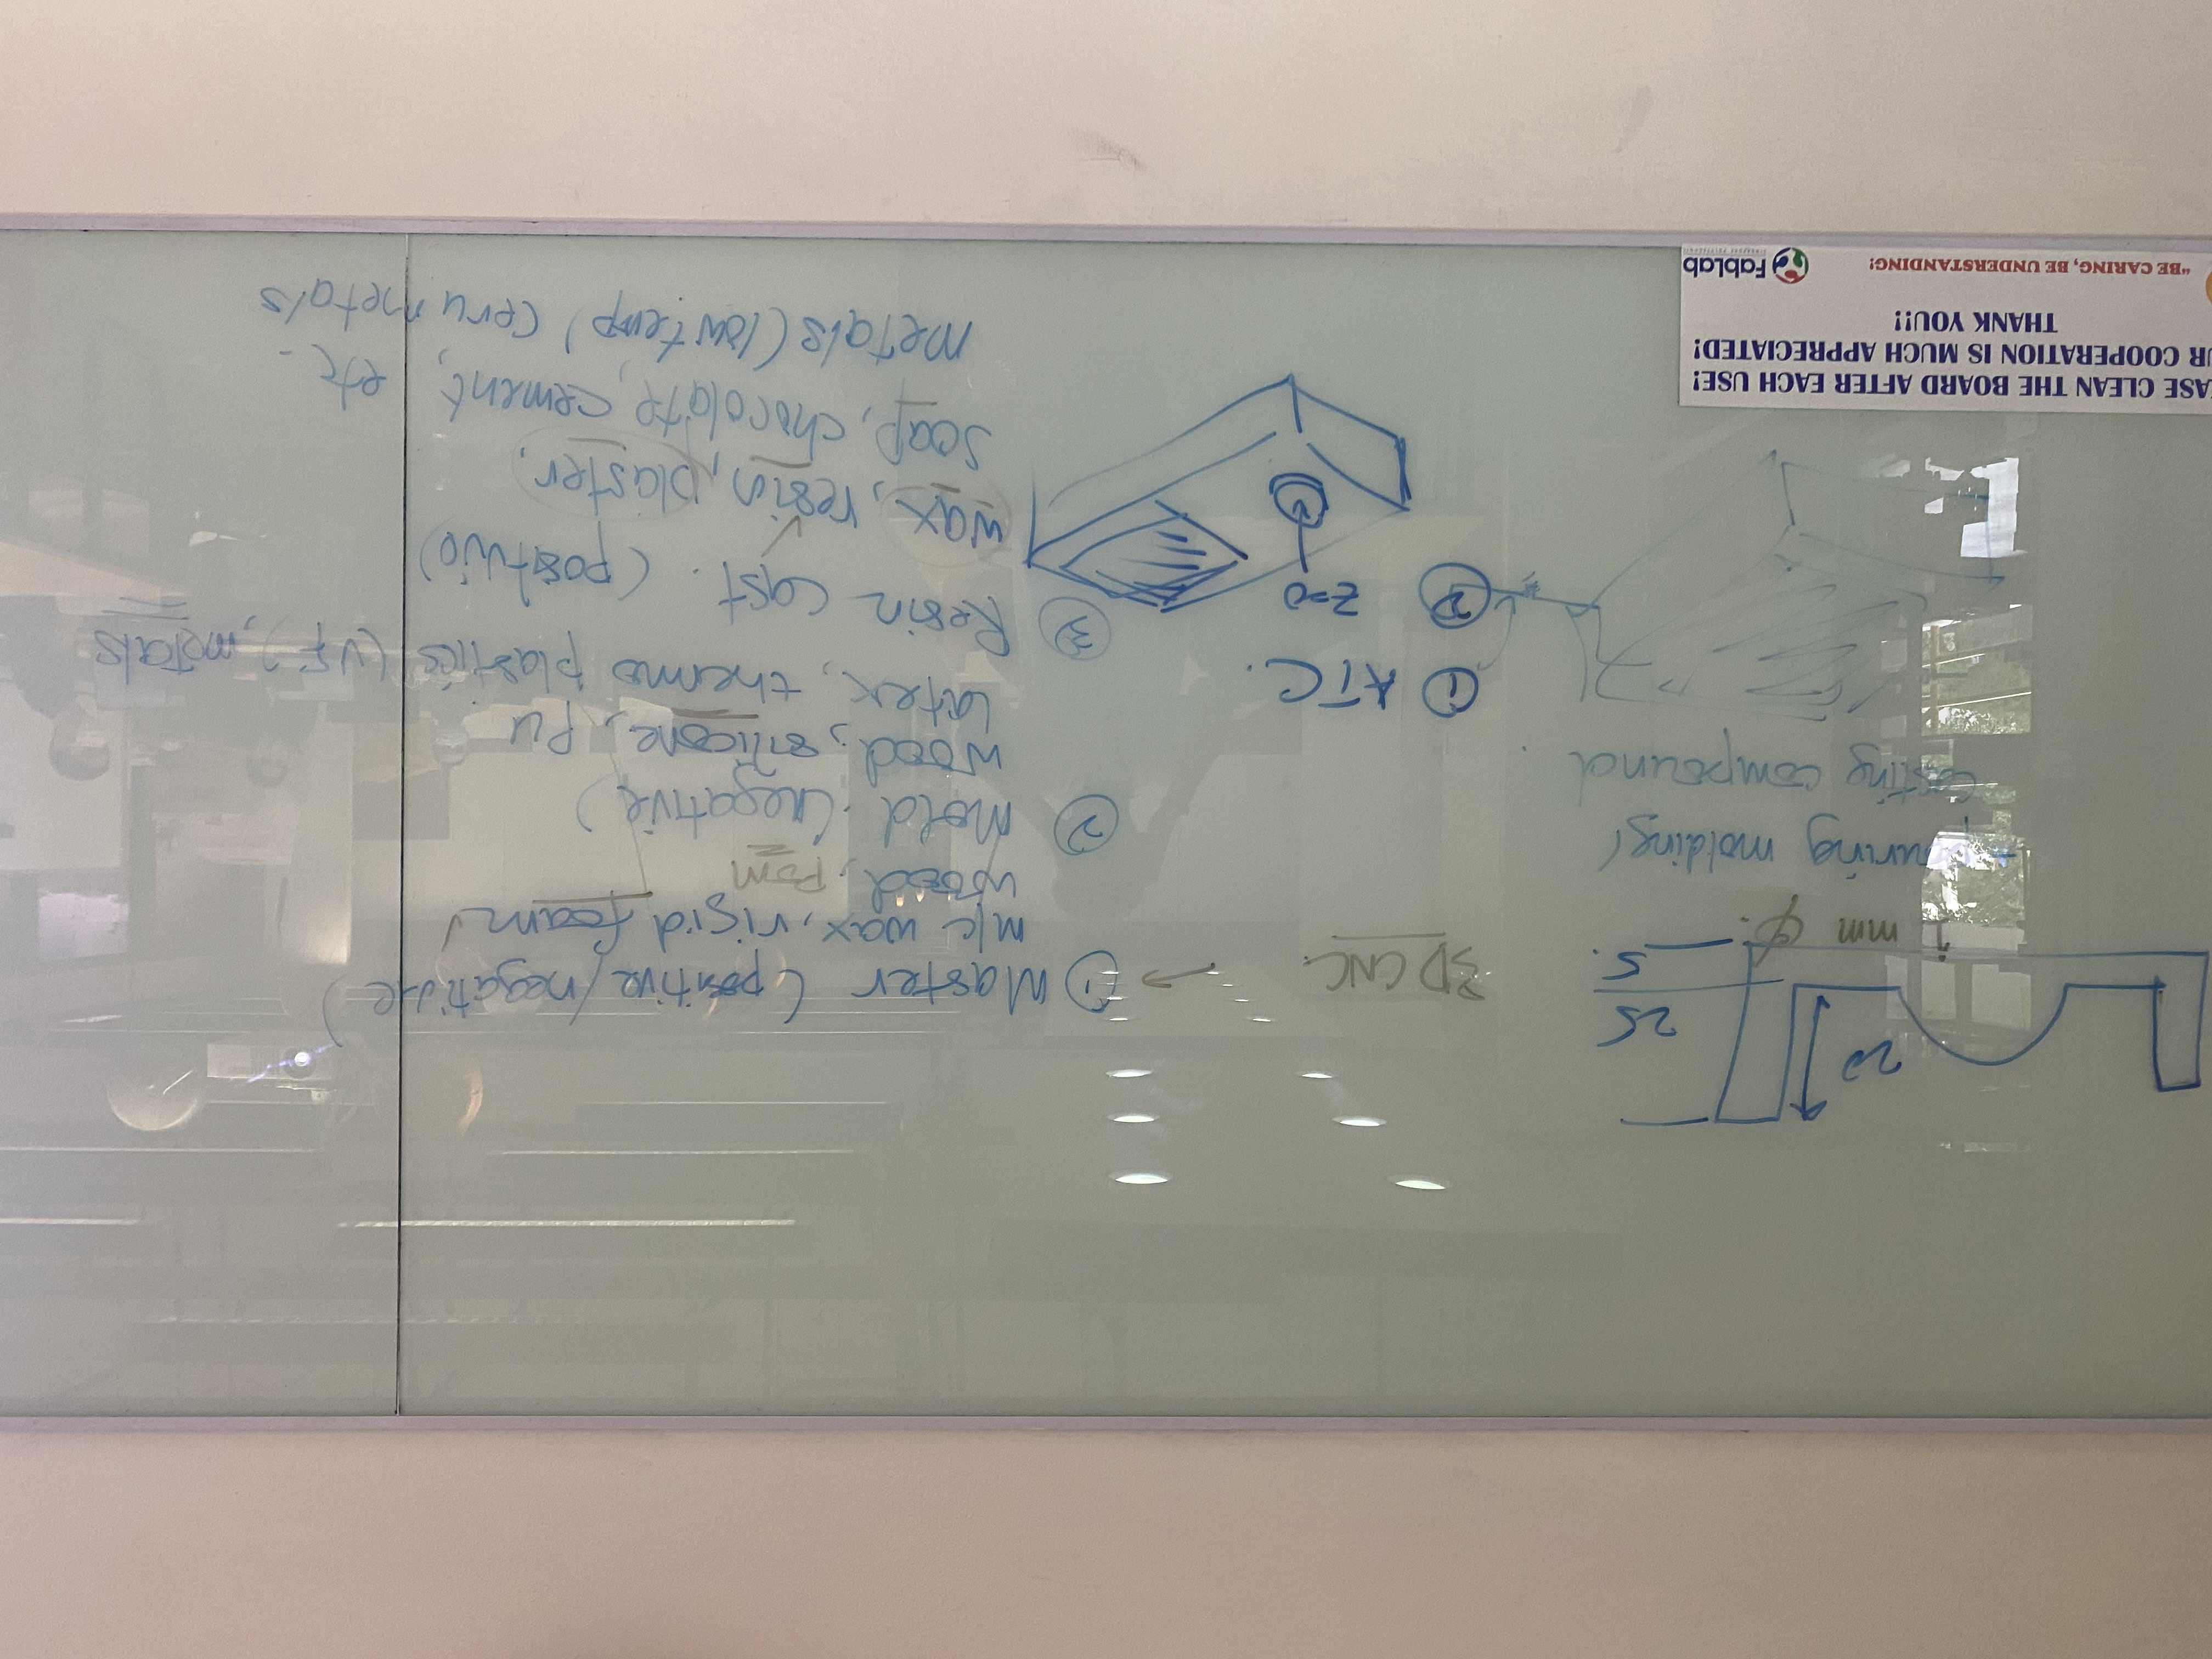
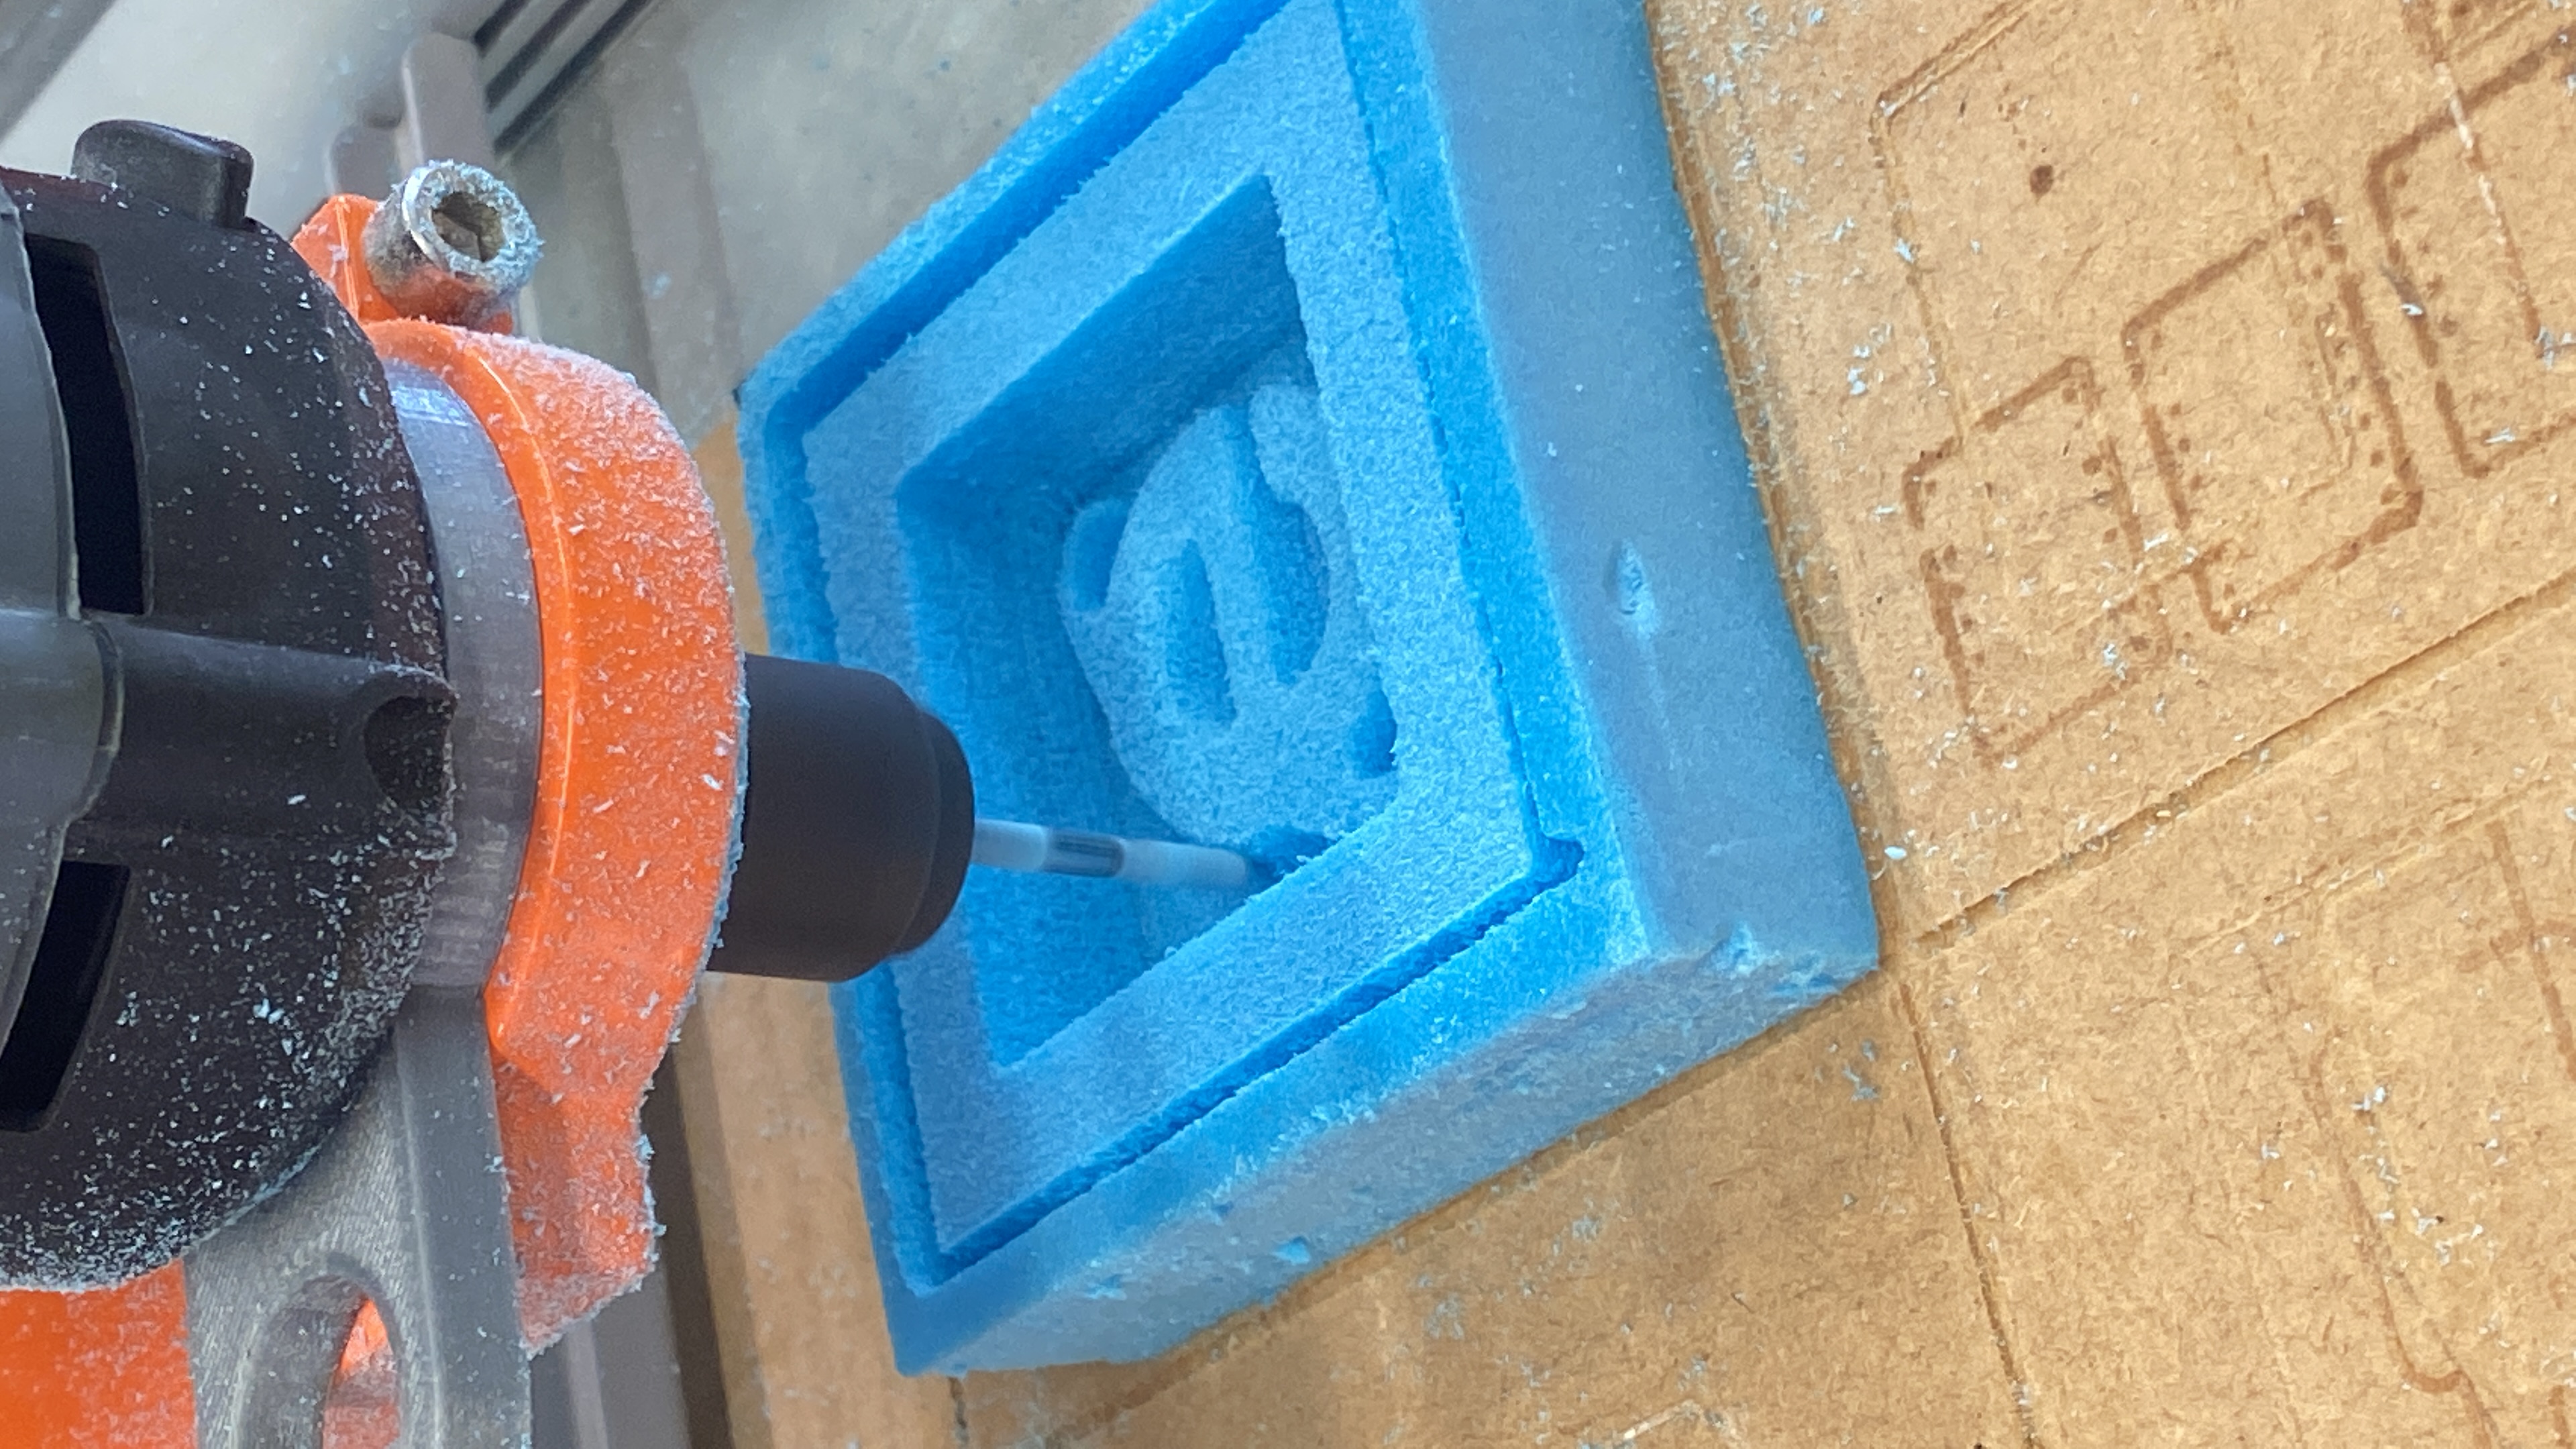
We used the stepcraft CNC router to do a 3d cut on the foam mould
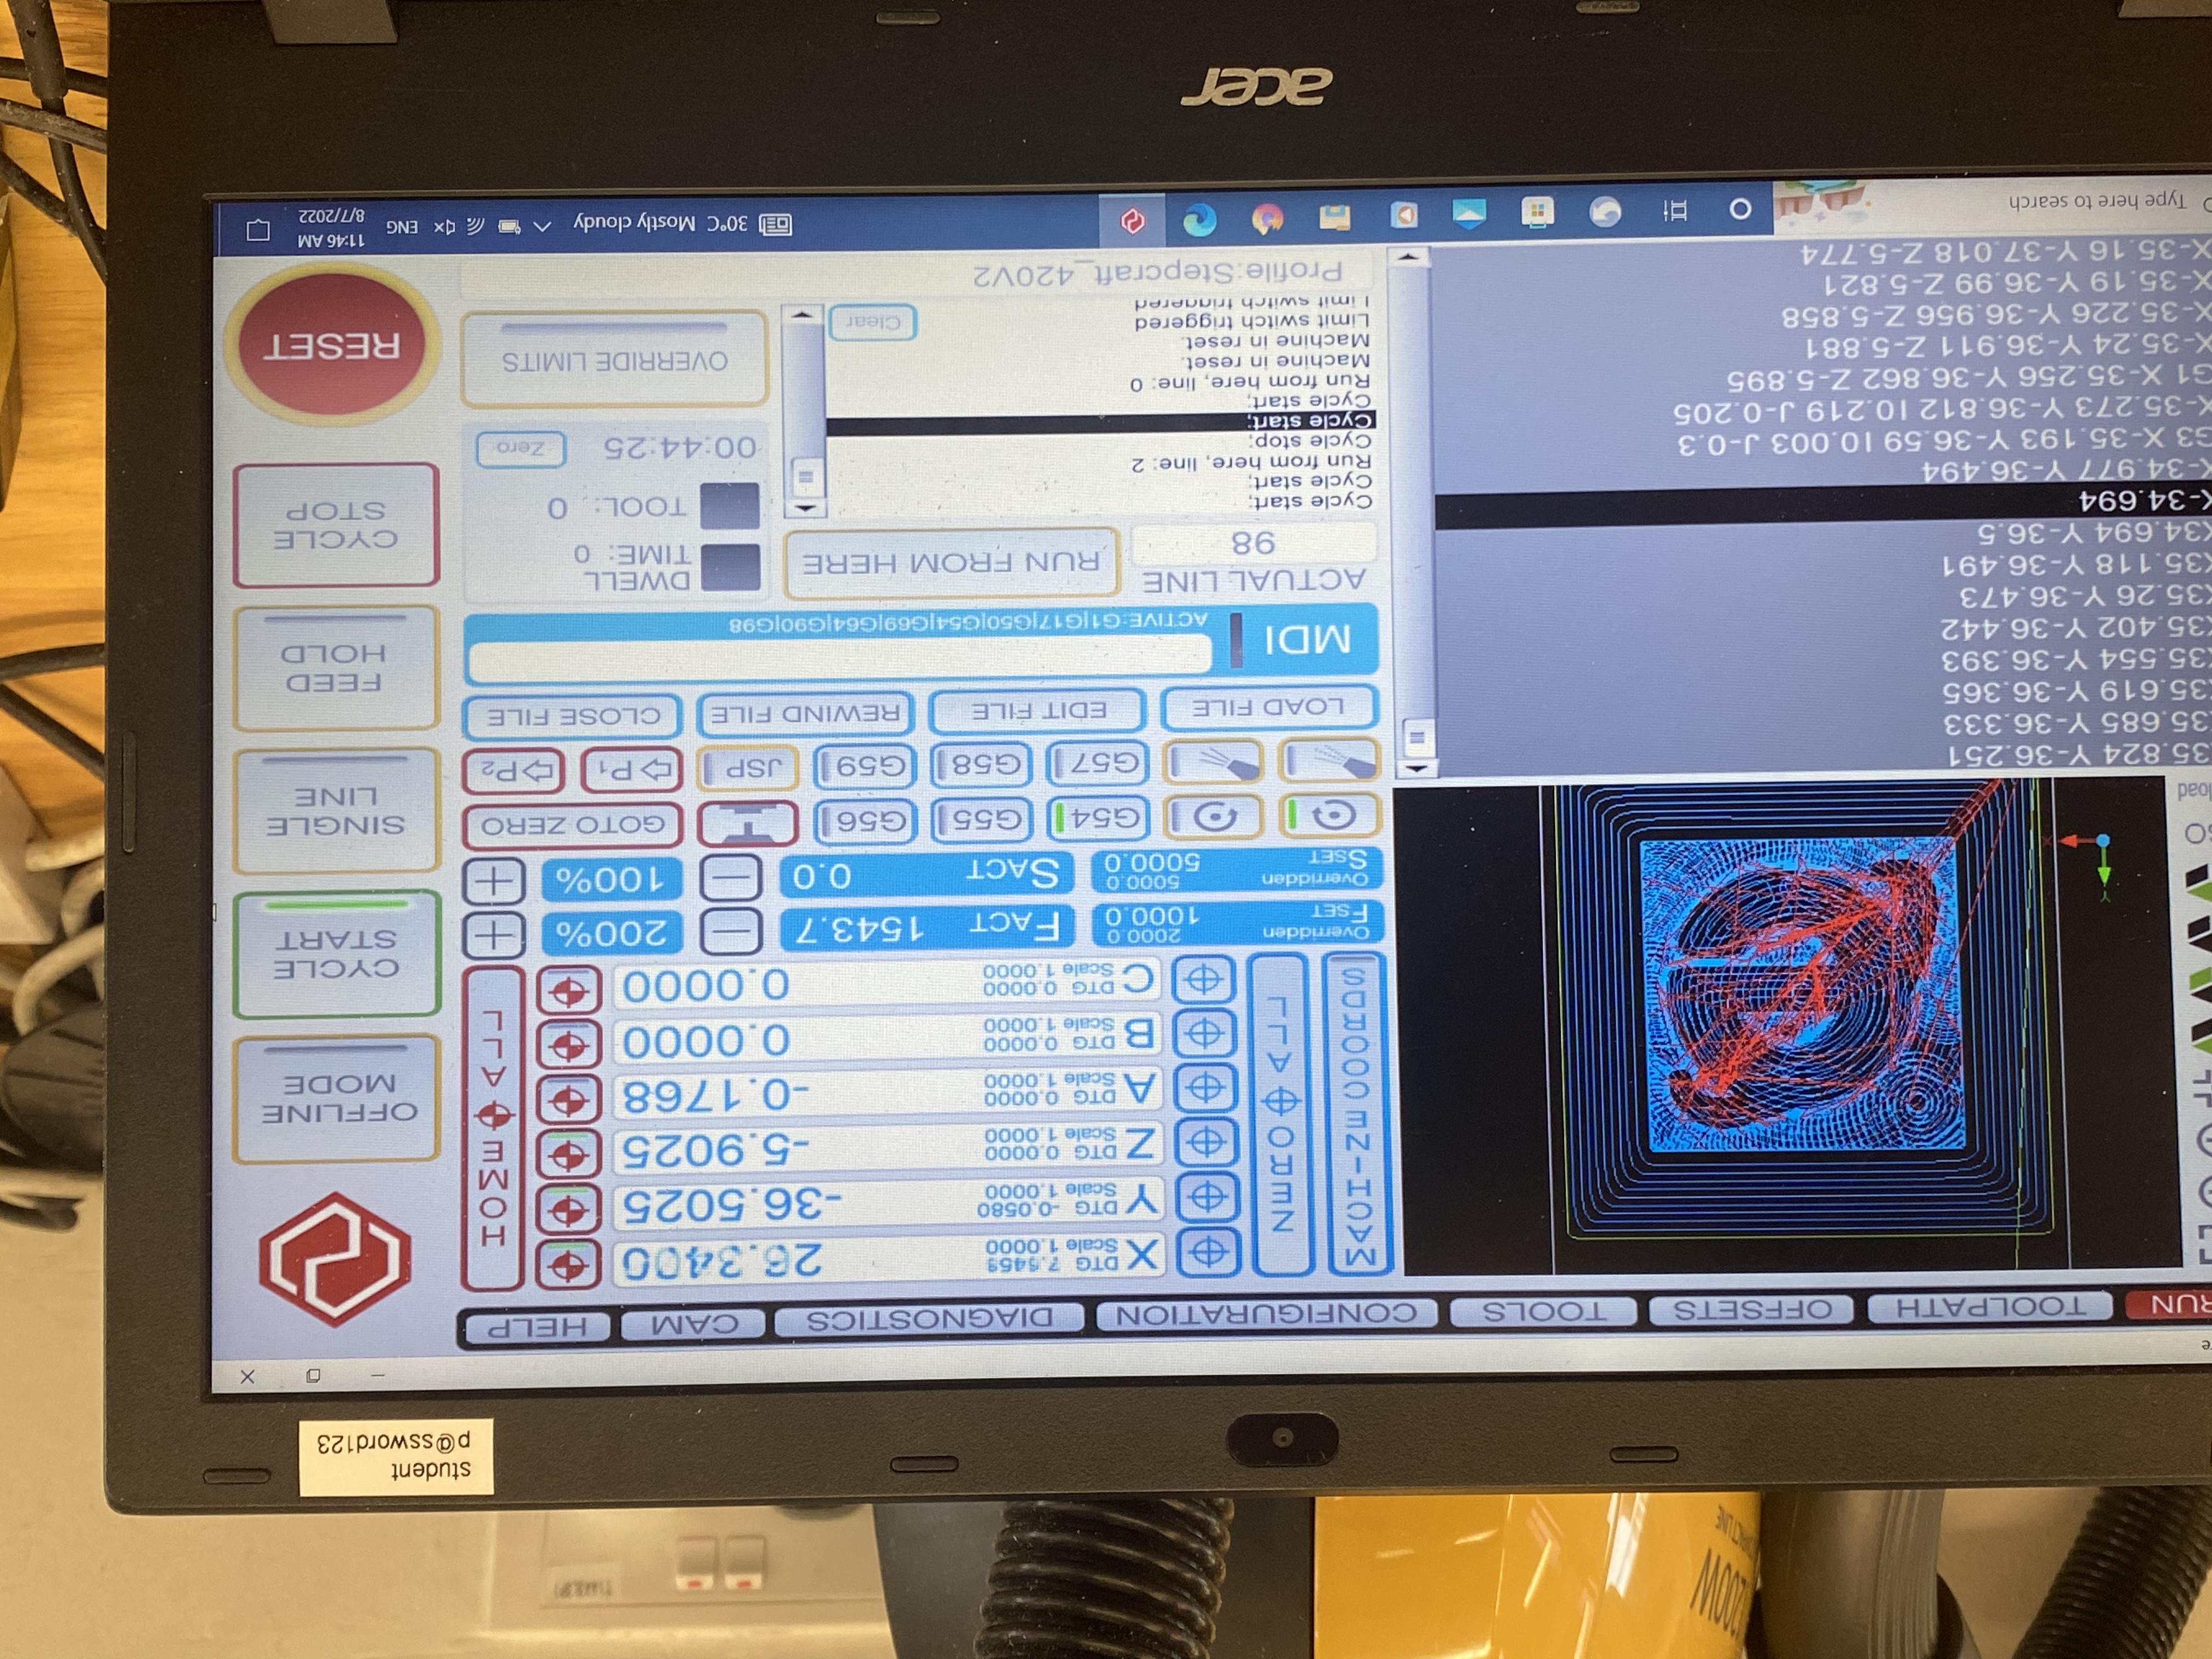
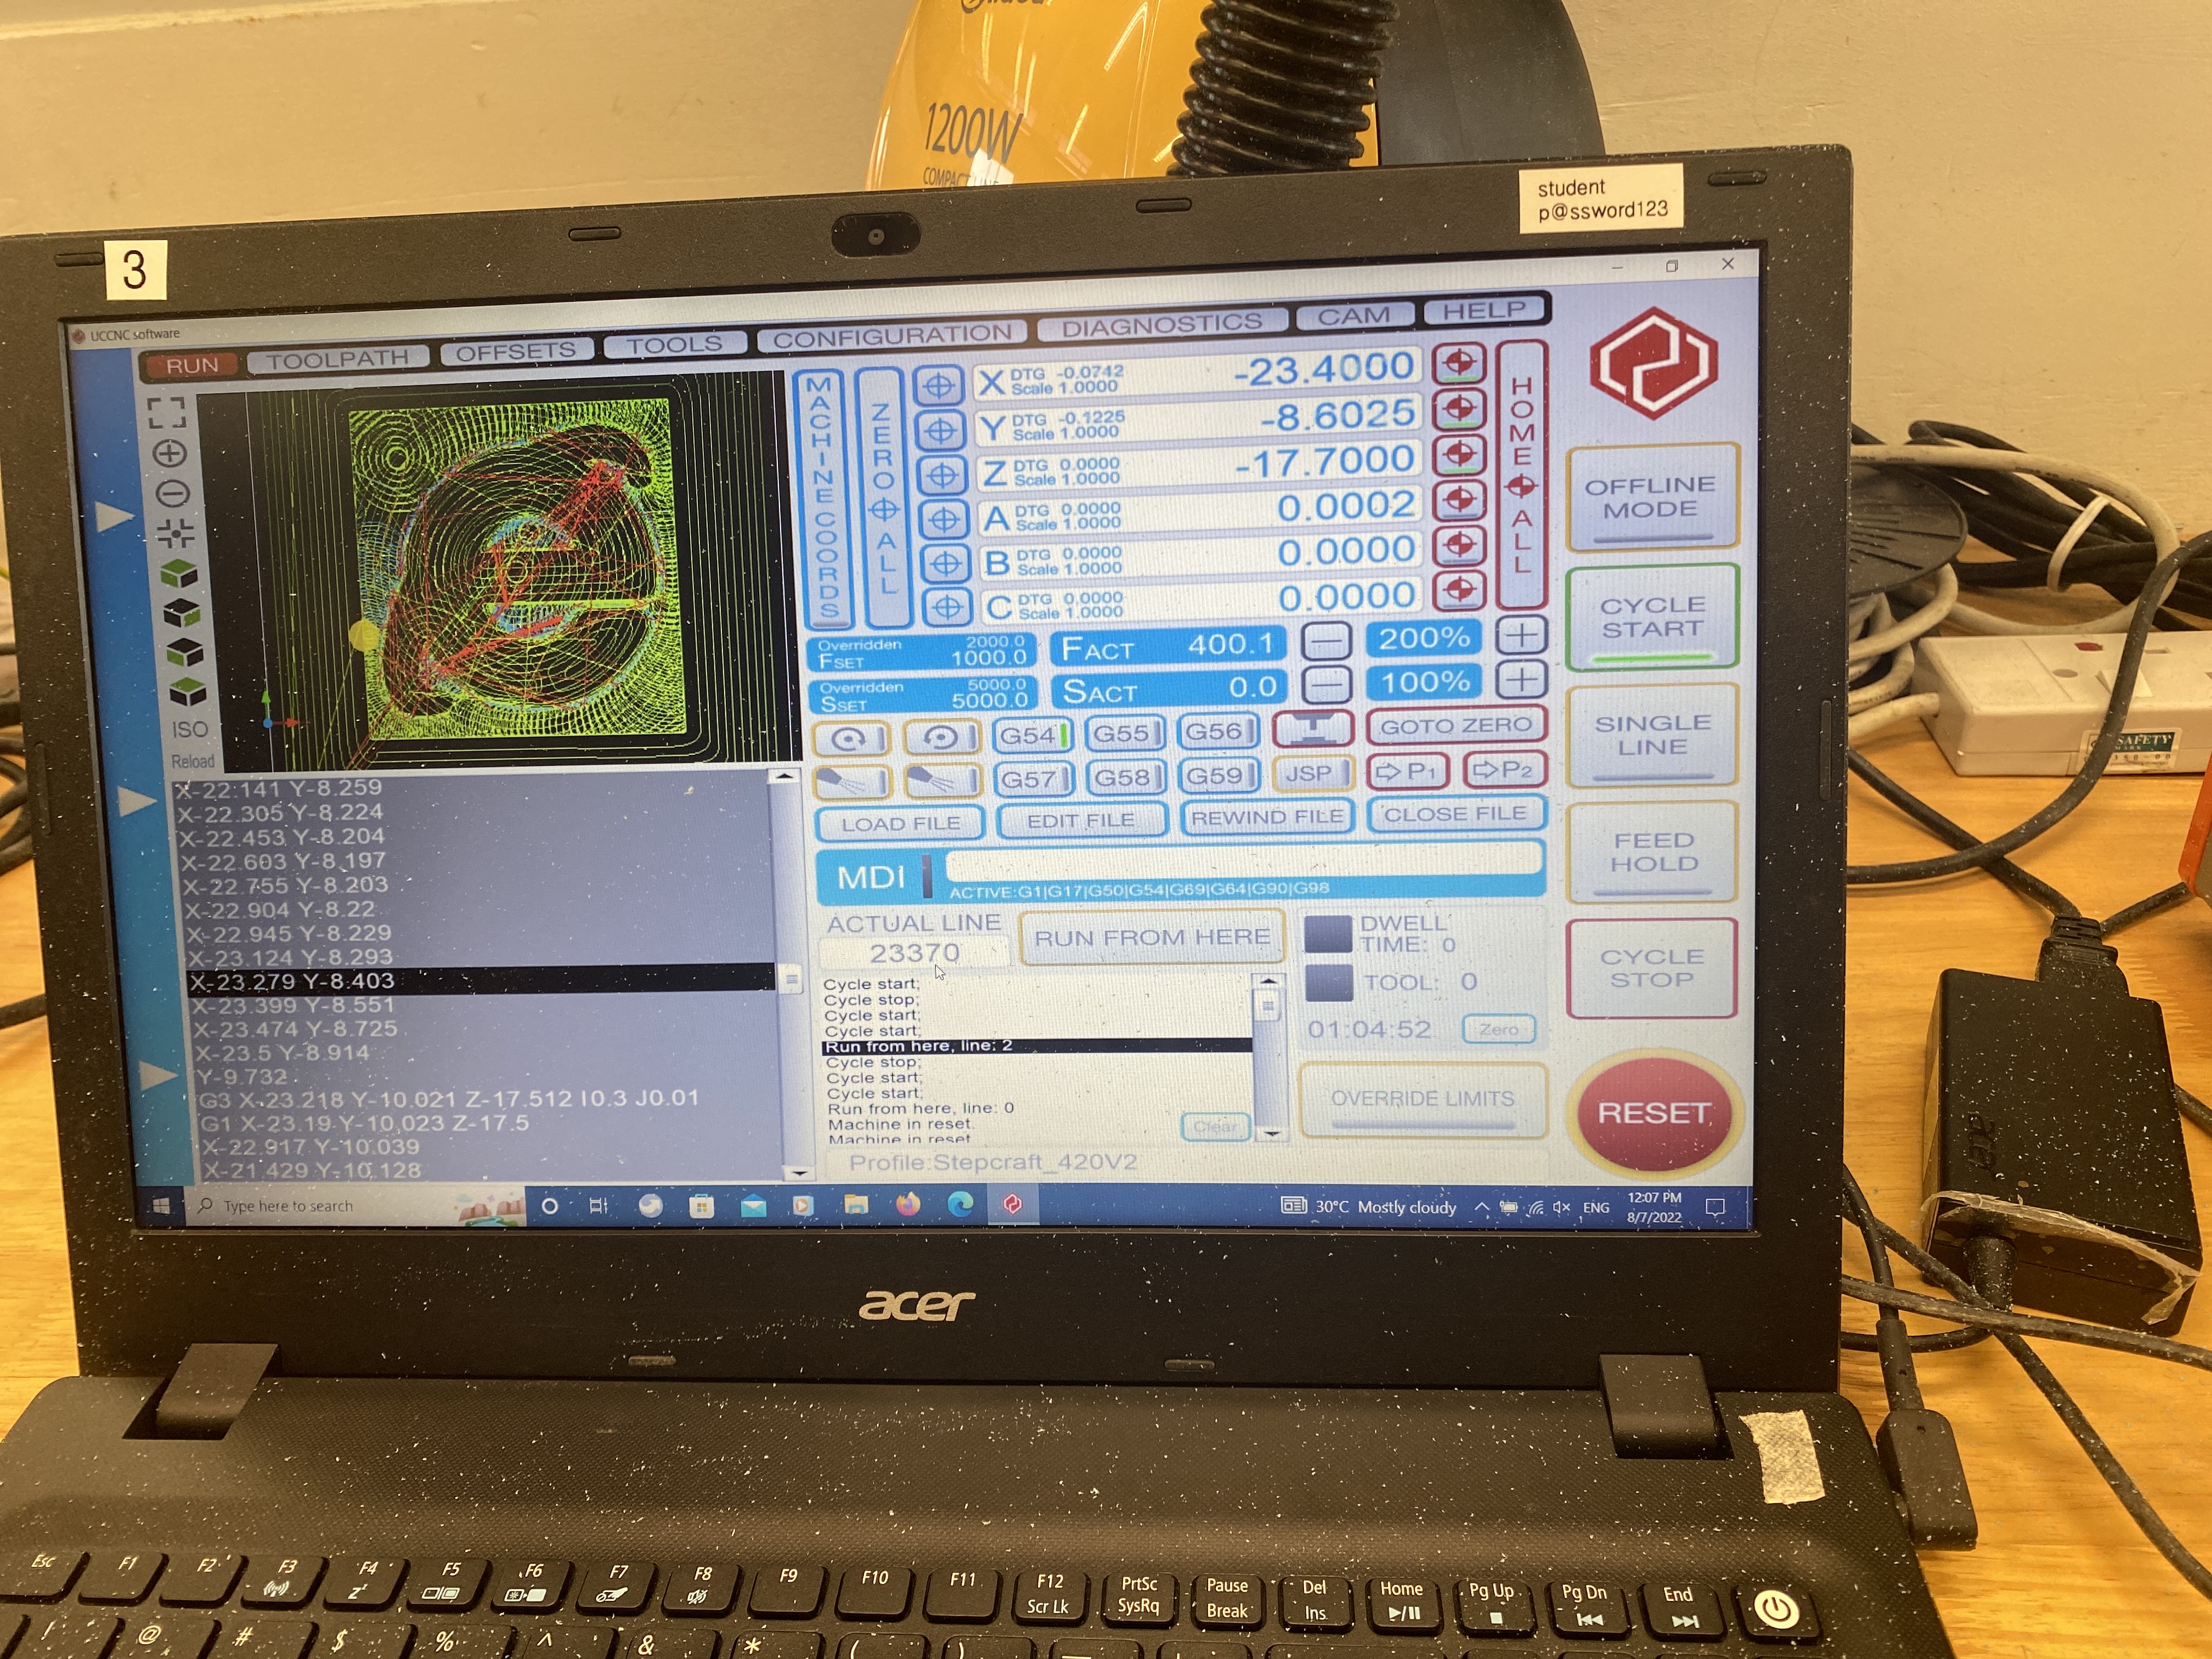
Dimensioning blue foam:
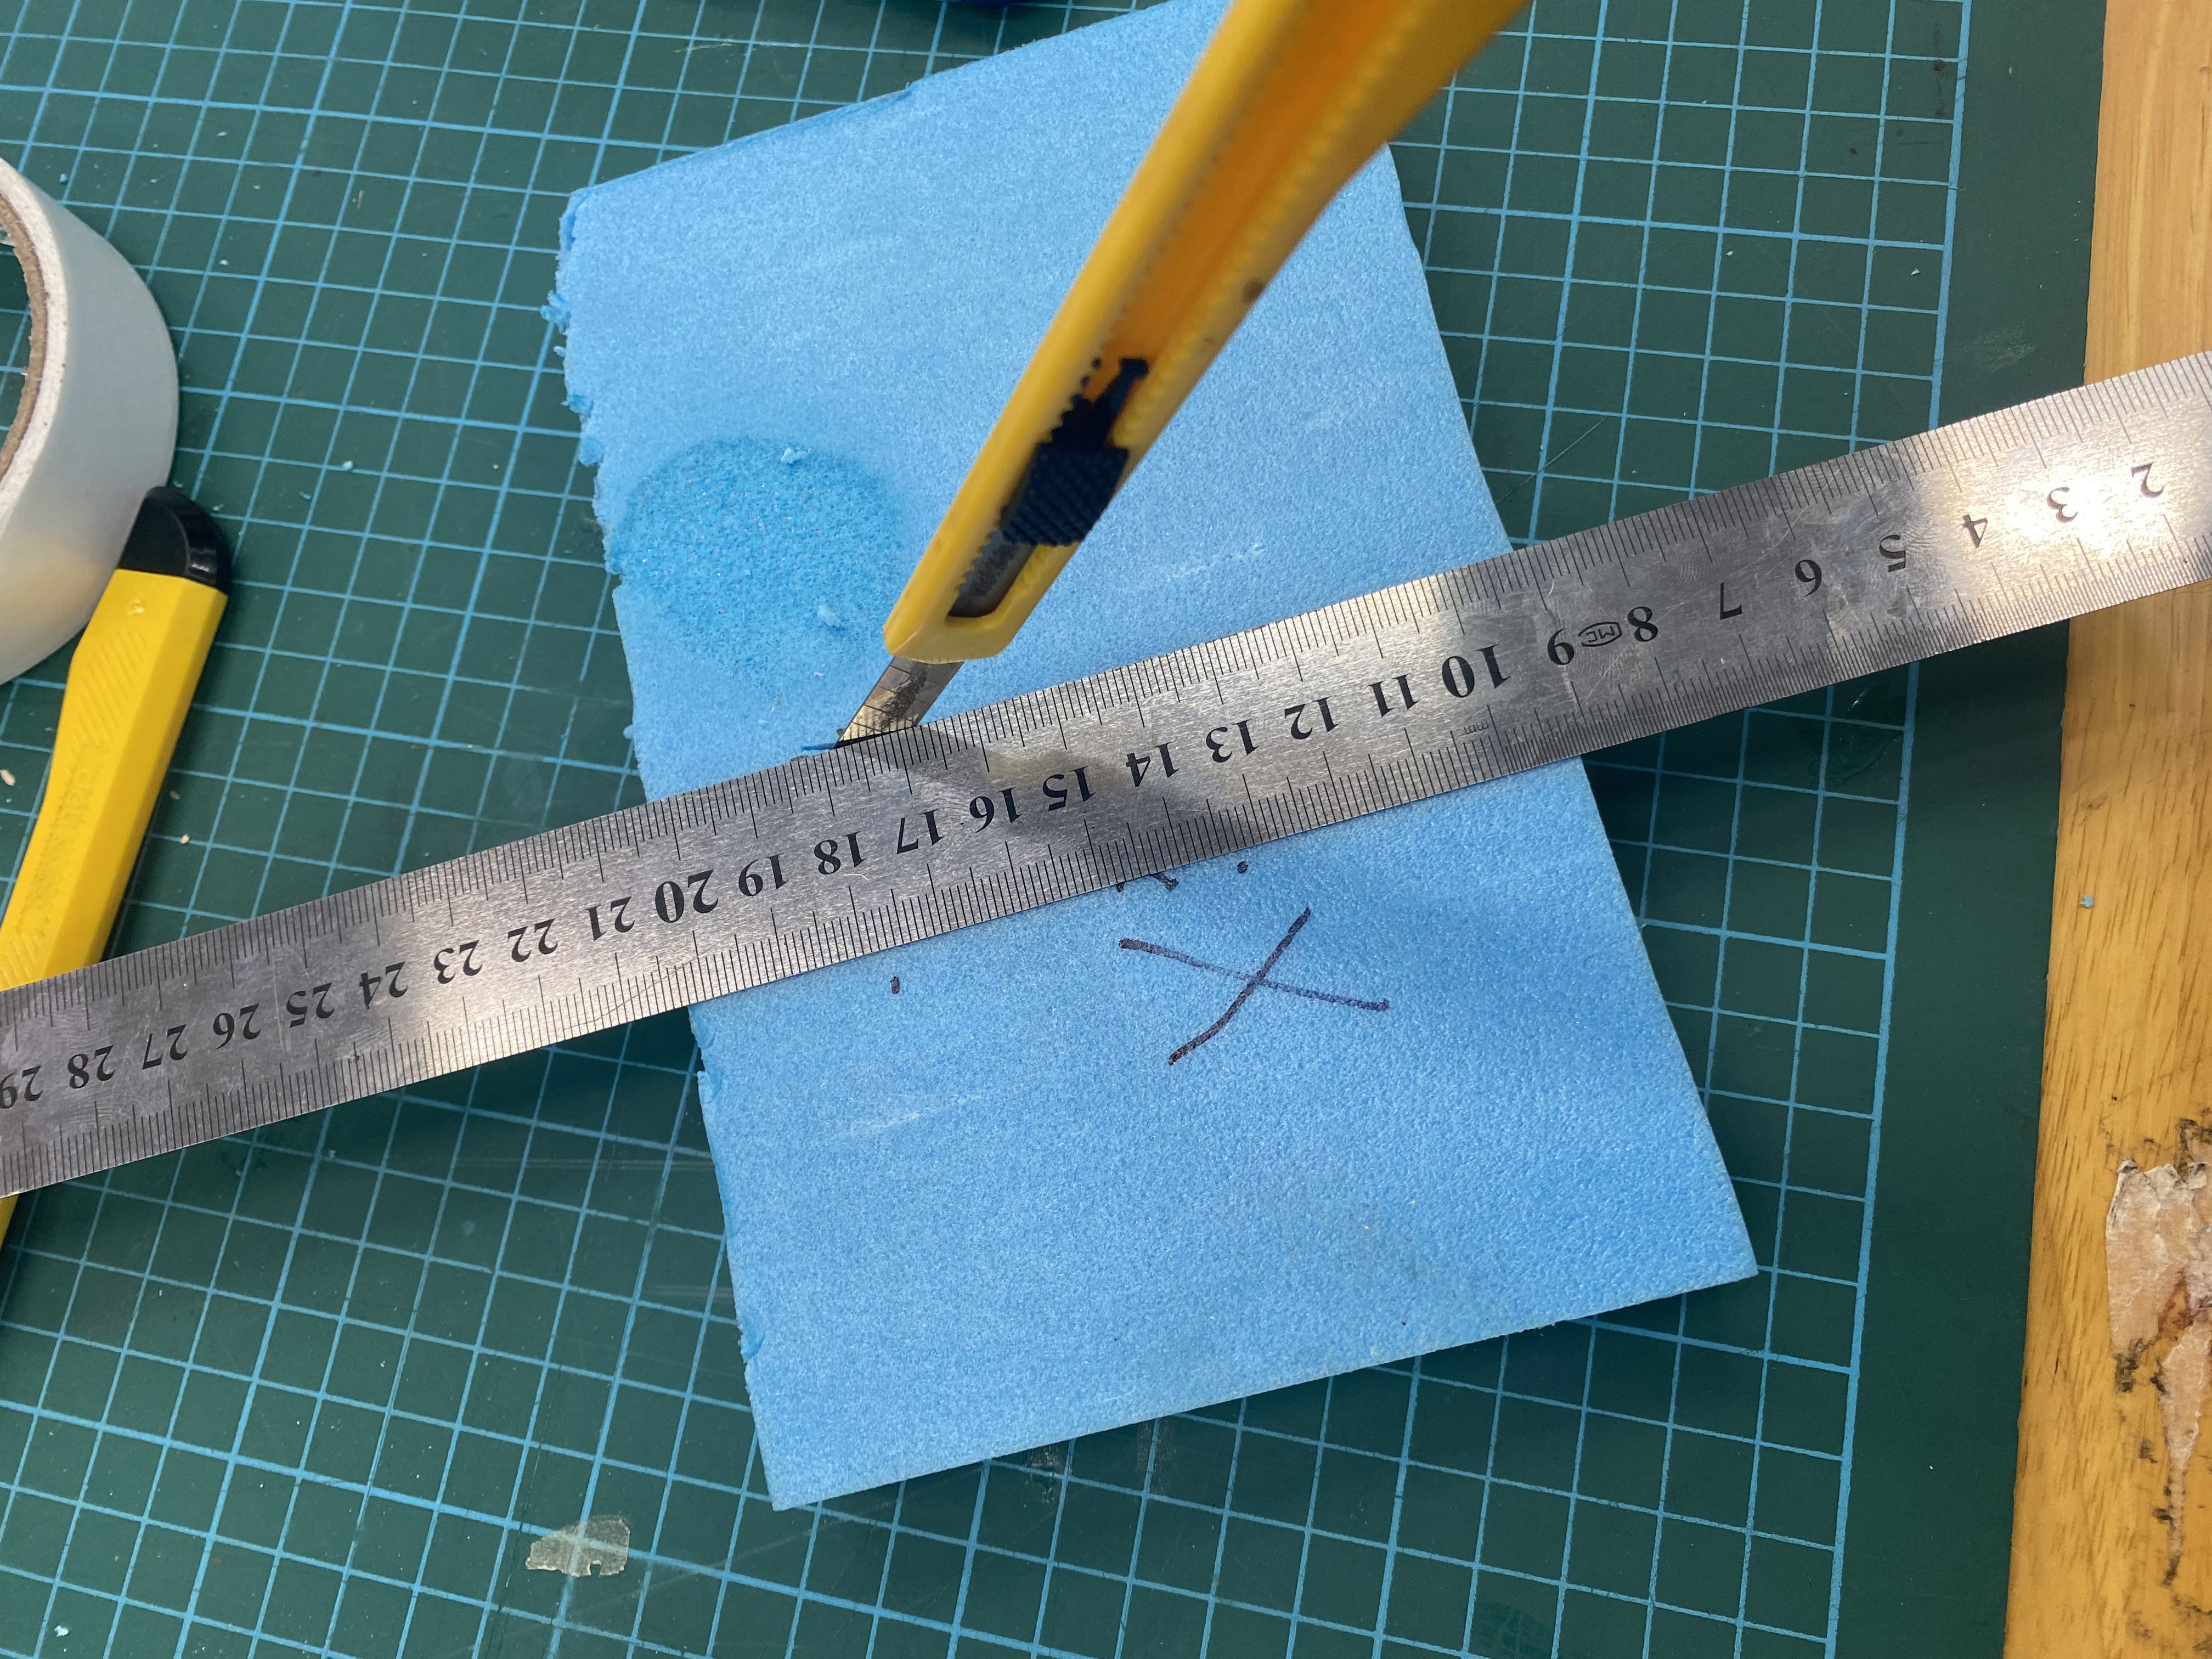
Cutting the blue foam:
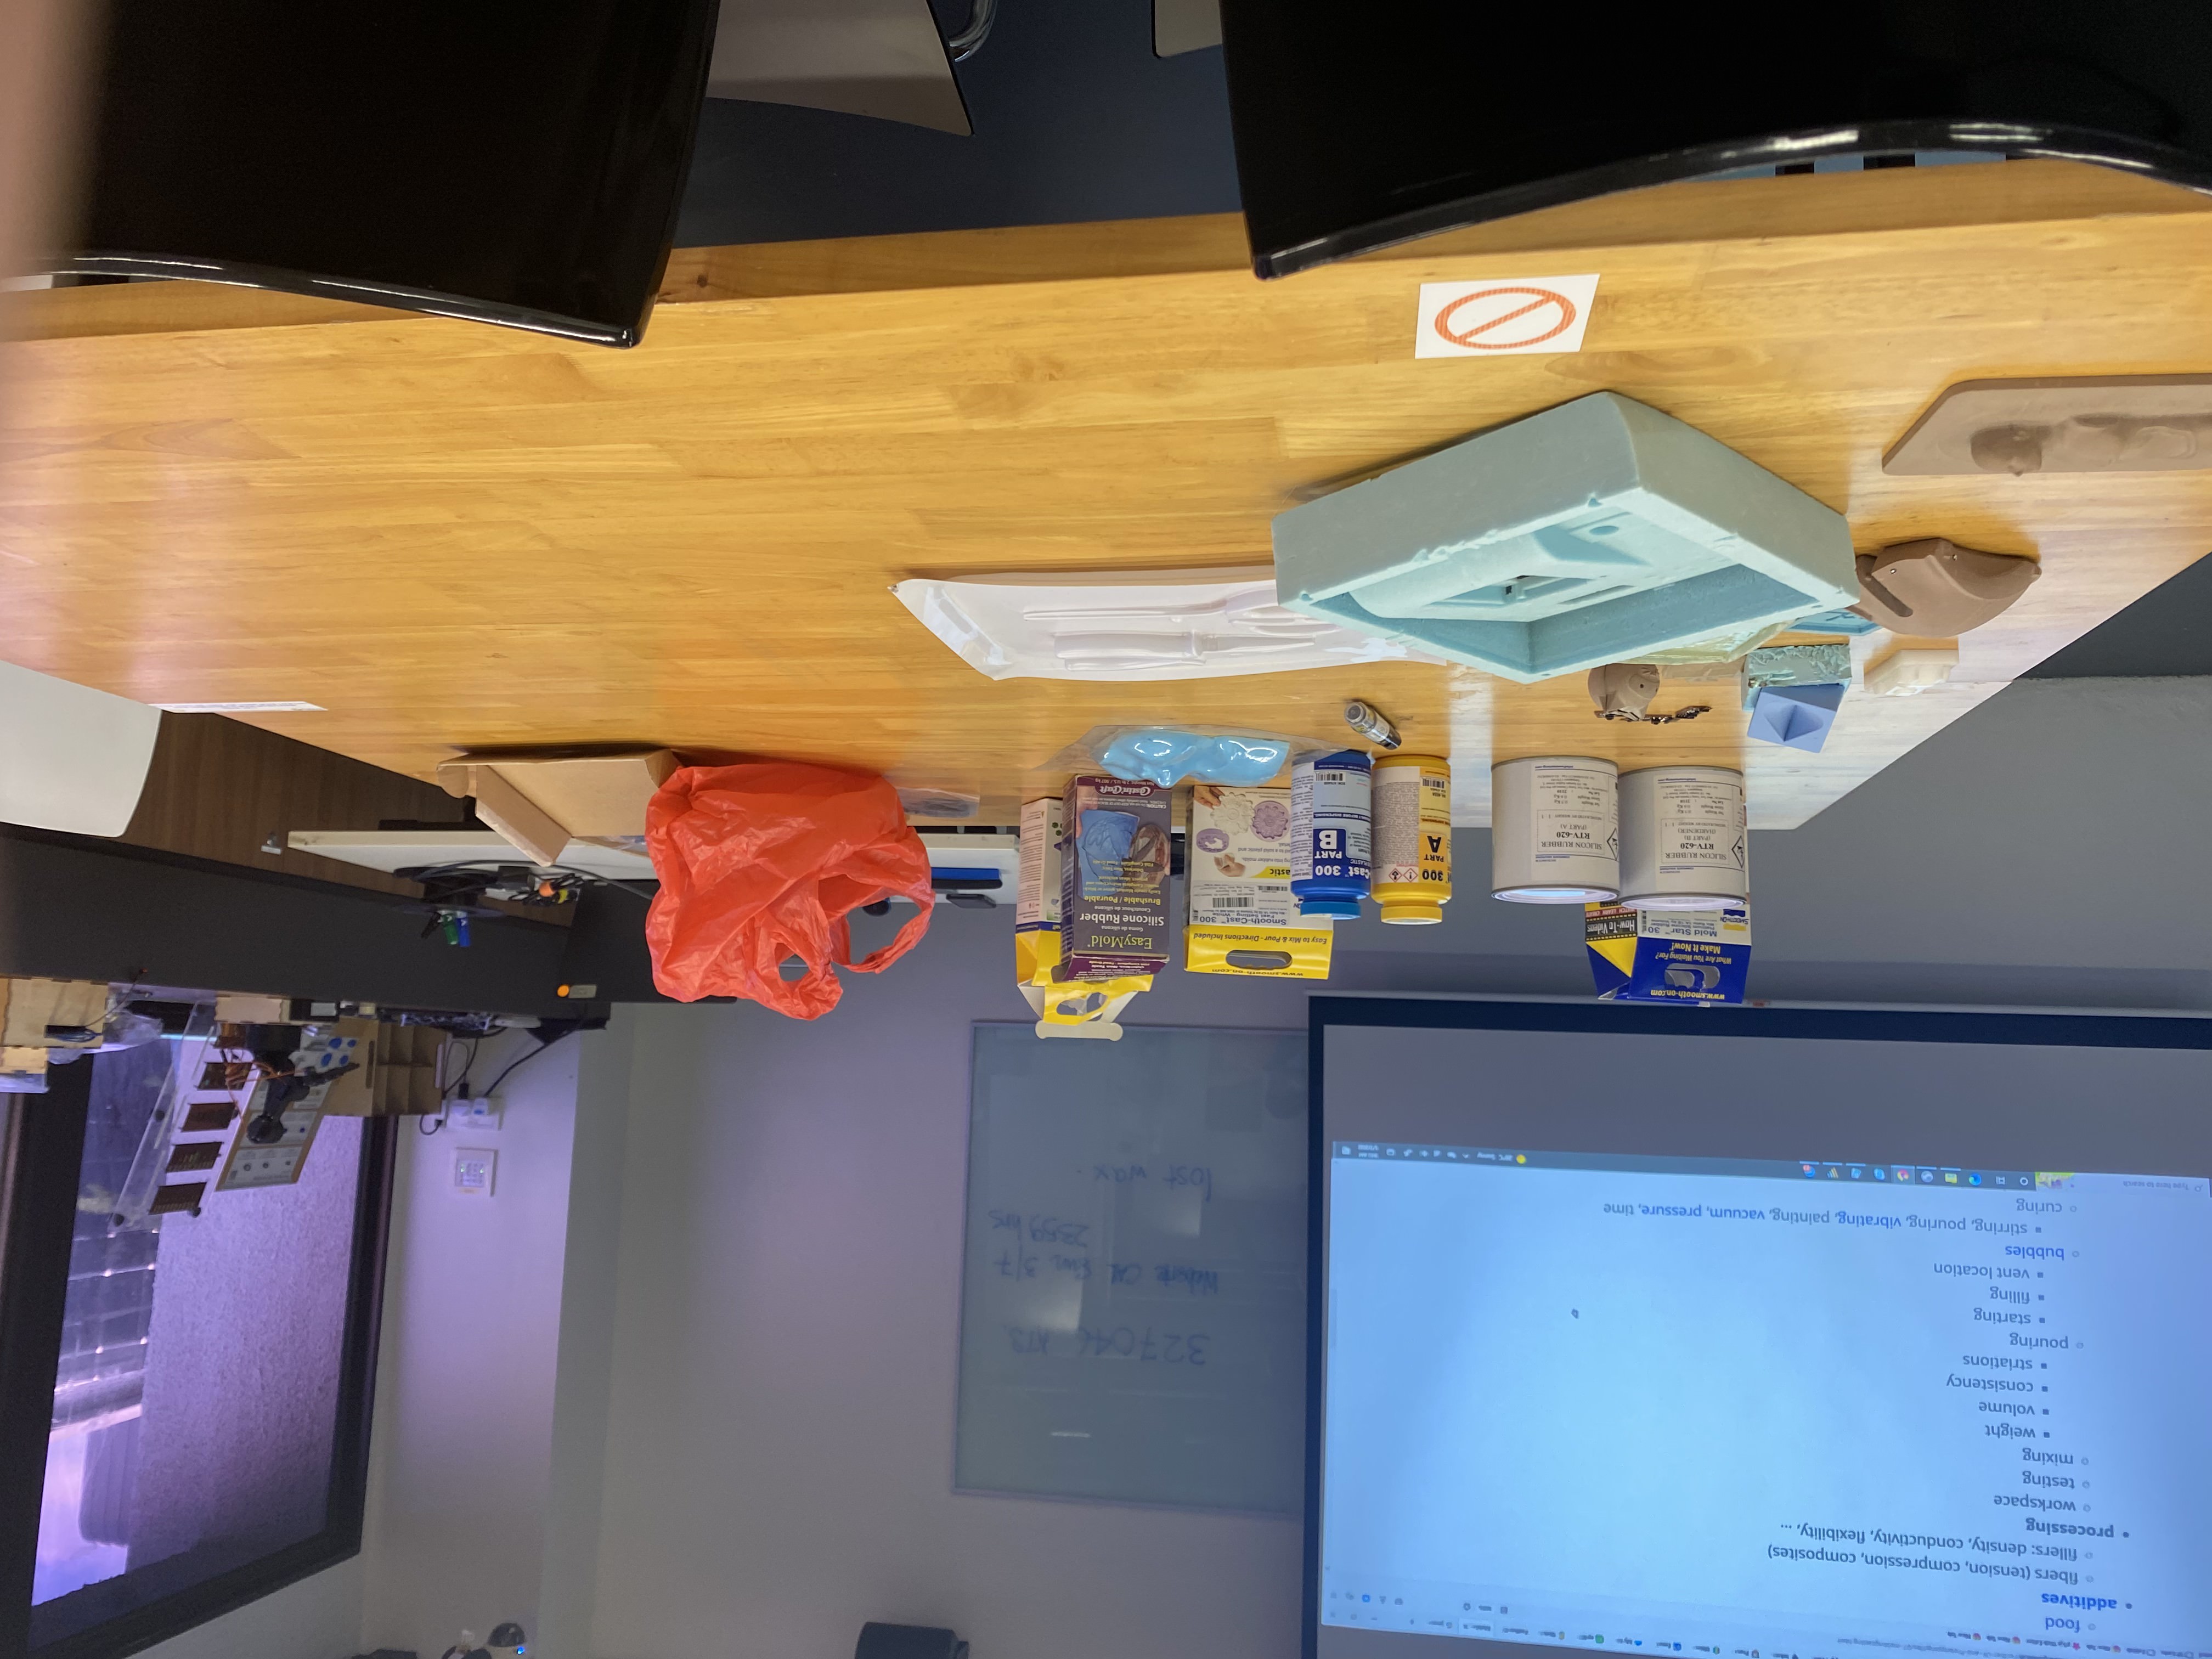
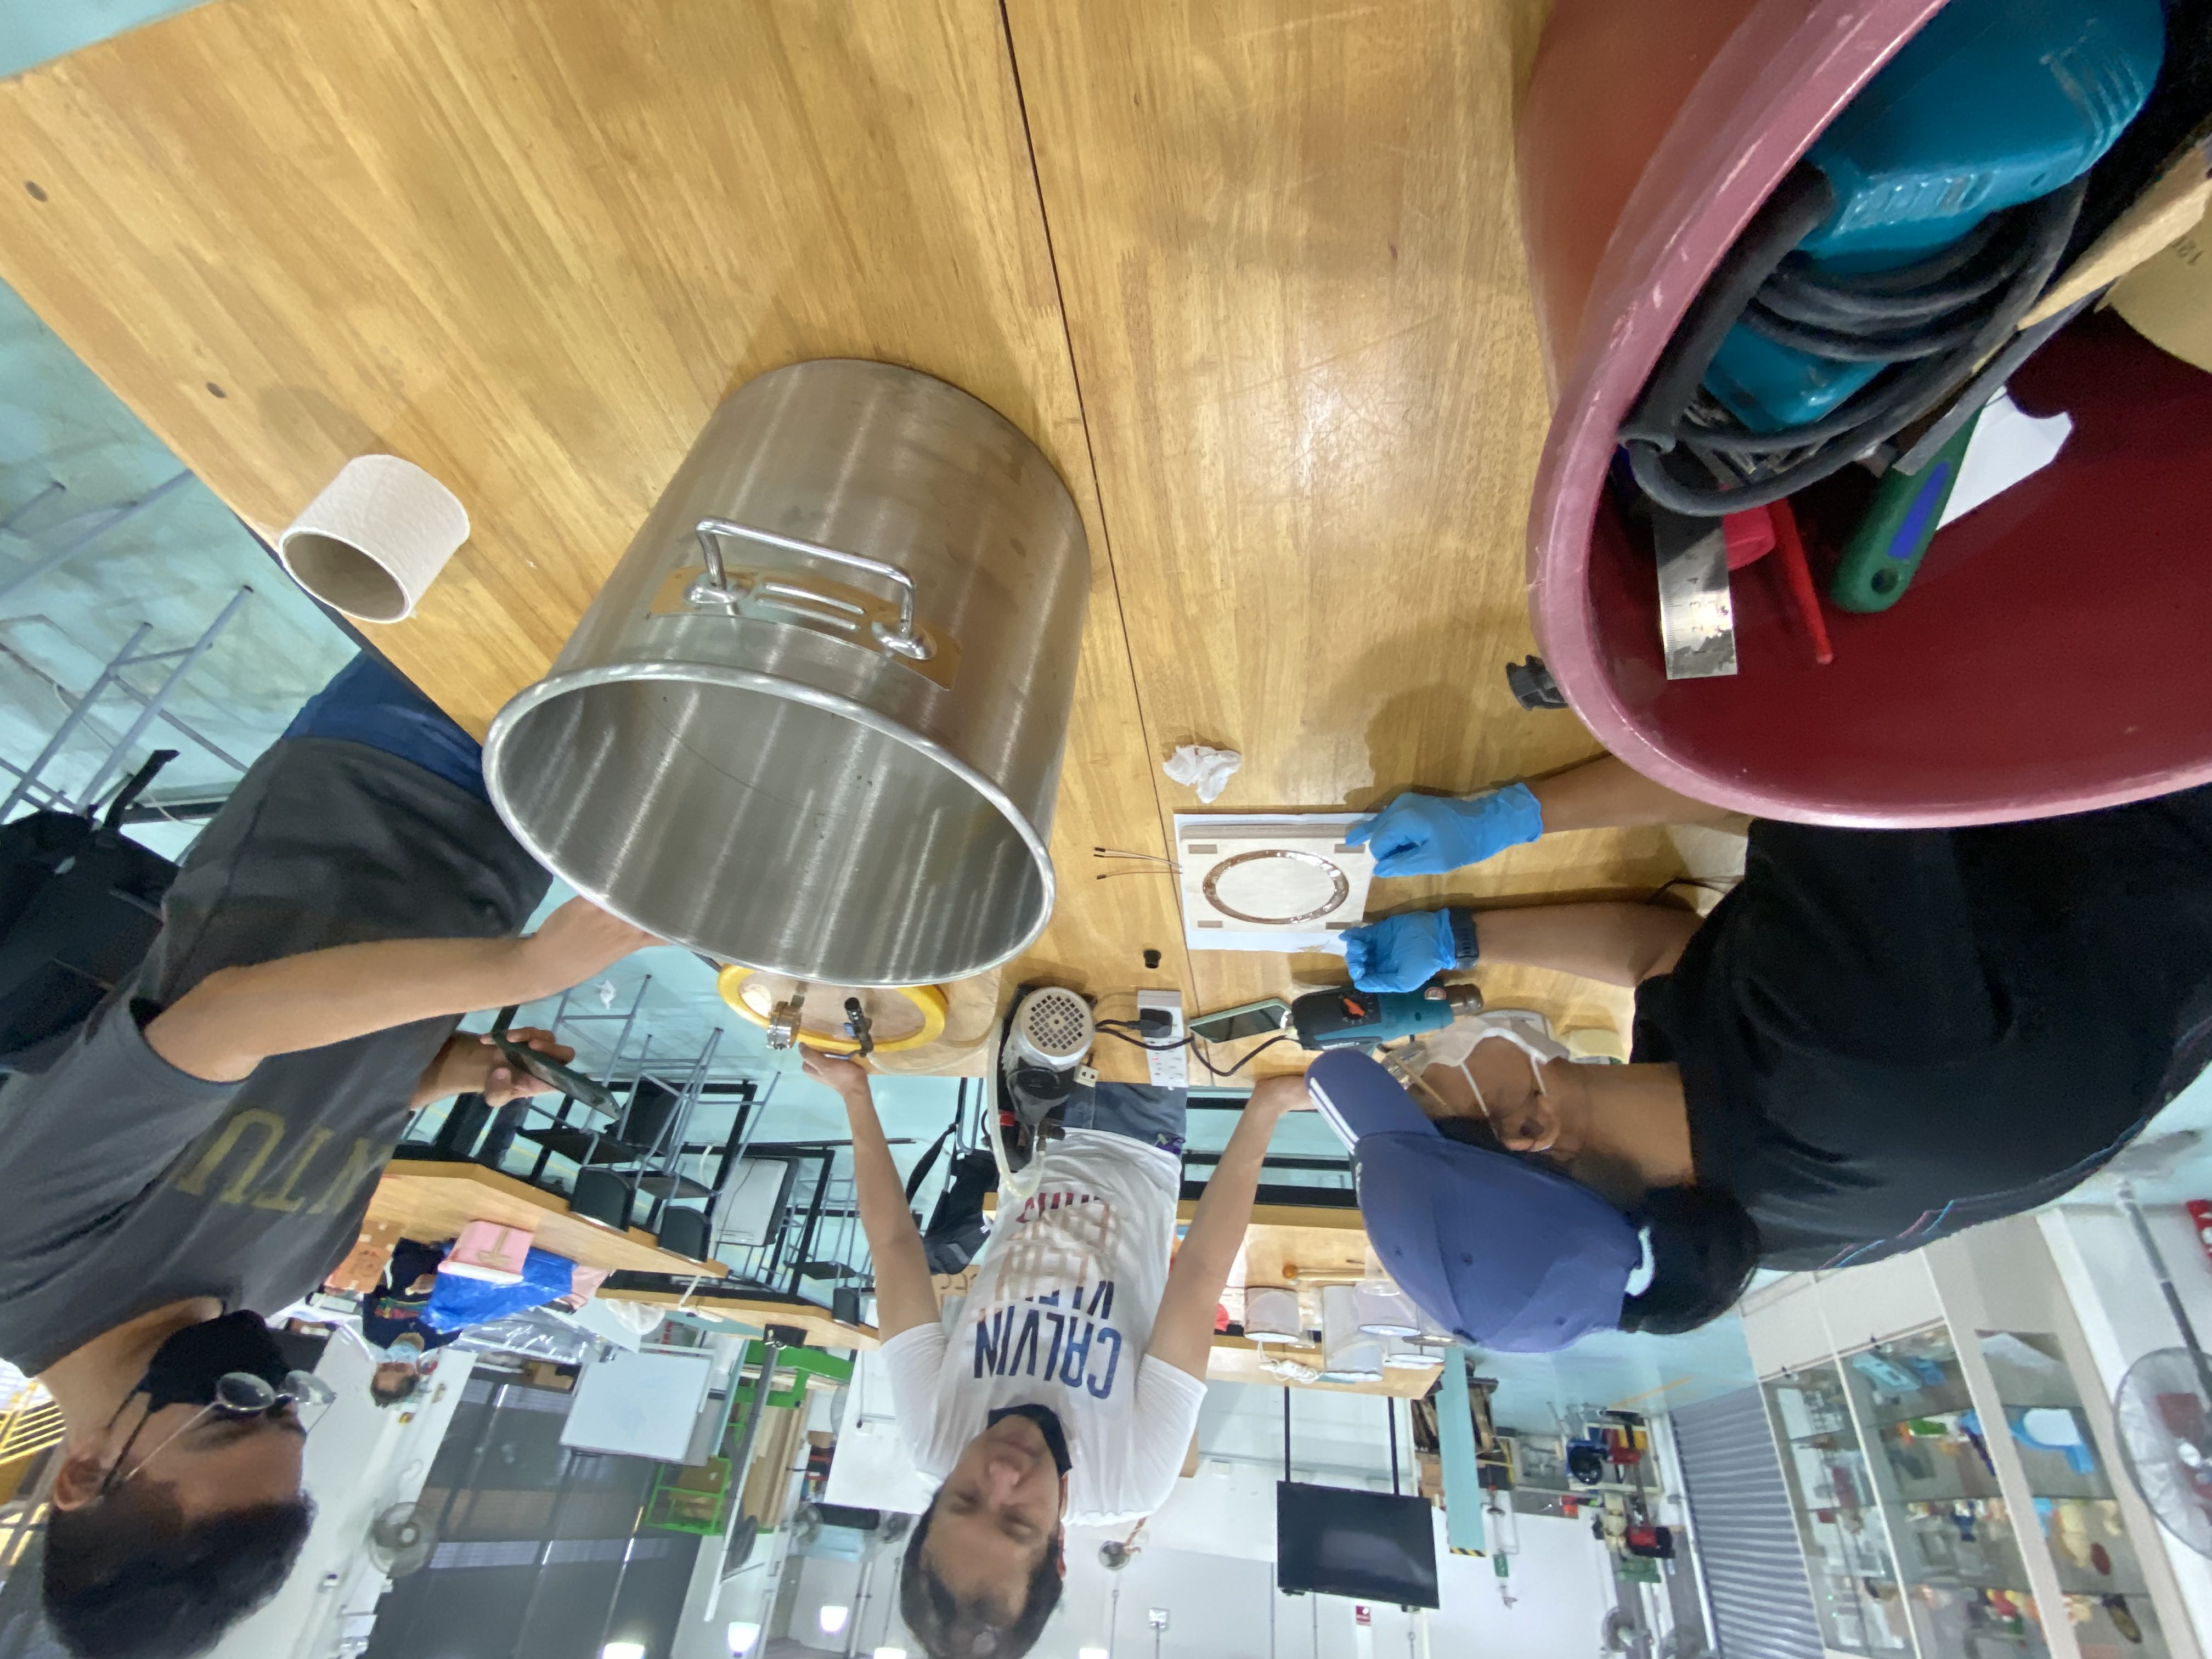
The resin mould is created by mixing 2 parts of silicon resin, which allows the mould to be flexible and able to easily used and removal of future used of the mould to make resin pieces.
Doing chemistry in the lab:
There are slow curing resin, which take a long time to cure, but it is less volatile of a reaction and less exothermic, and so is much easier to control the air bubbles.
A fast curing resin takes a faster time to cure, at the cost of it being more reactive and its reaction is more exothermic, creating alot of heat. It also creates alot of air bubbles due to being fast reaction. This can be remedied with a vacumn chamber to extract the air bubbles to the surface or using a heargun/hair dryer to heat the bubbles to rise to the surface.
For this project, we had used a slow curing rtv-60 silicon rubber resin mould.
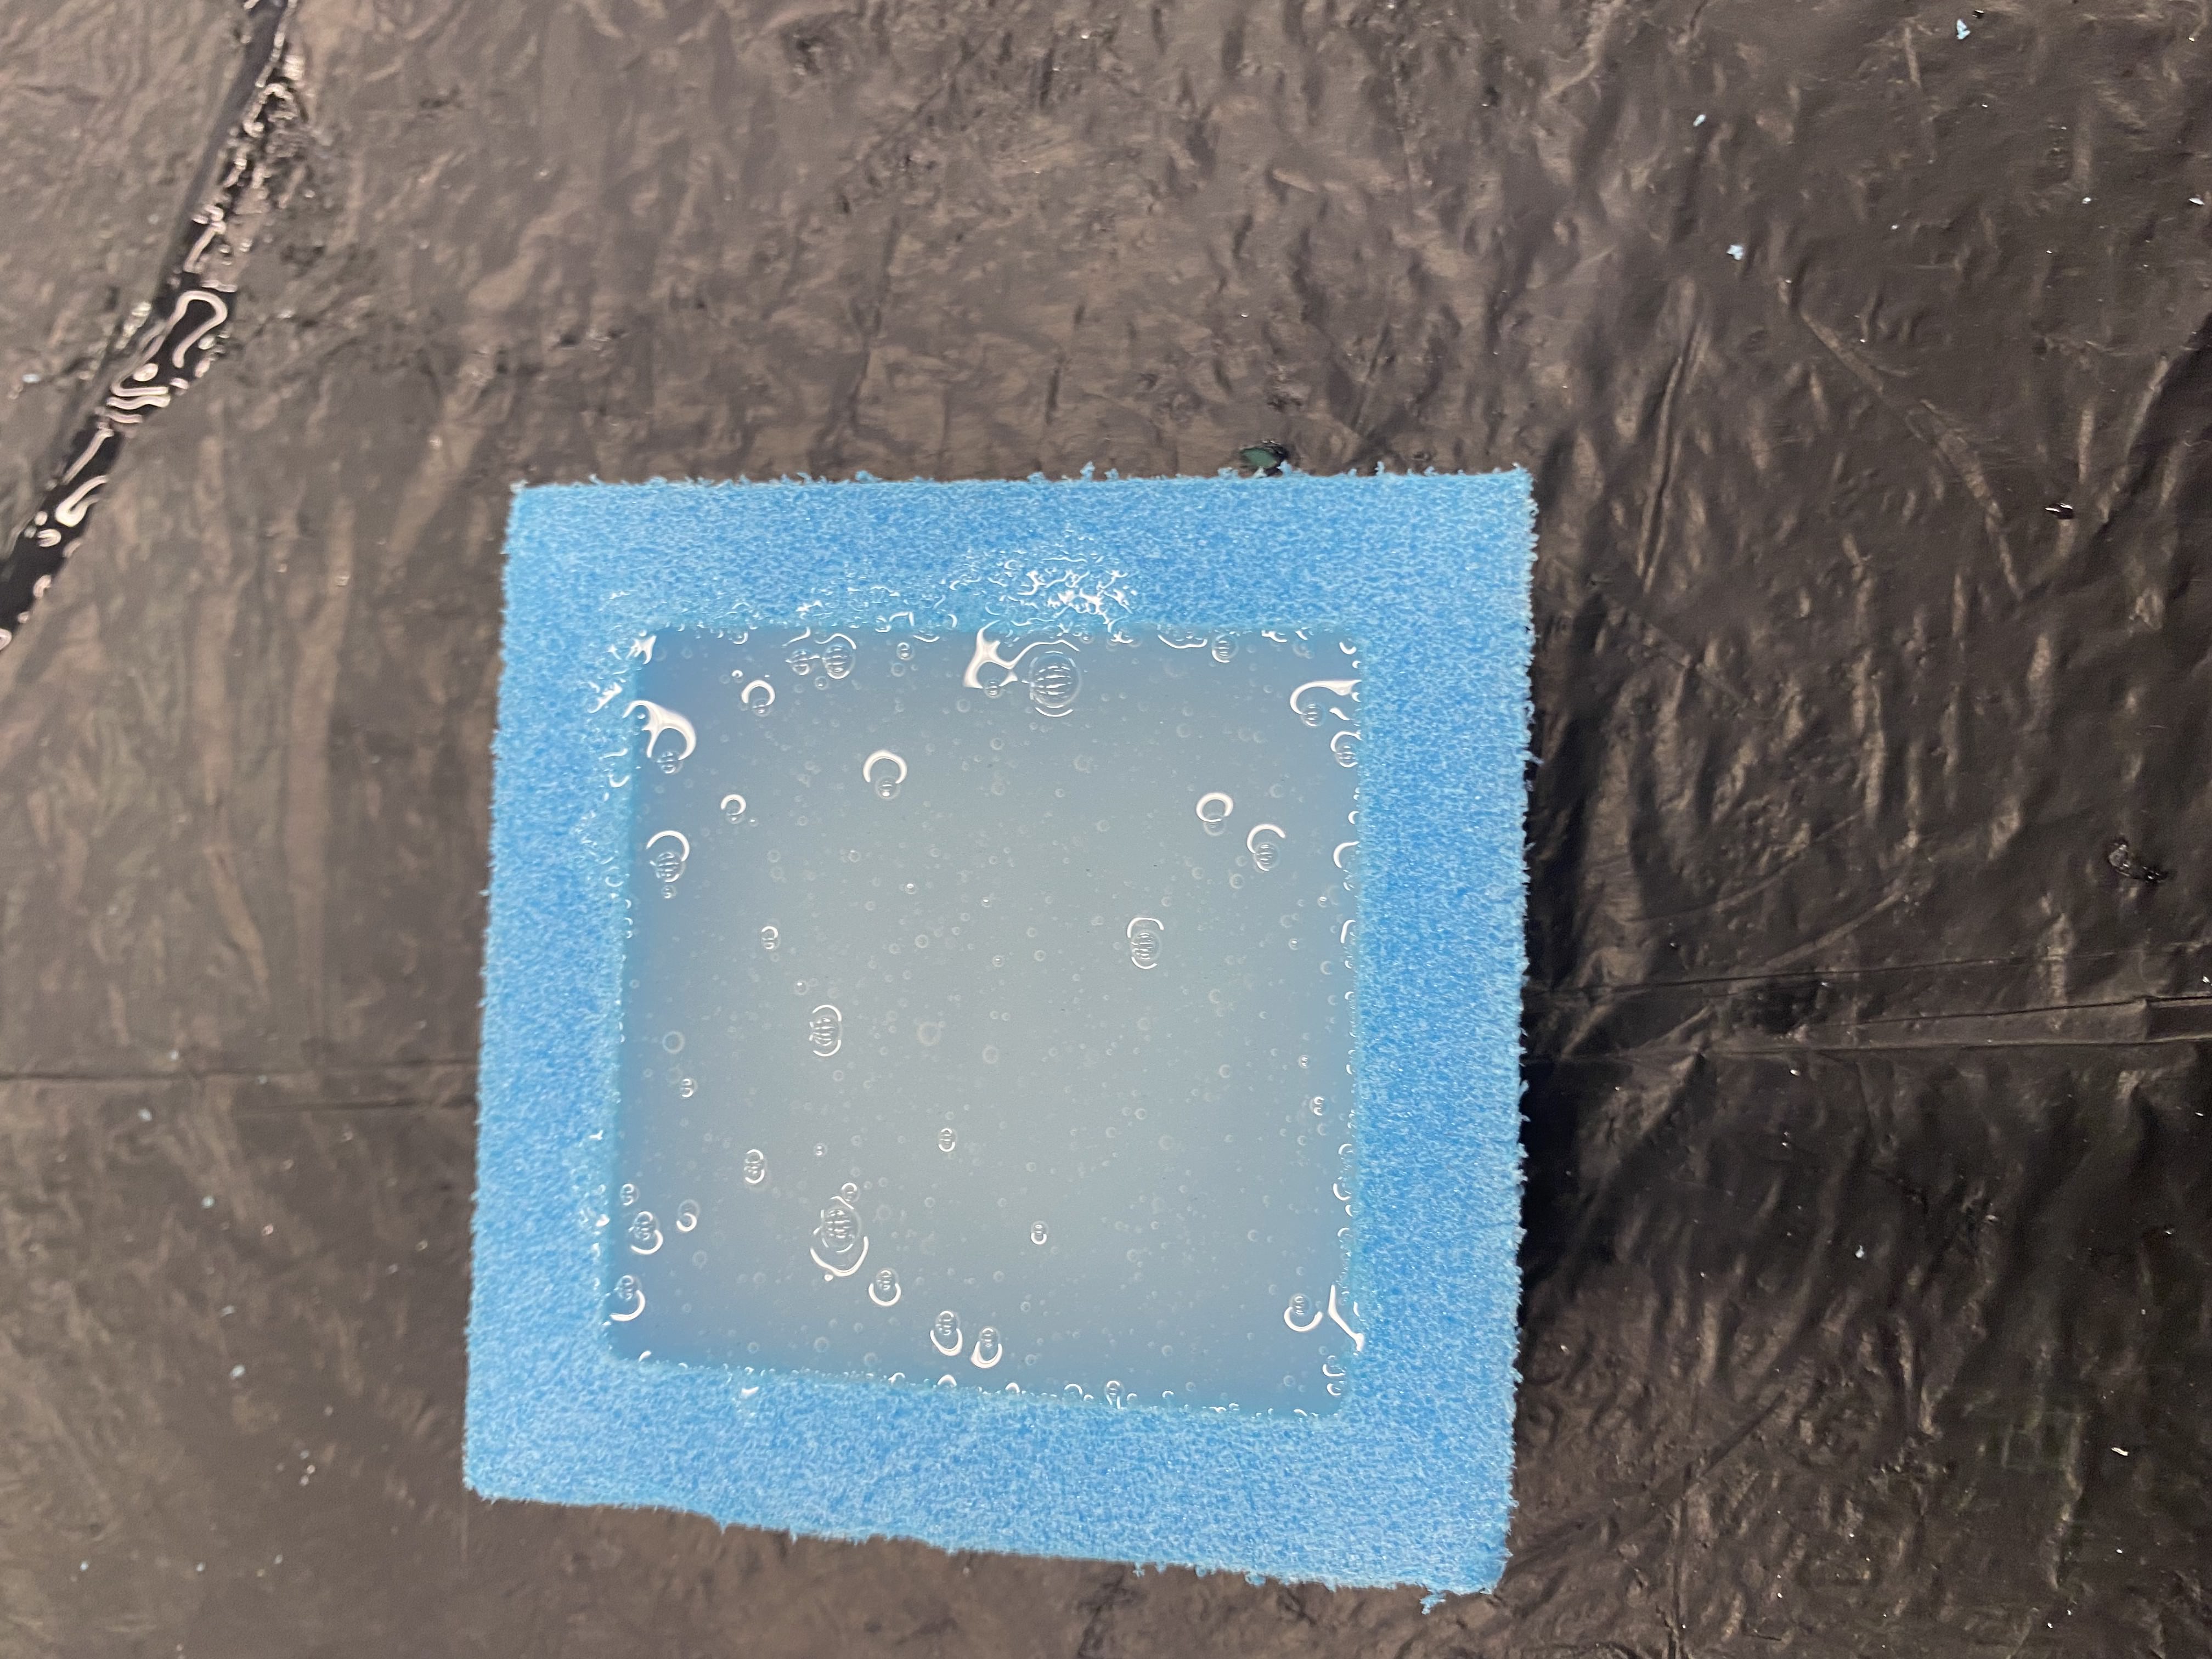
Pouring the resin into the mould, making sure it stays as even and low movement to prevent big creation of bubbles.
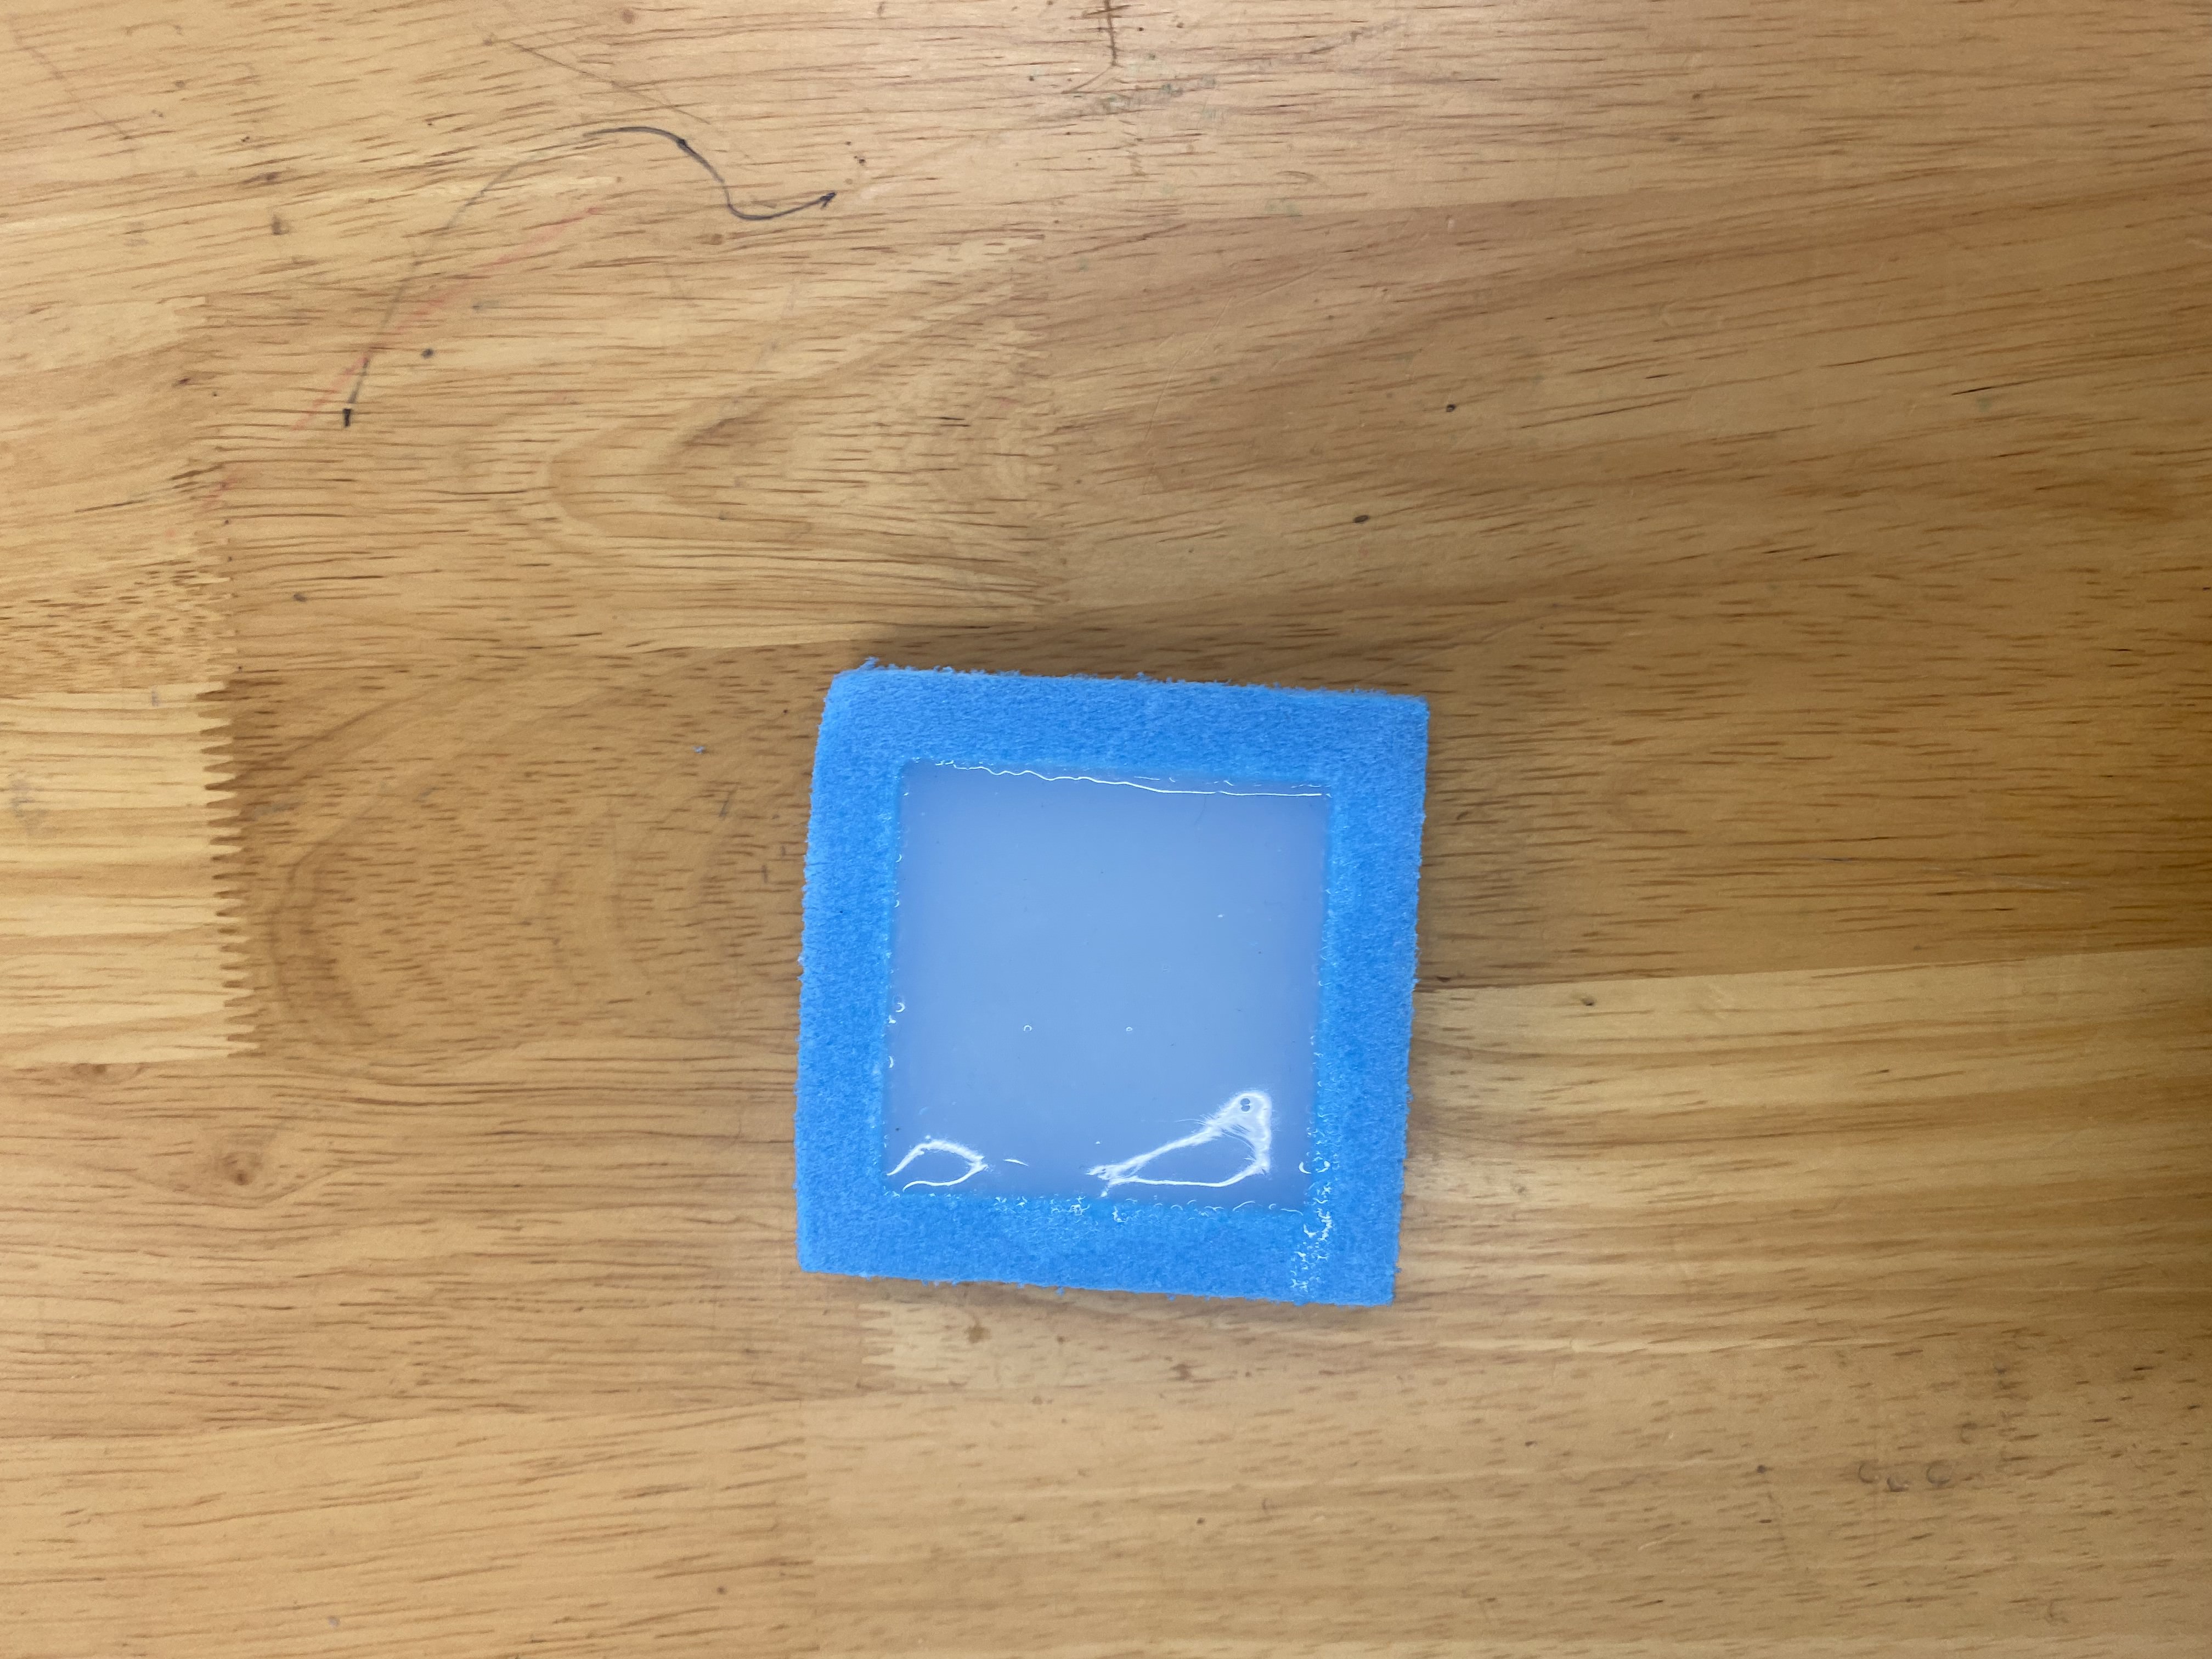
Then, the resin was let to set for 1 weekend.
After 3 days, the resin settled, and was ready to be removed from the blue foam mould.
Final product of the resin mould:
For the final resin product, we used Polytek EasyFloSeries Liquid Plastic.
Using pressure pot:
Failed mixtue
