For the final build project for the glockensprial, I used measurements from the old case to build a new frame, with a hole in between where all the keys are placed.
Using CNC software
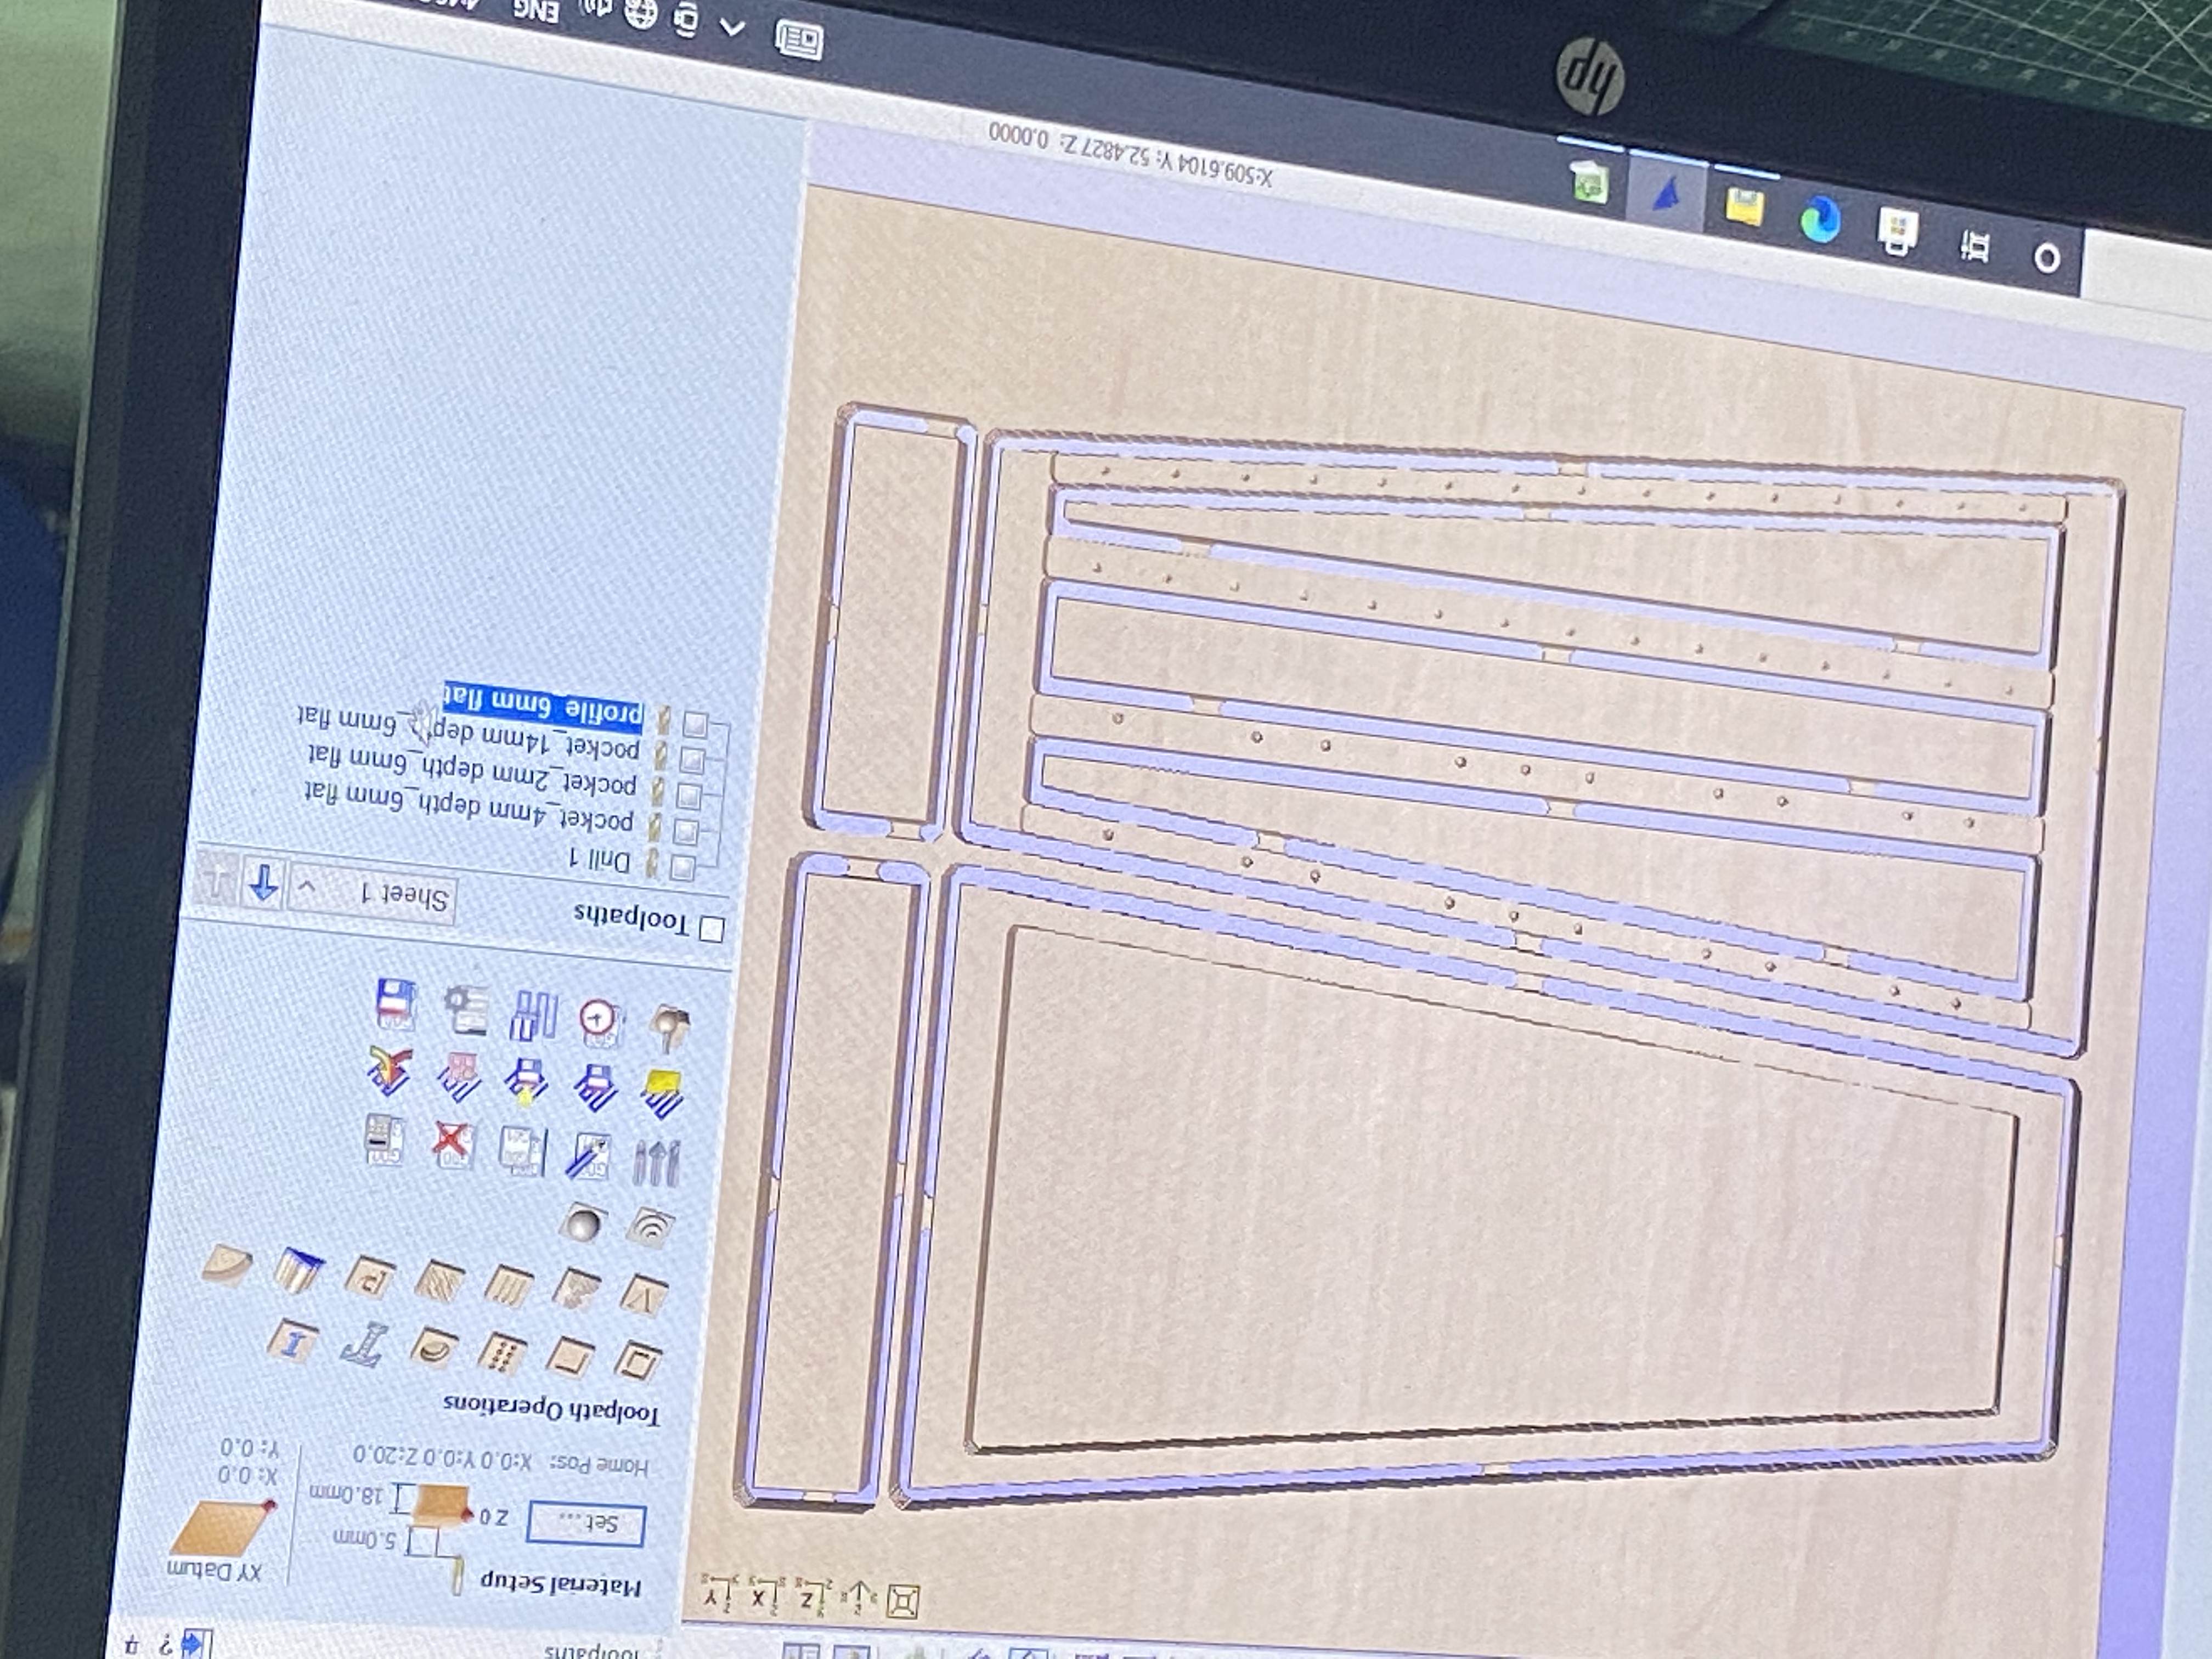
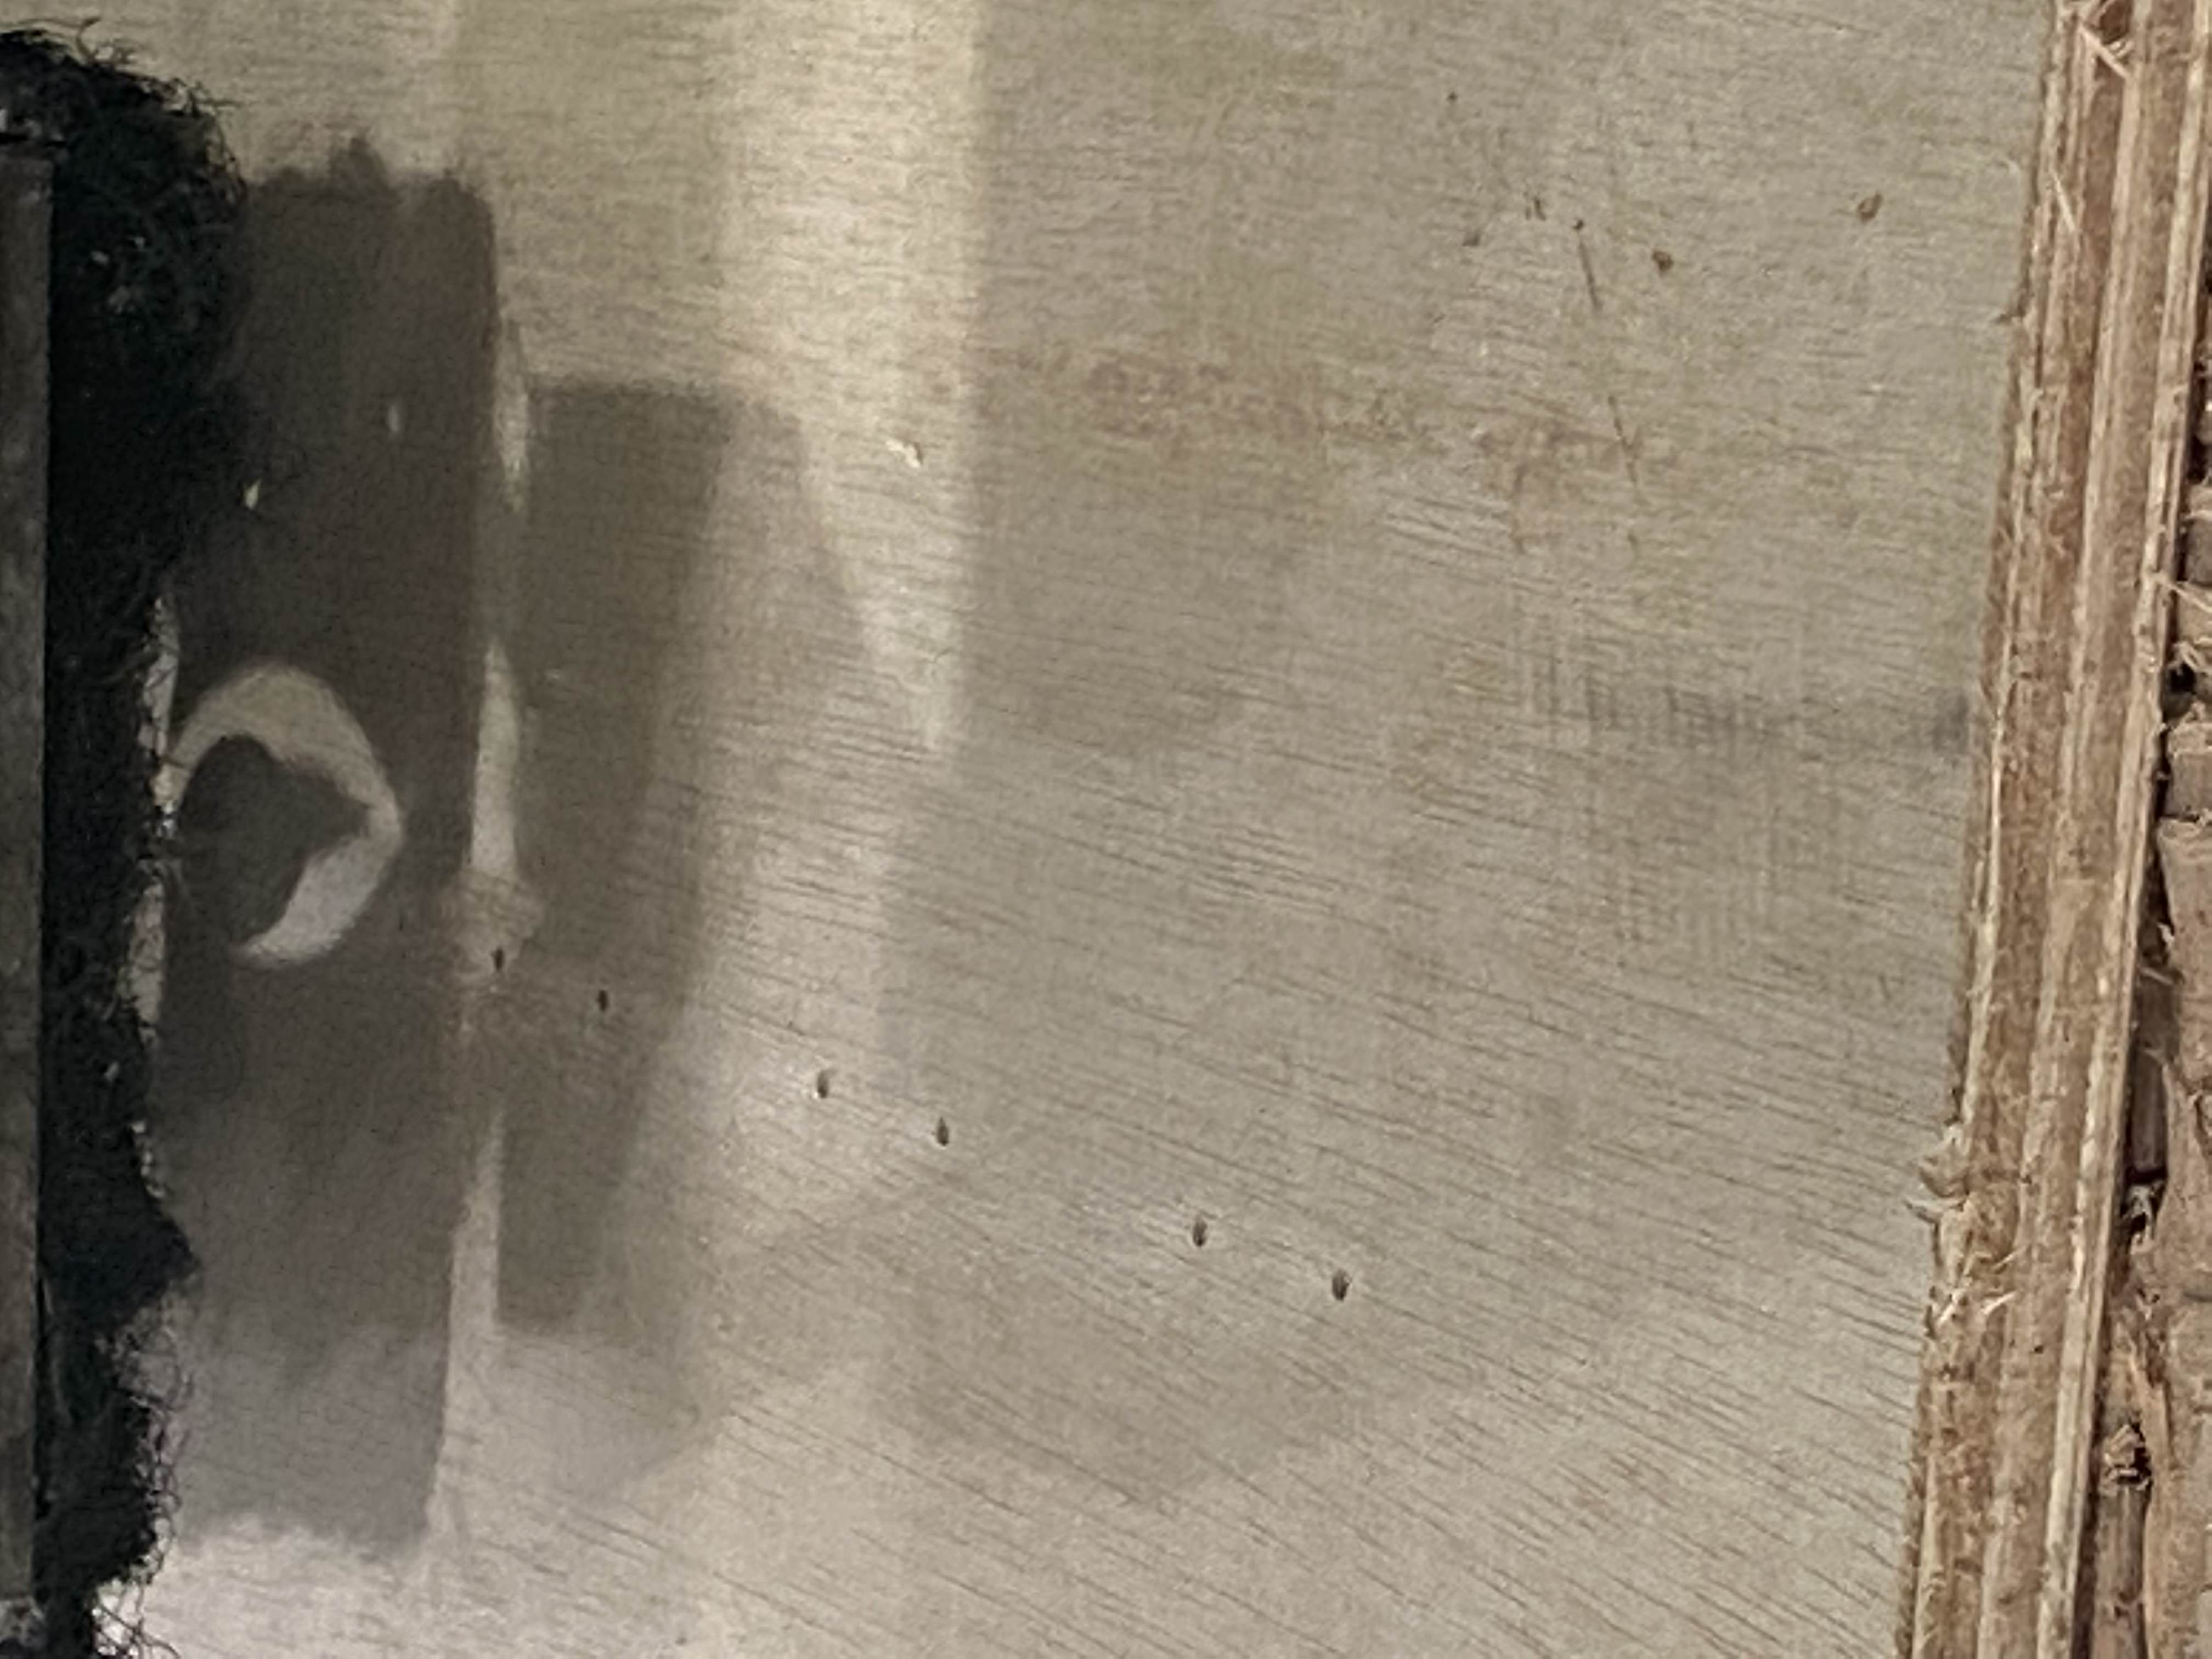
Used a ball tipped 3mm diameter drill cutter to predrill holes to screw the plates on.
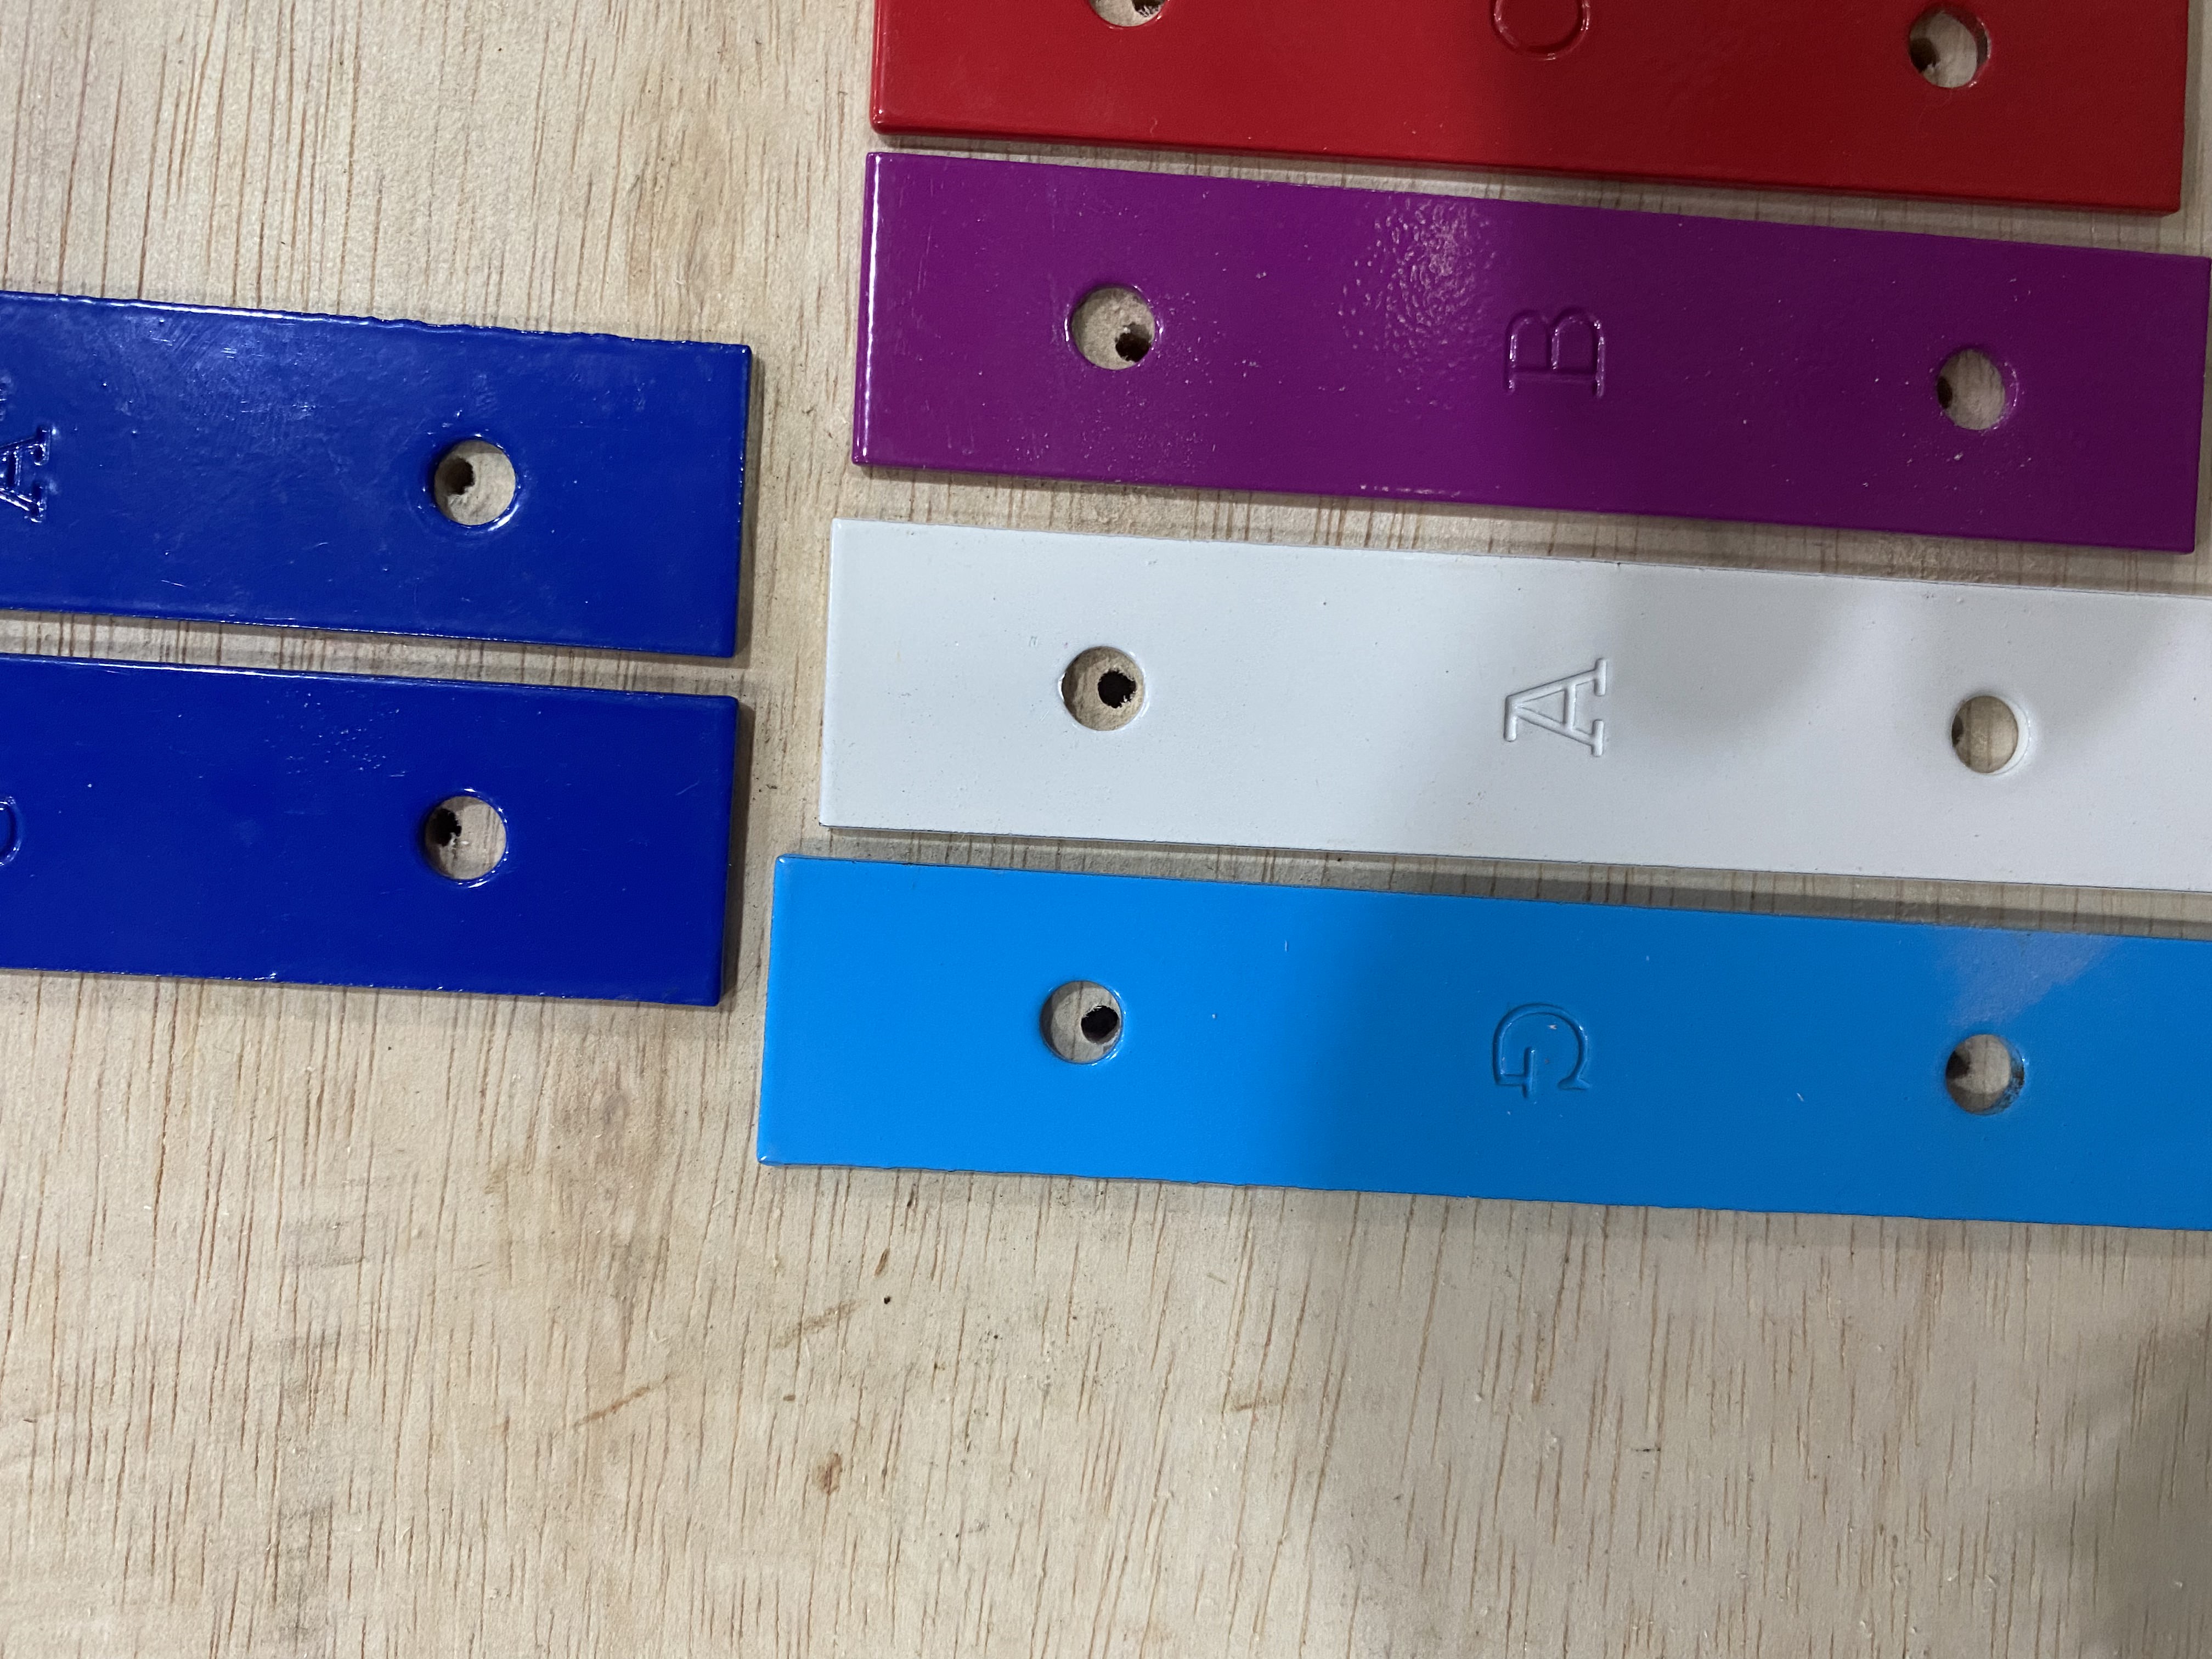
Allignment of the plates were a little off as measurements were slightly off by me.
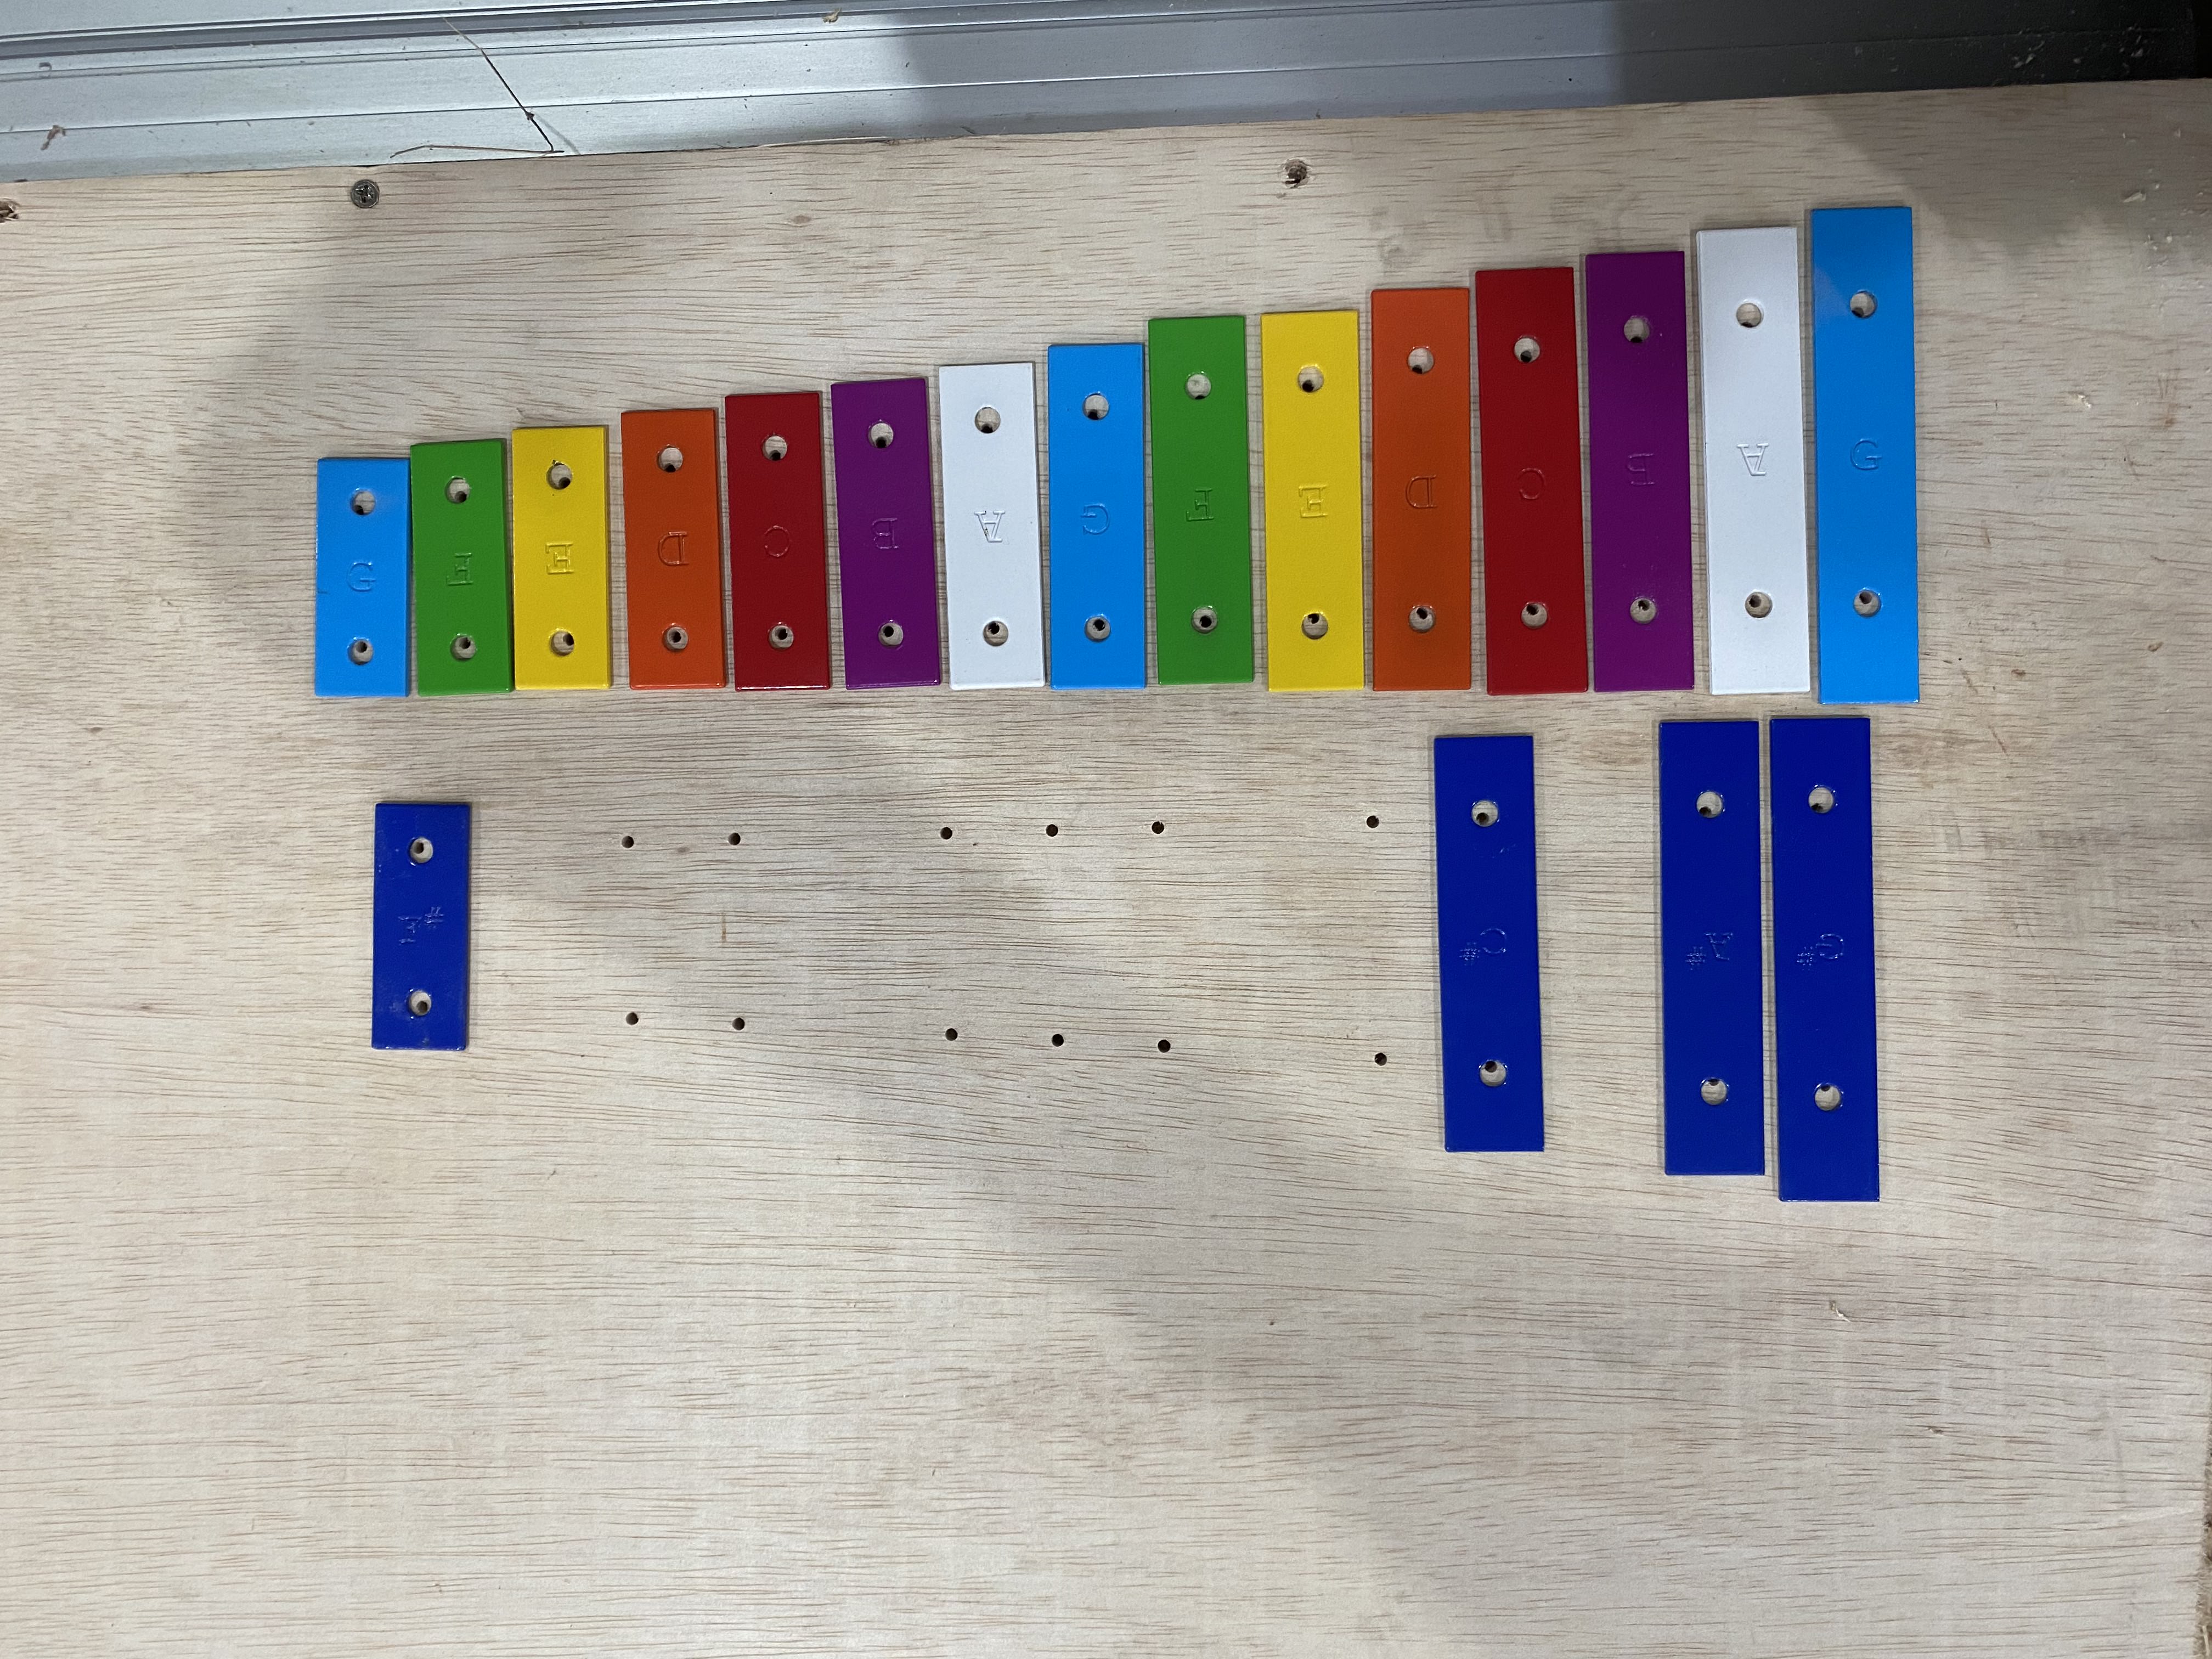
The larger plates experienced the largest deviation of the holes.
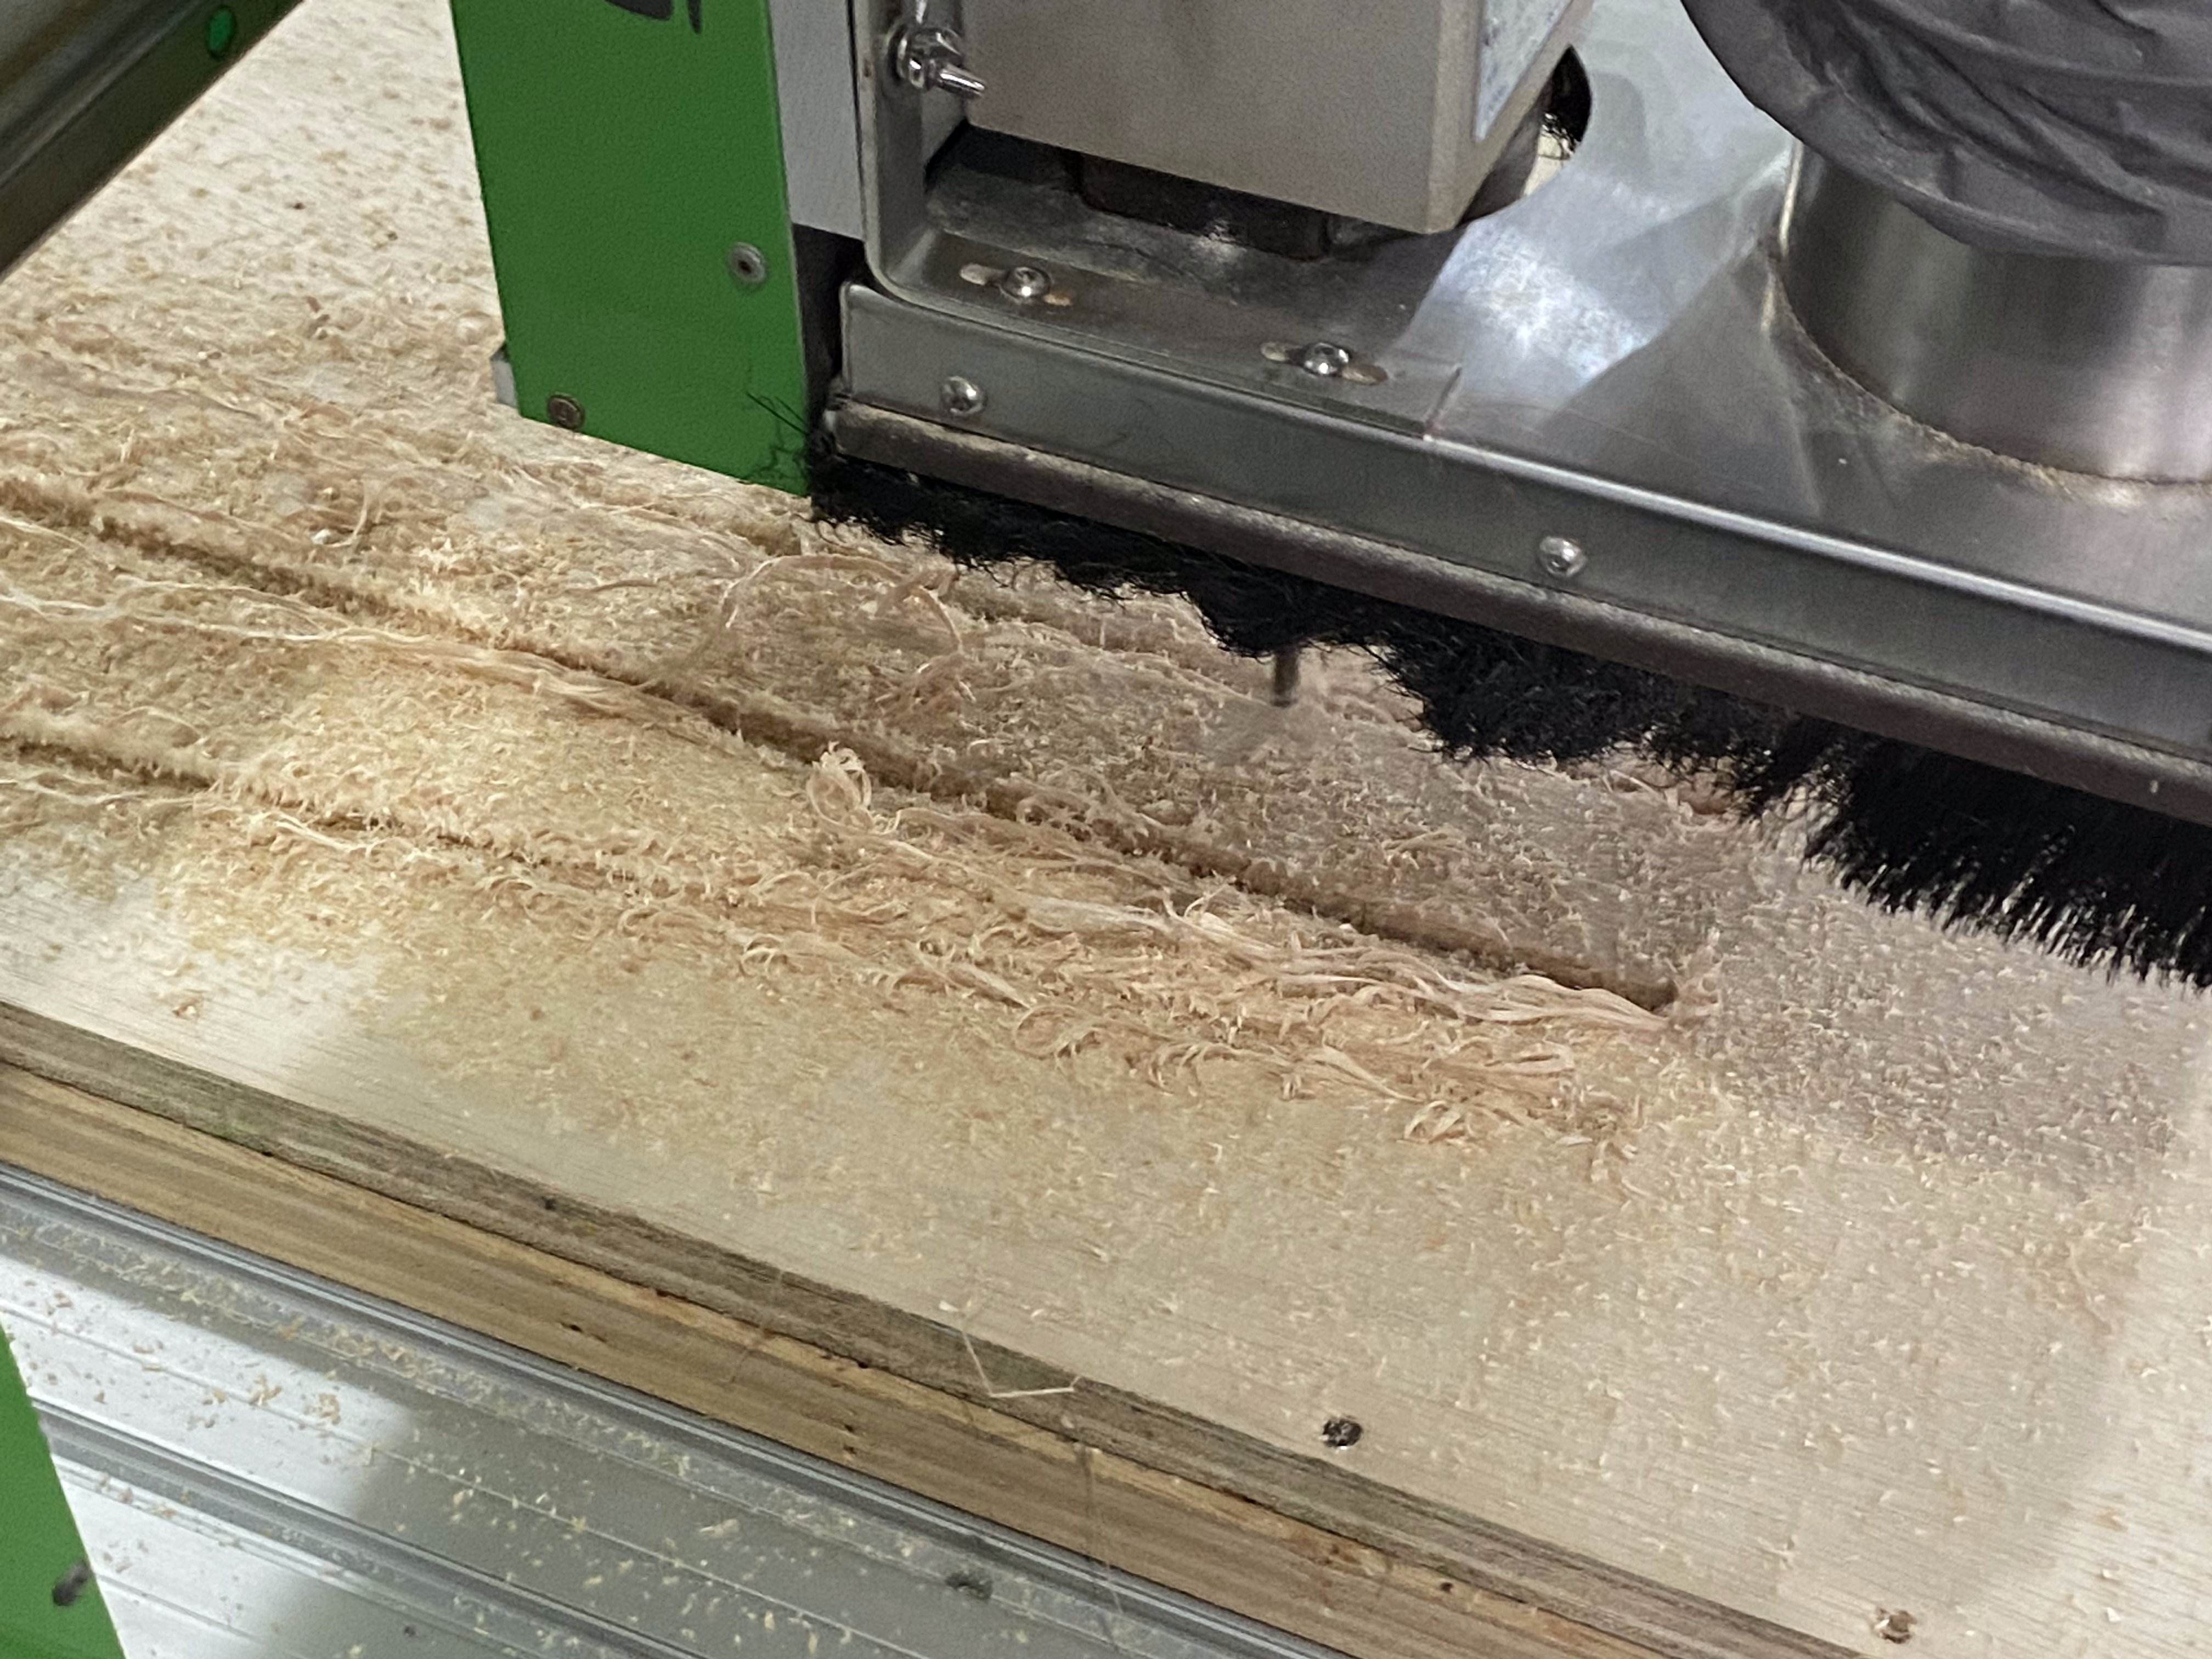
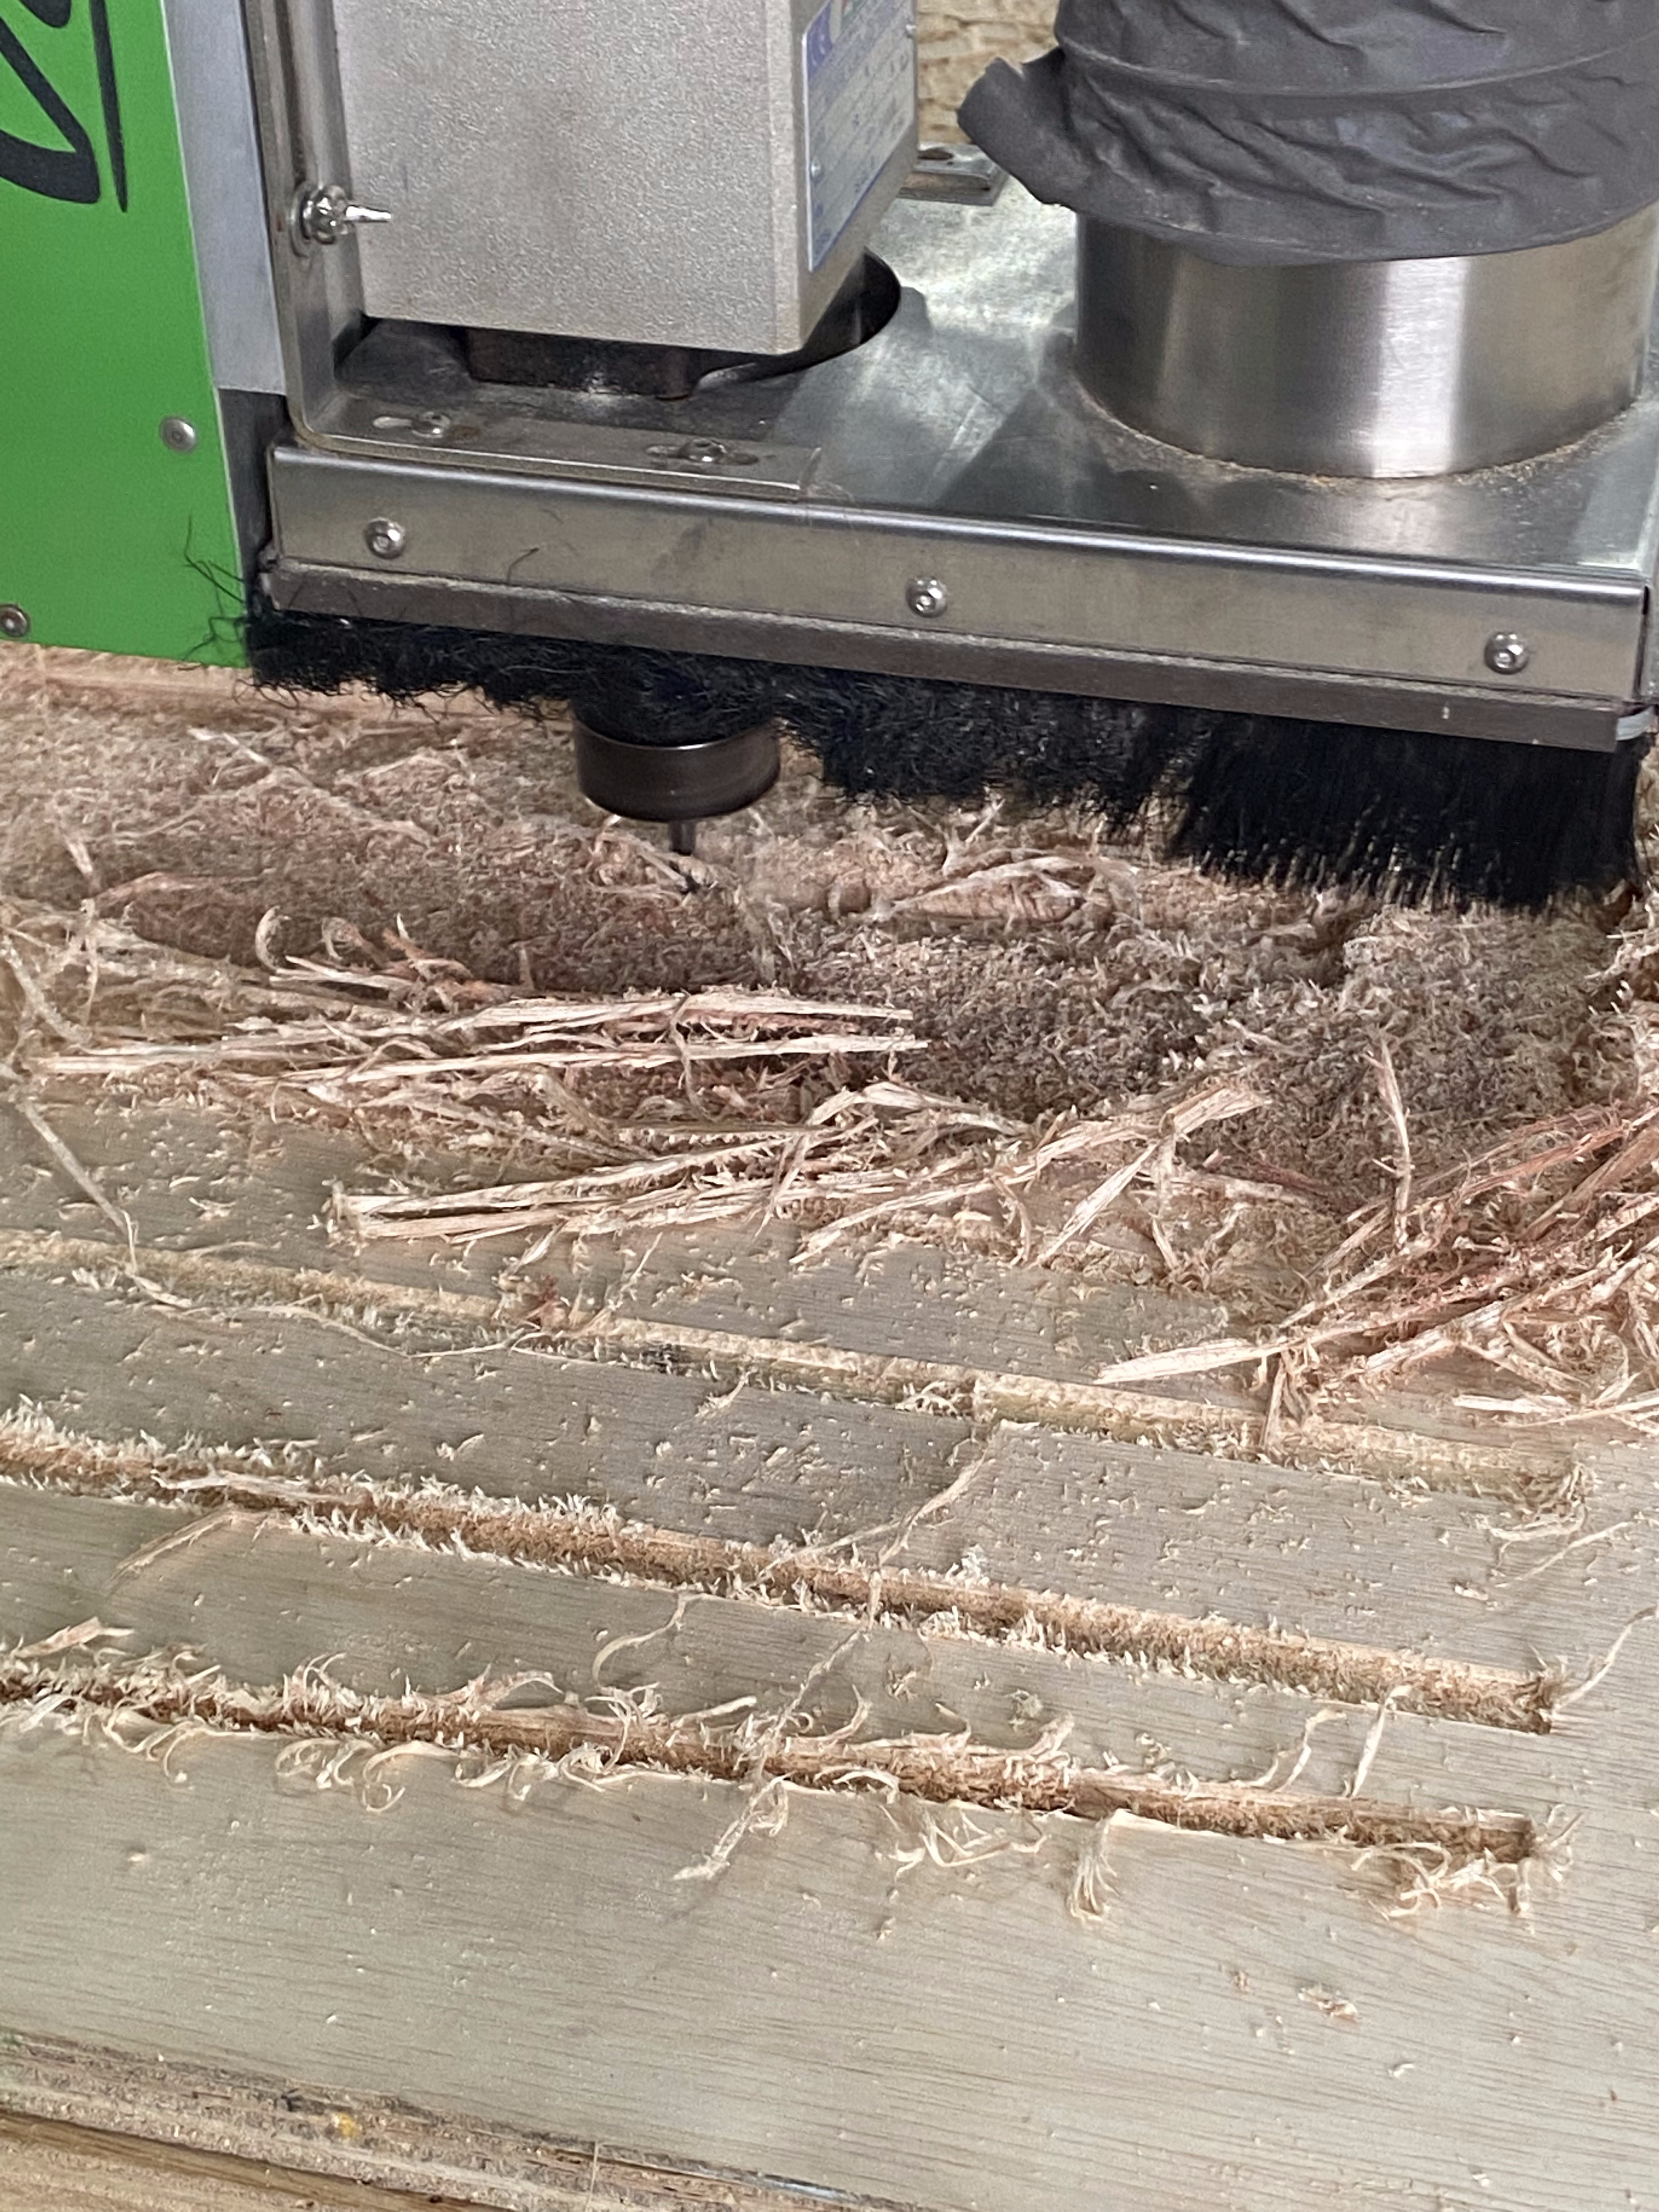
CNC cutting using a 6mm 2 flute flat endmill. But there was a lot of dust as the dust collector was not placed at the correct height.
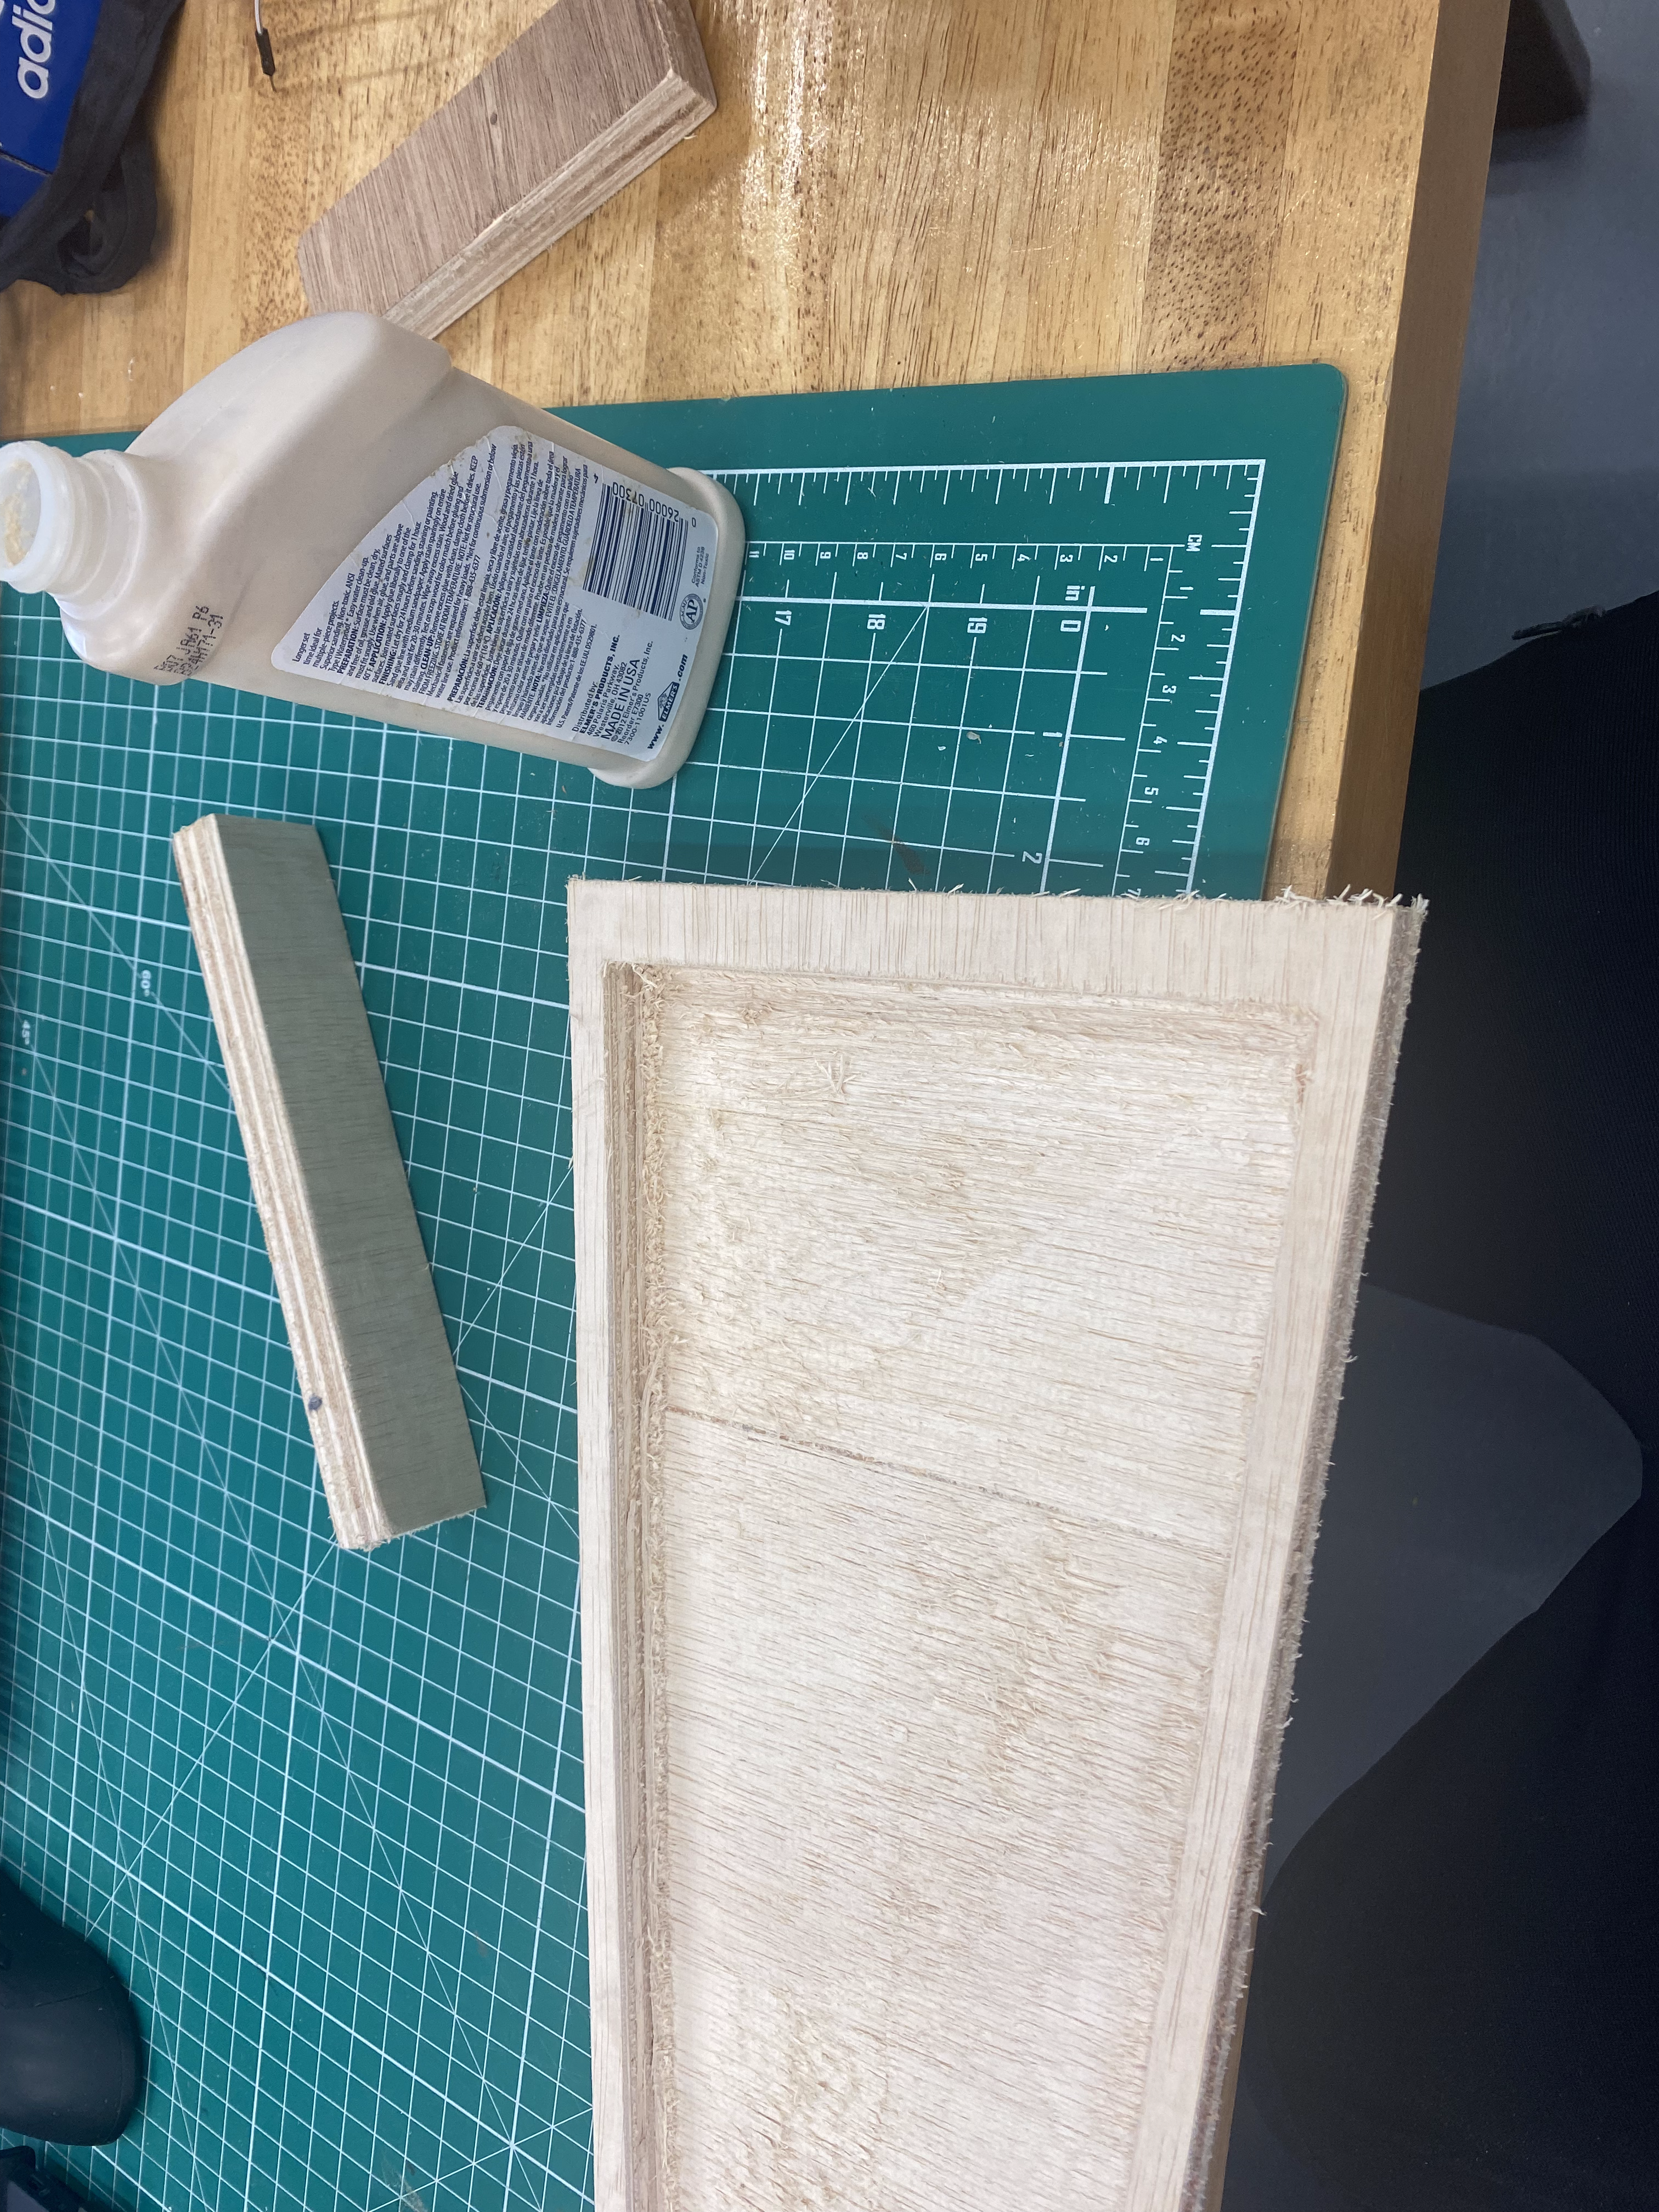
Finished cutting, then the edges were sand down and cleaned.
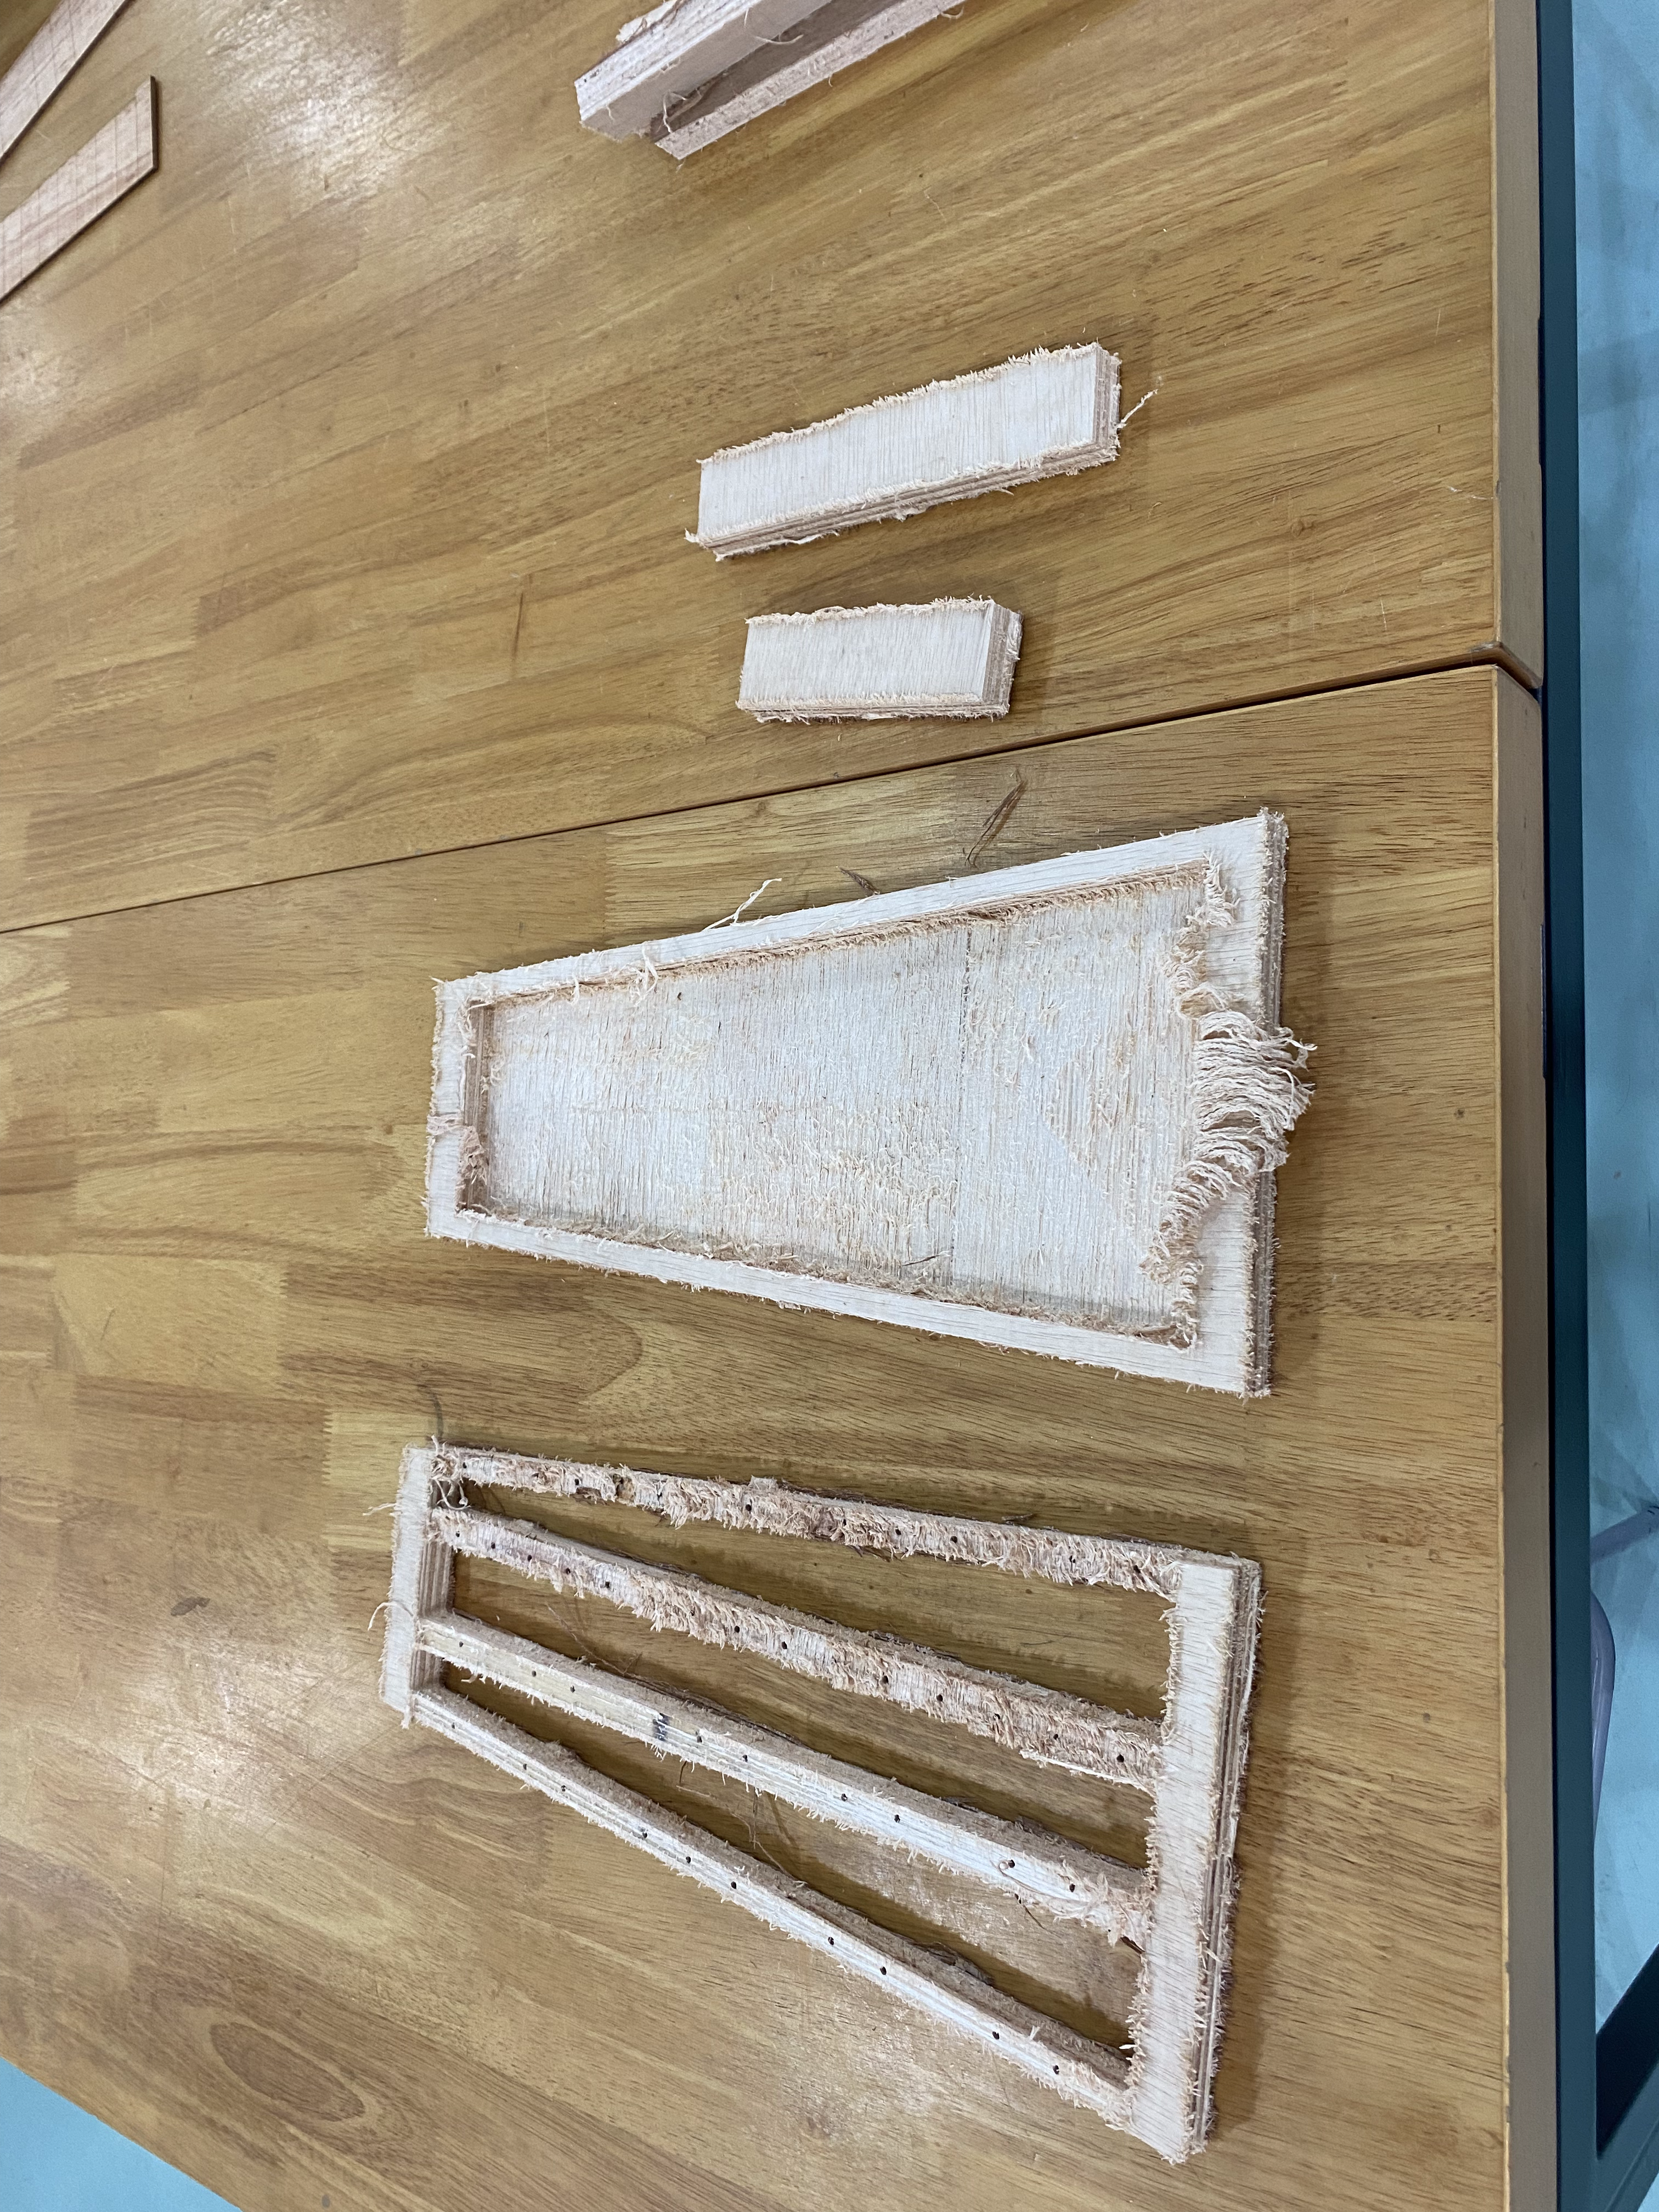
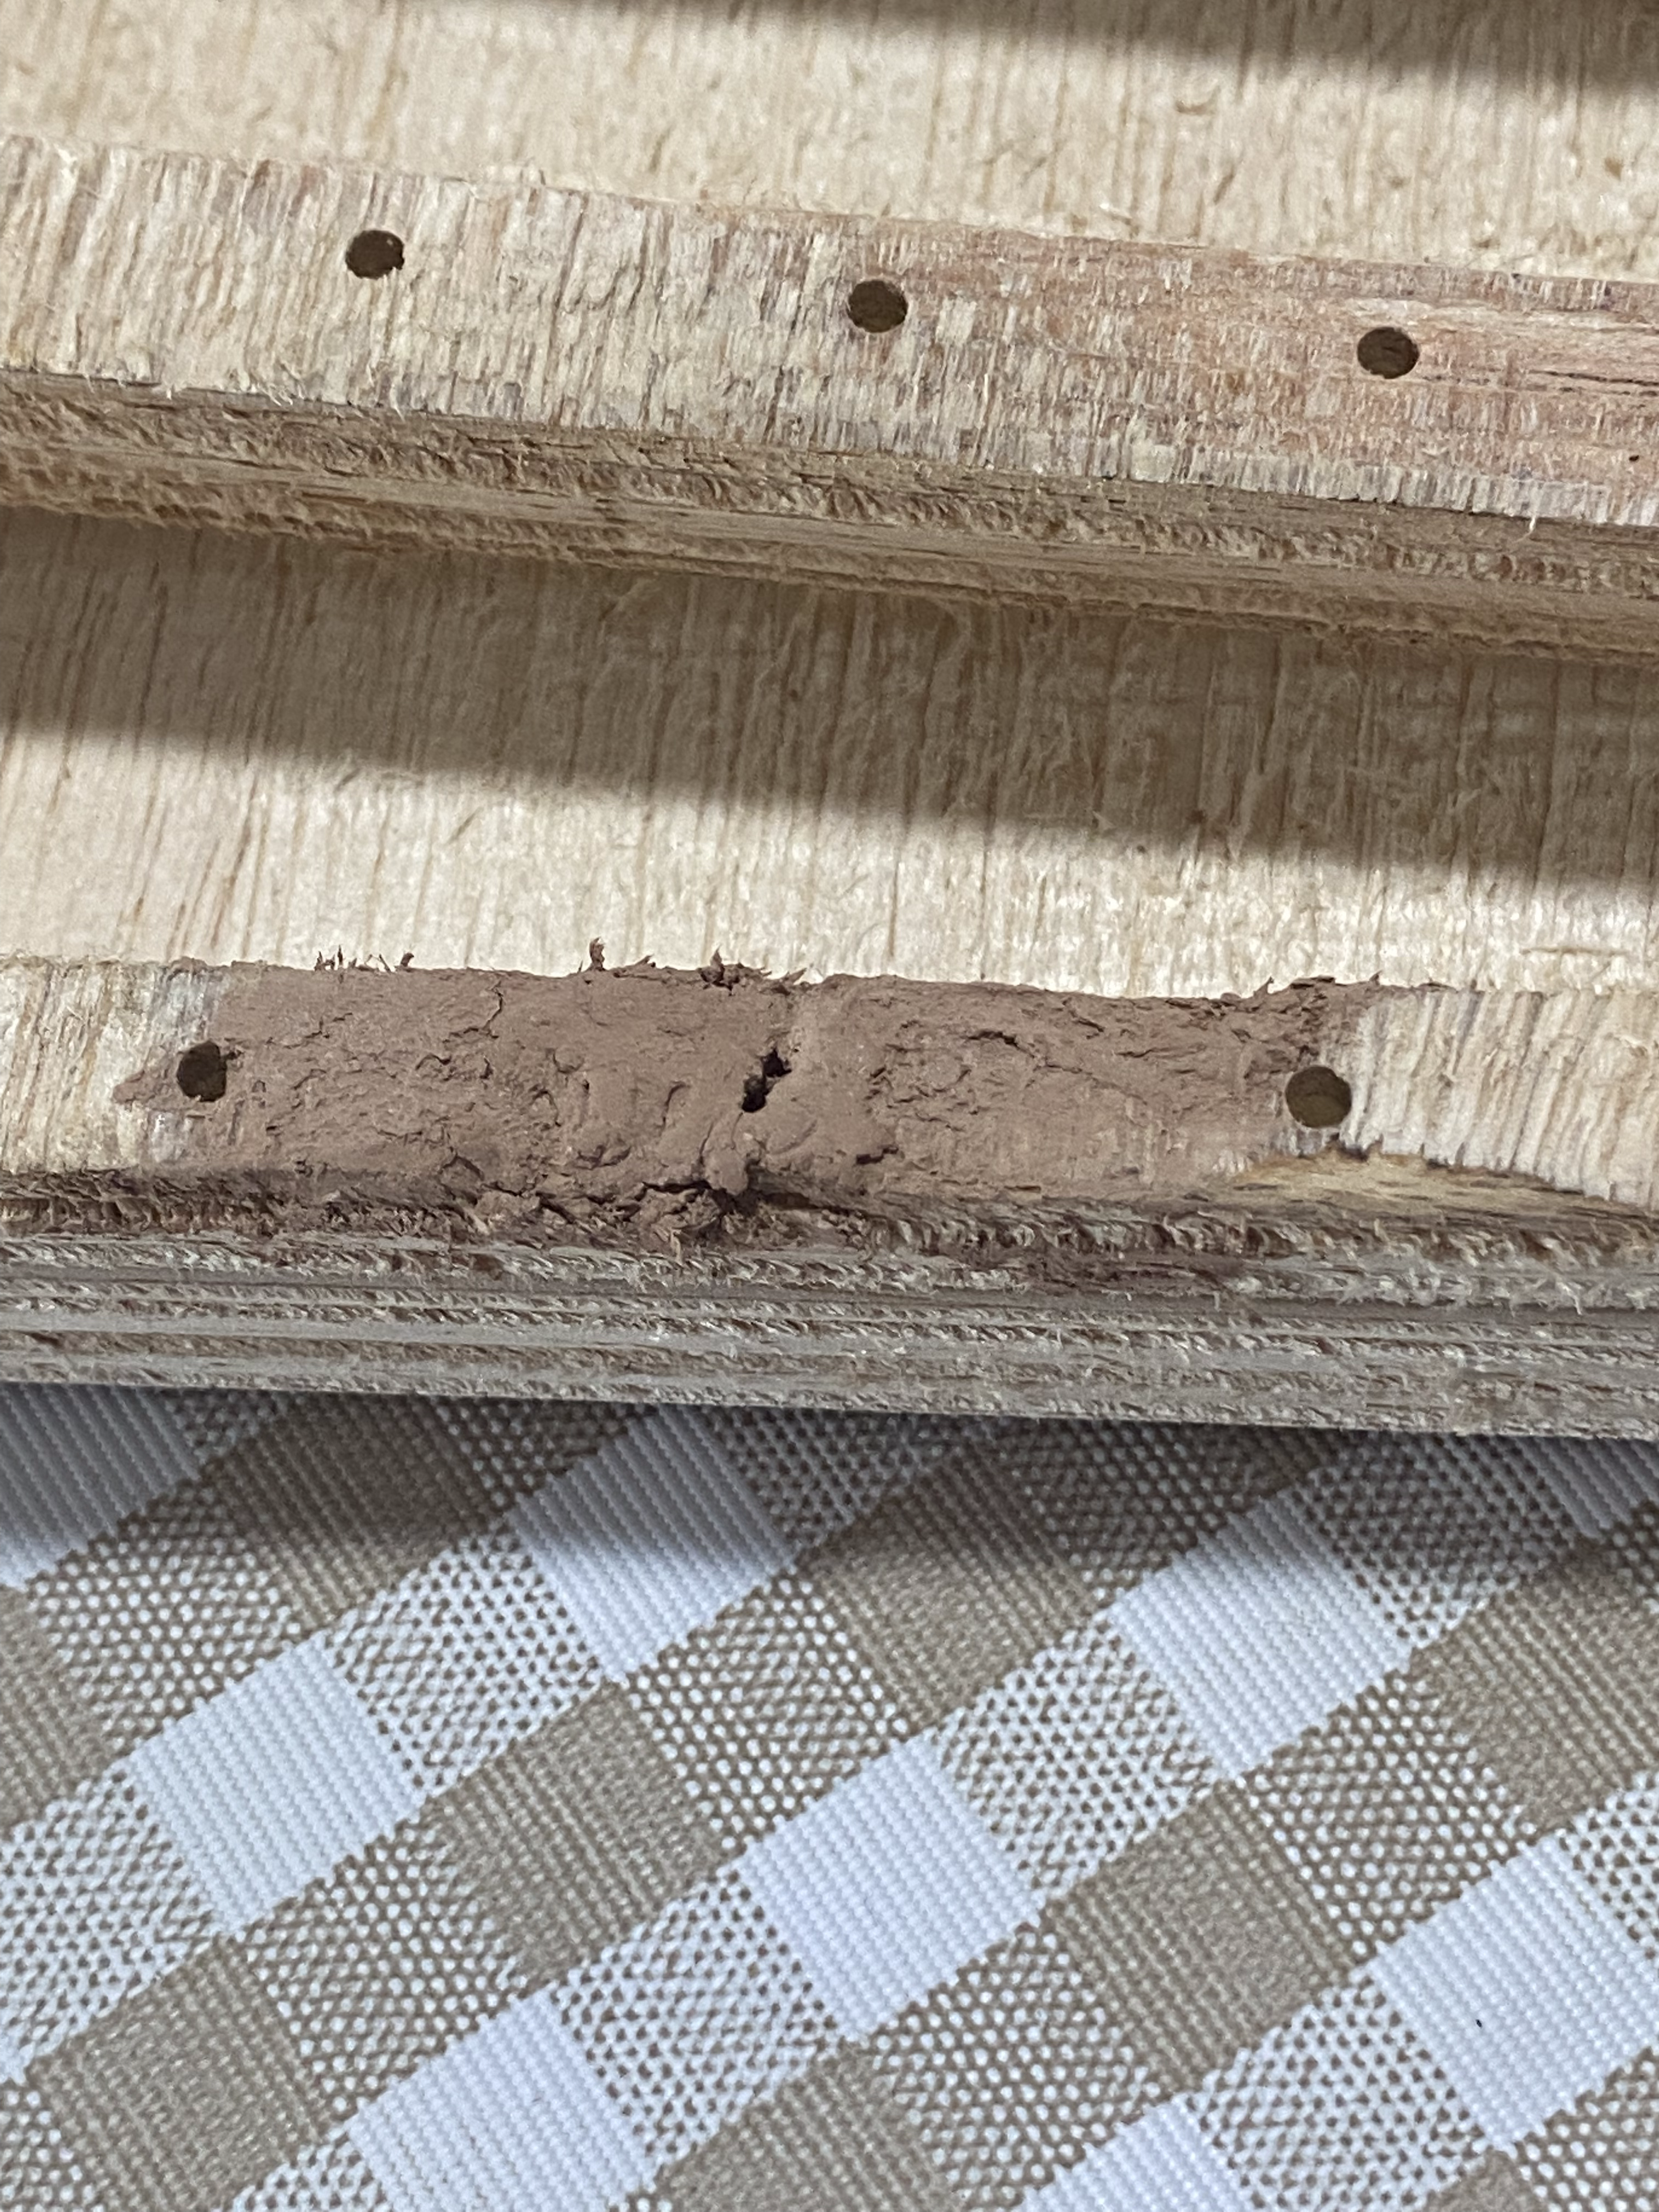
Due to a irregular depth cut in the pocketing face, which did not coincide with the layering of the plywood, thus some wood on certain portion of the piece were stripped.
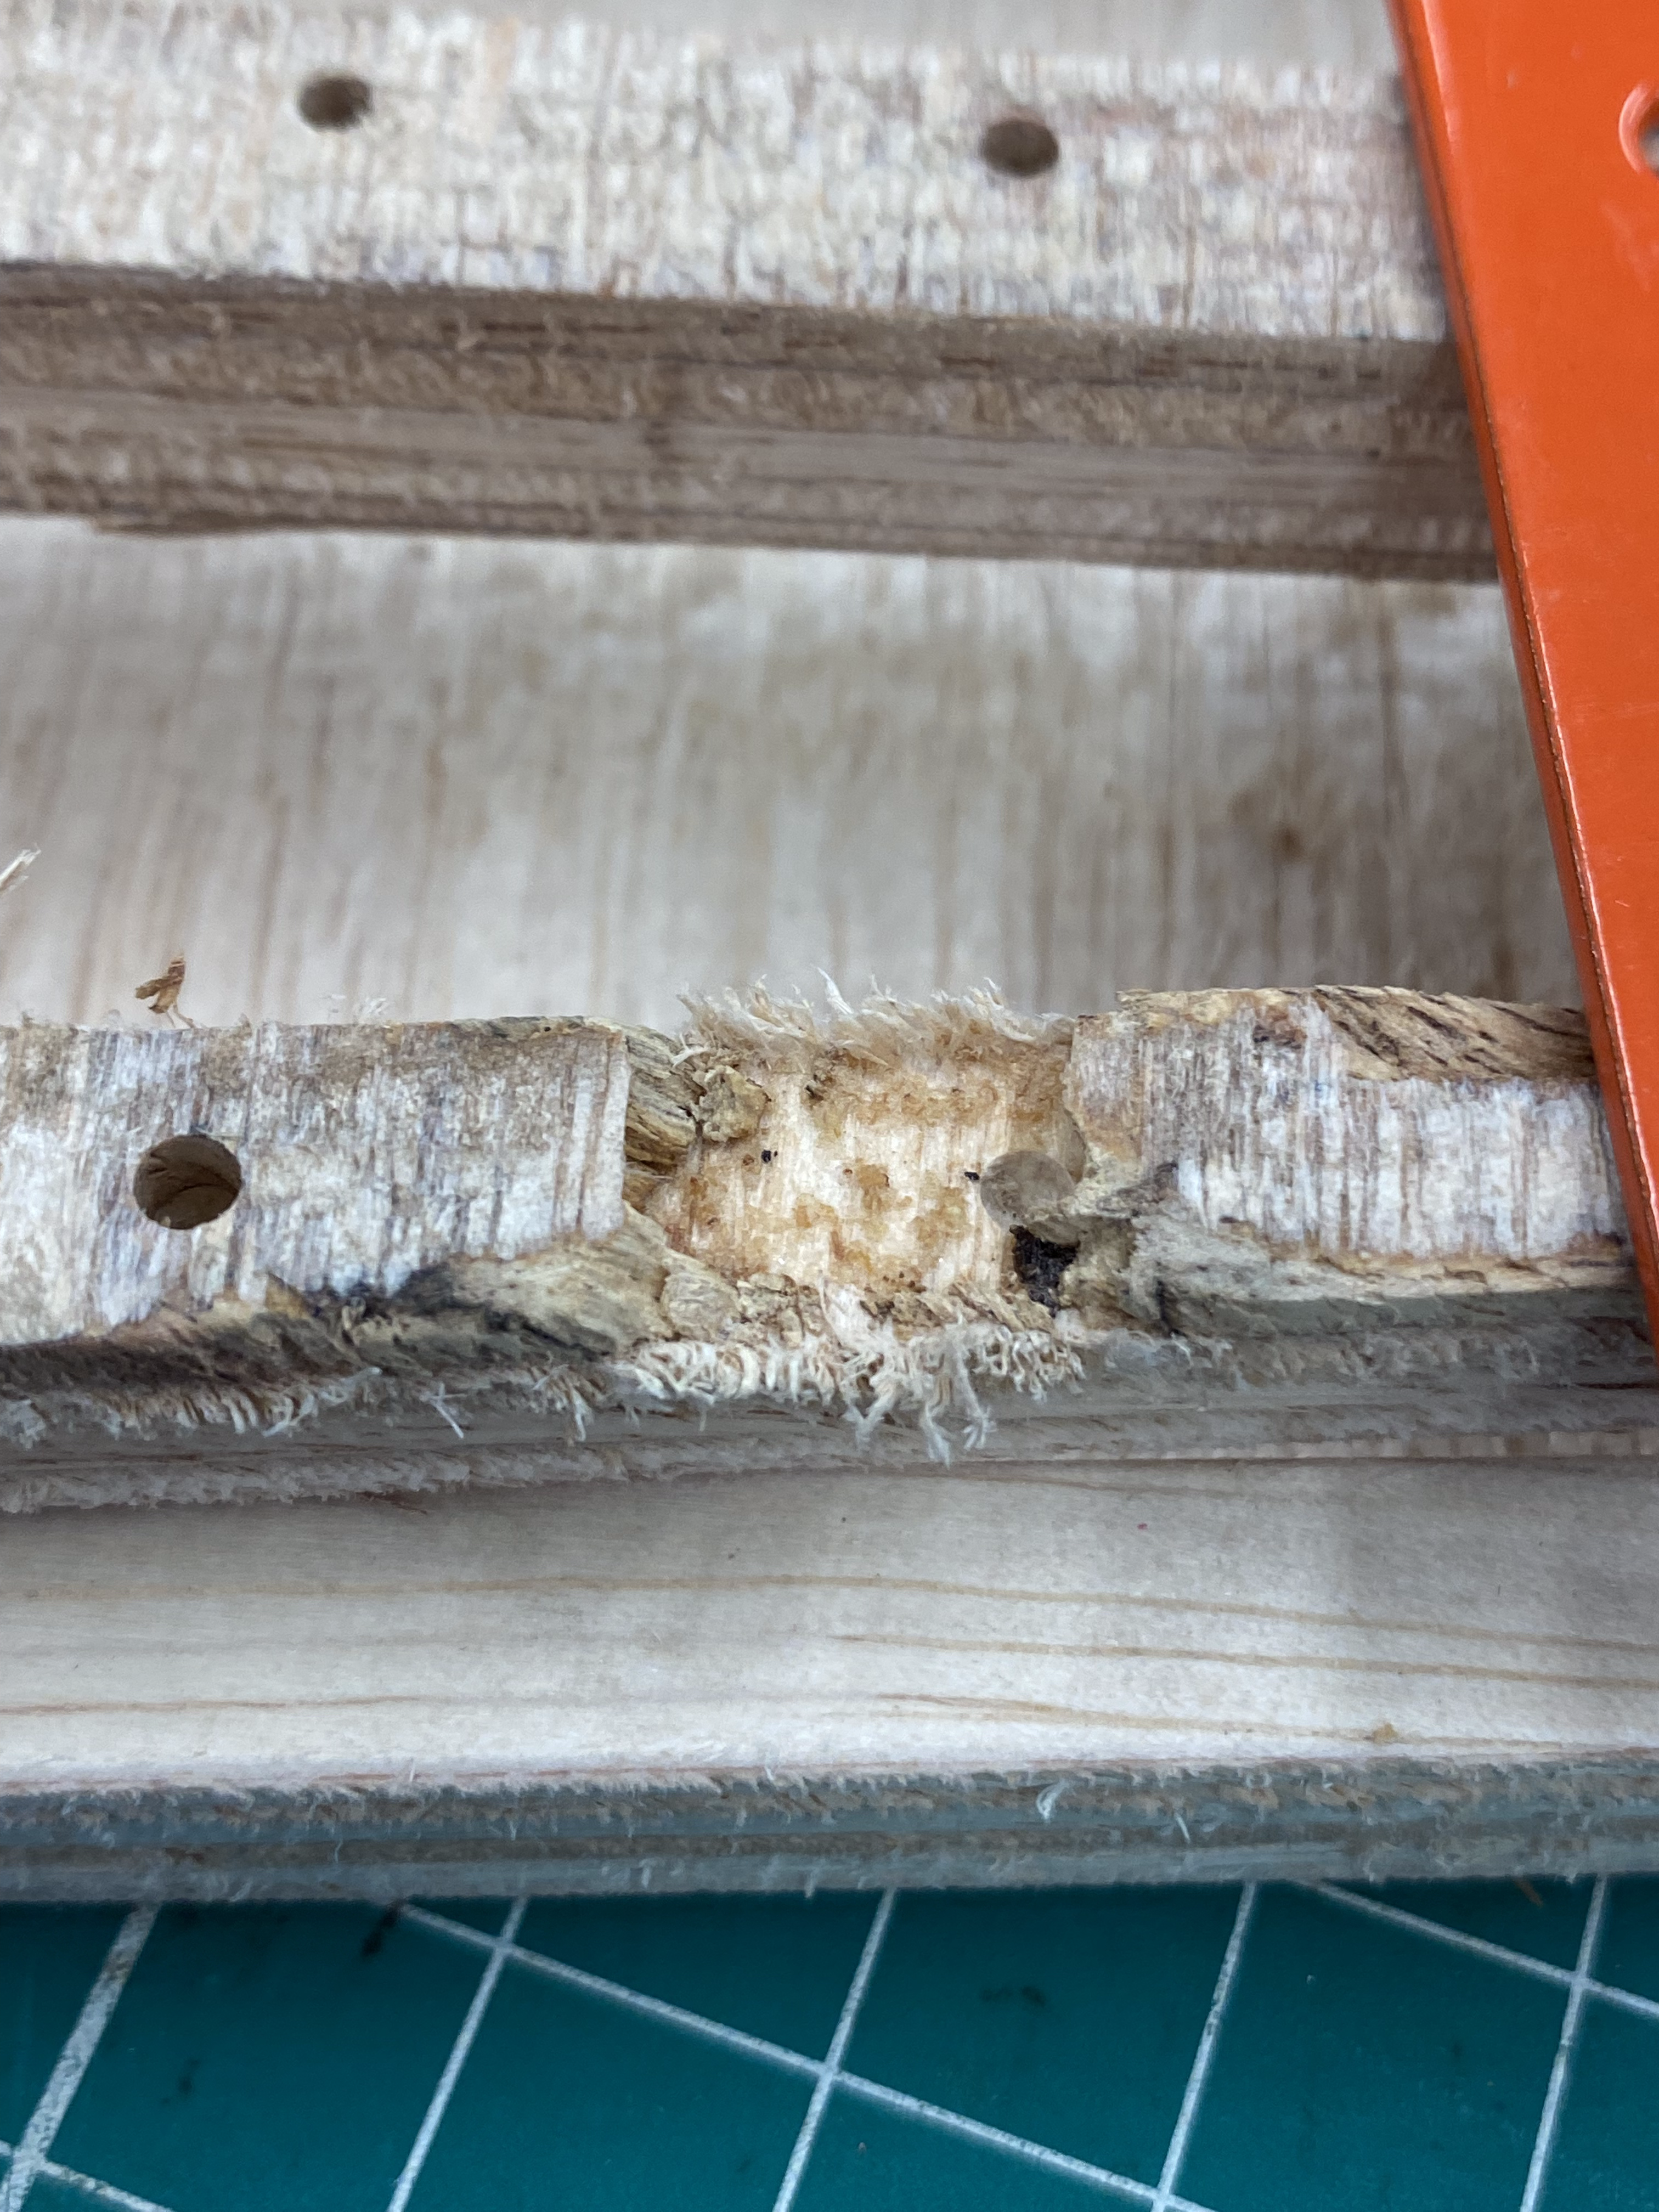
To remedy this, I had used wood putty to fill out the slots in the frame.
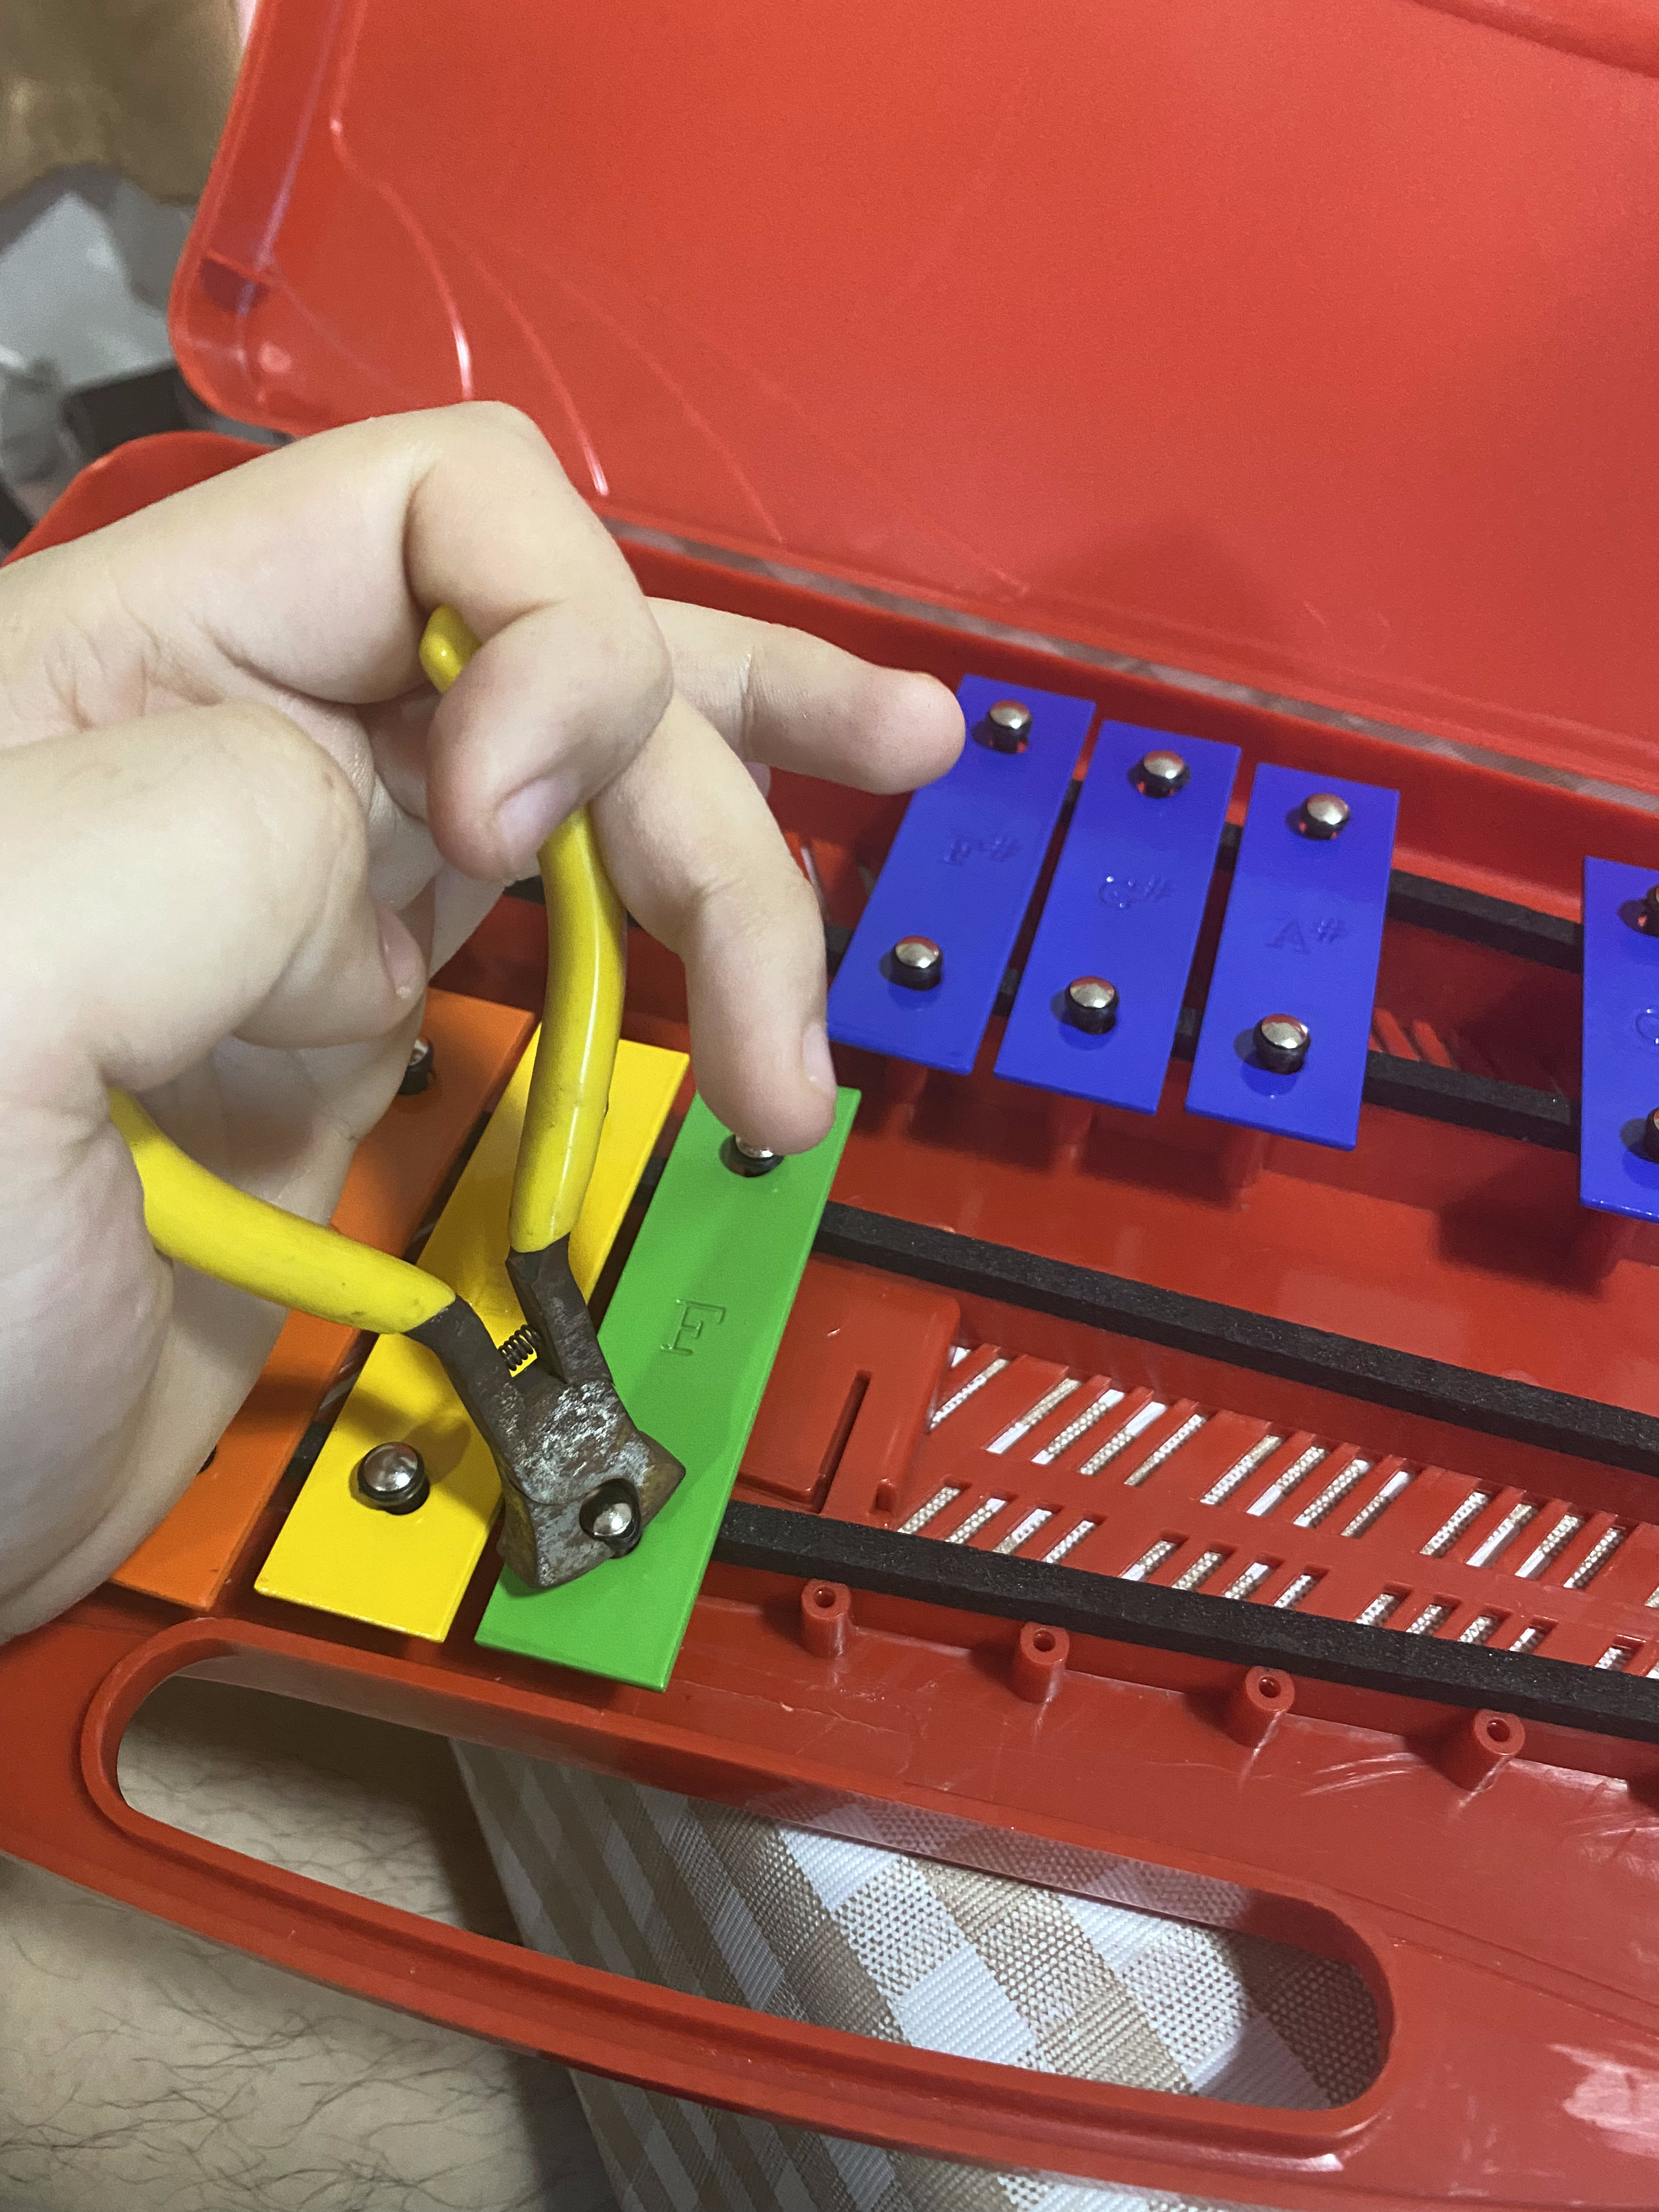
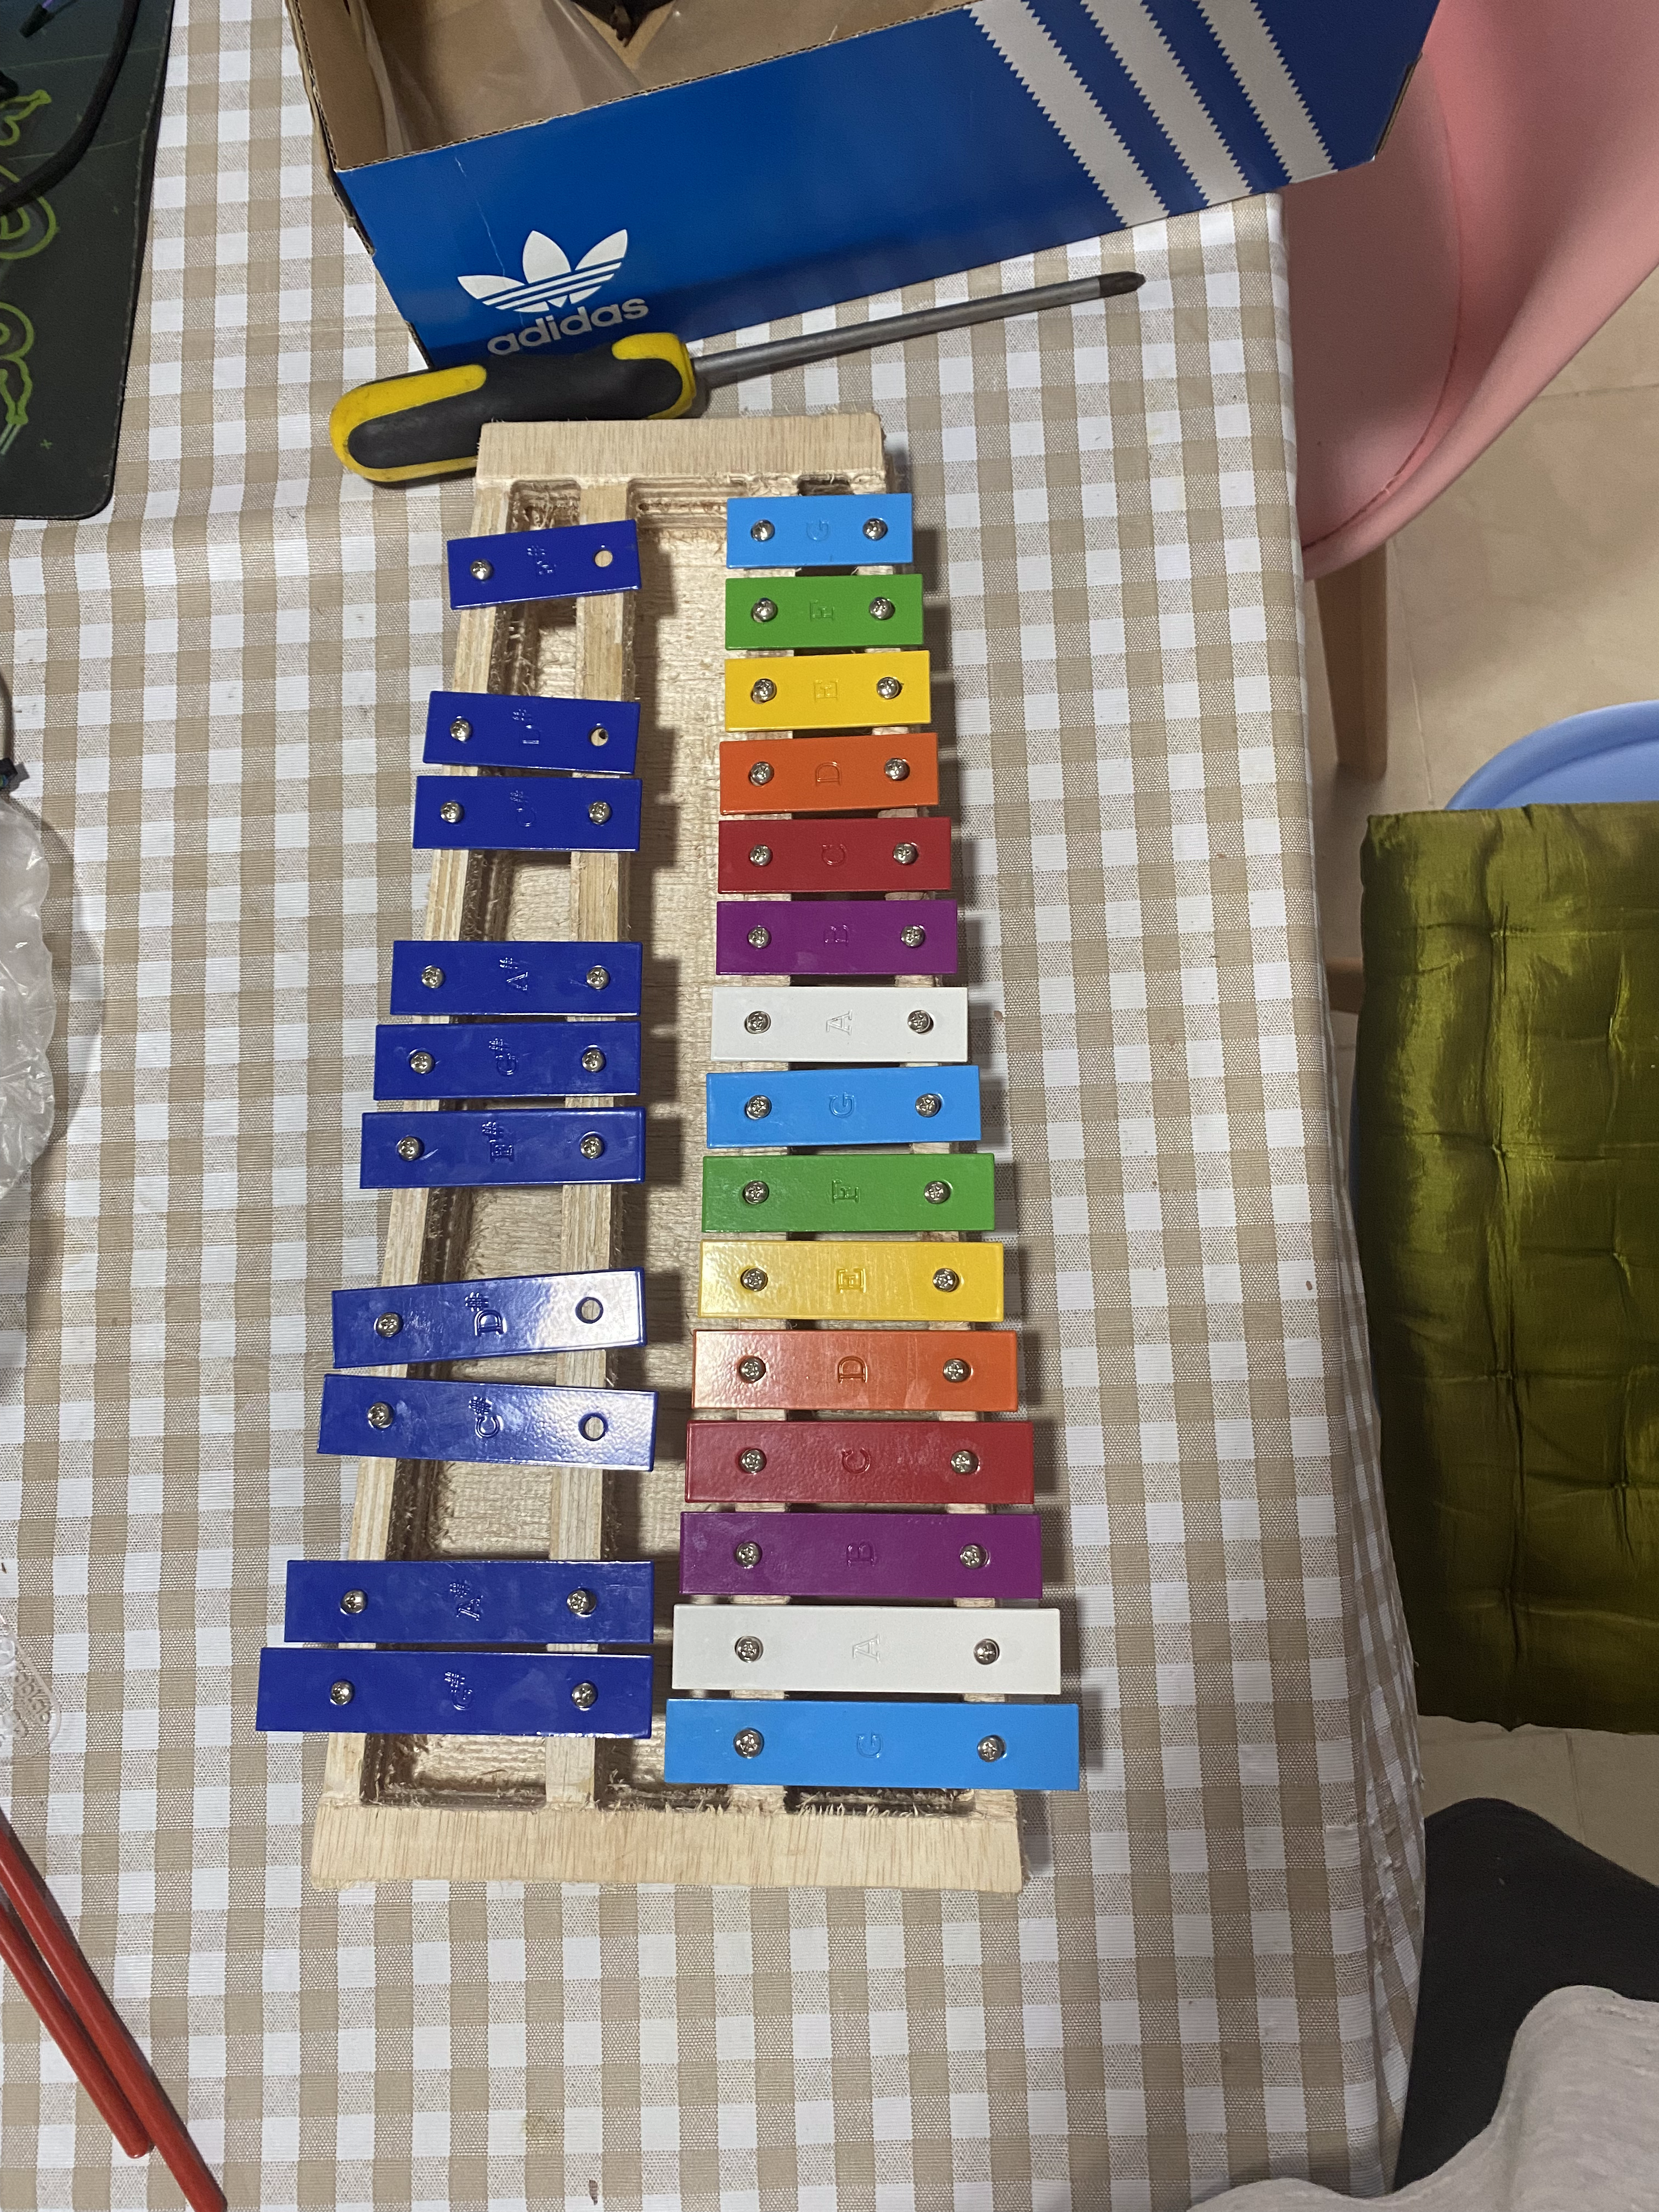
Removing the plates from the original Xylophone casing using a pair of pliers:
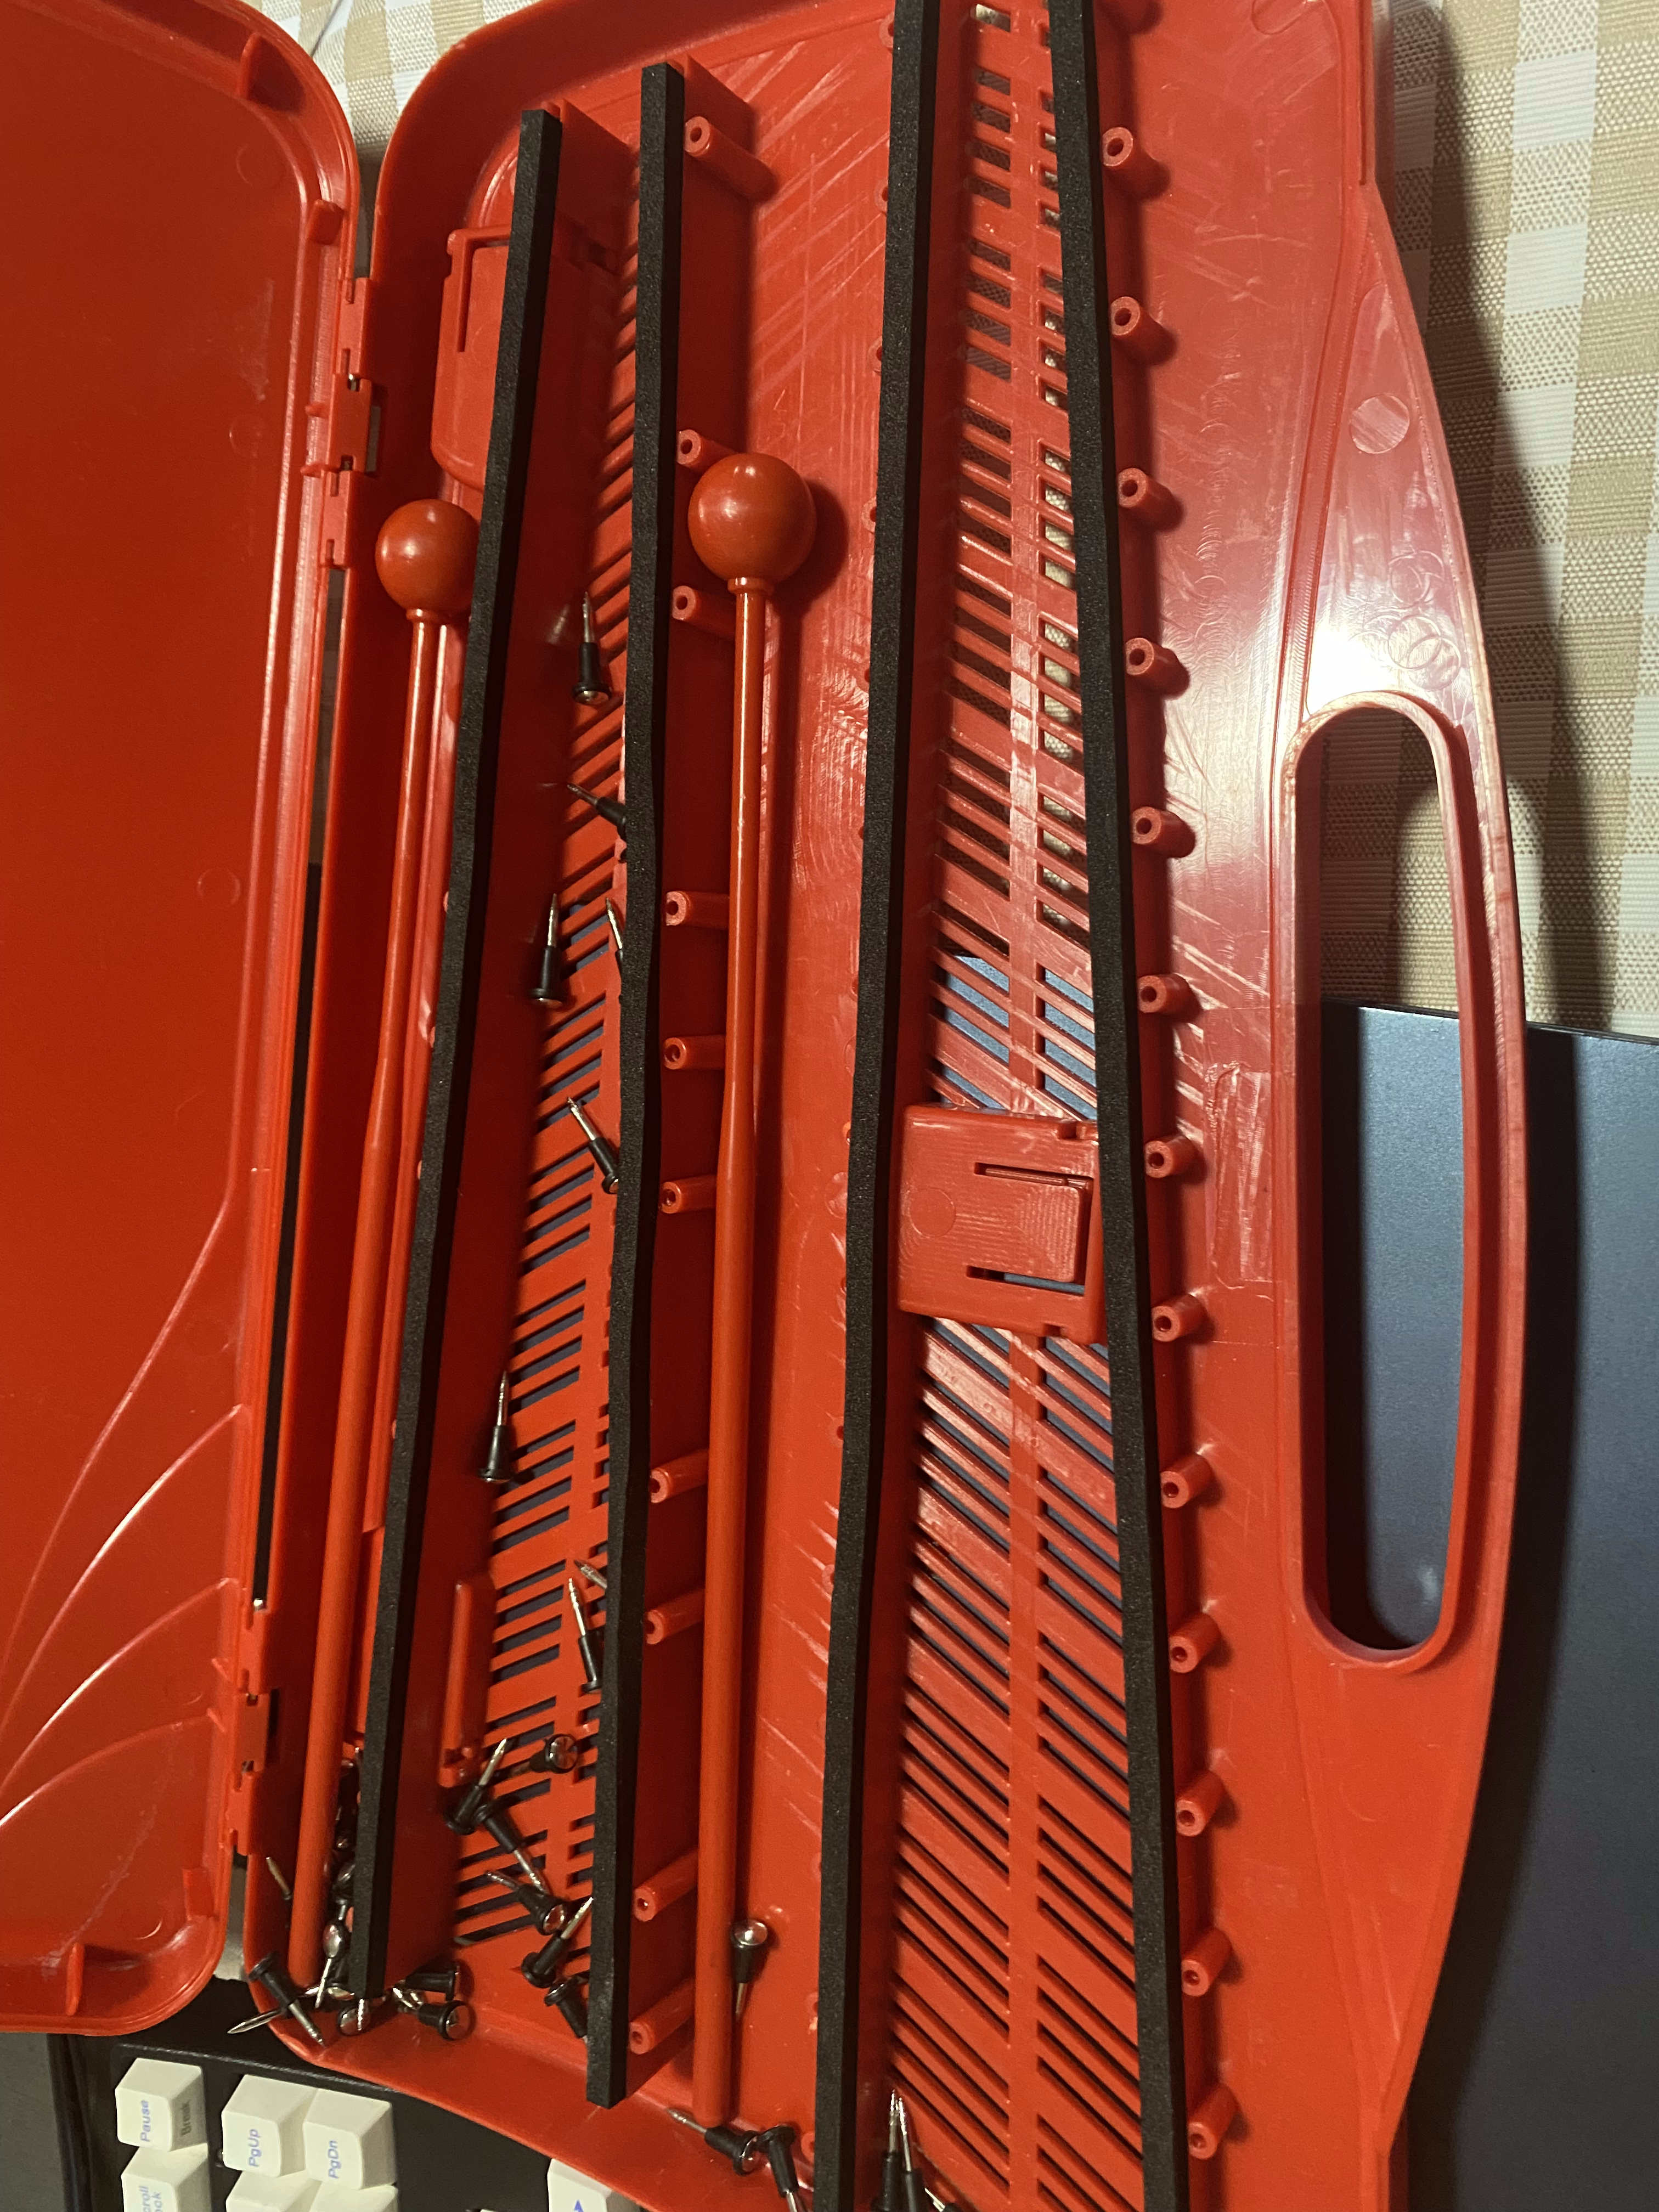
Empty old shell:
Using M3 self tapping screws, I fixed the plates of the Xylophone onto the new frame.
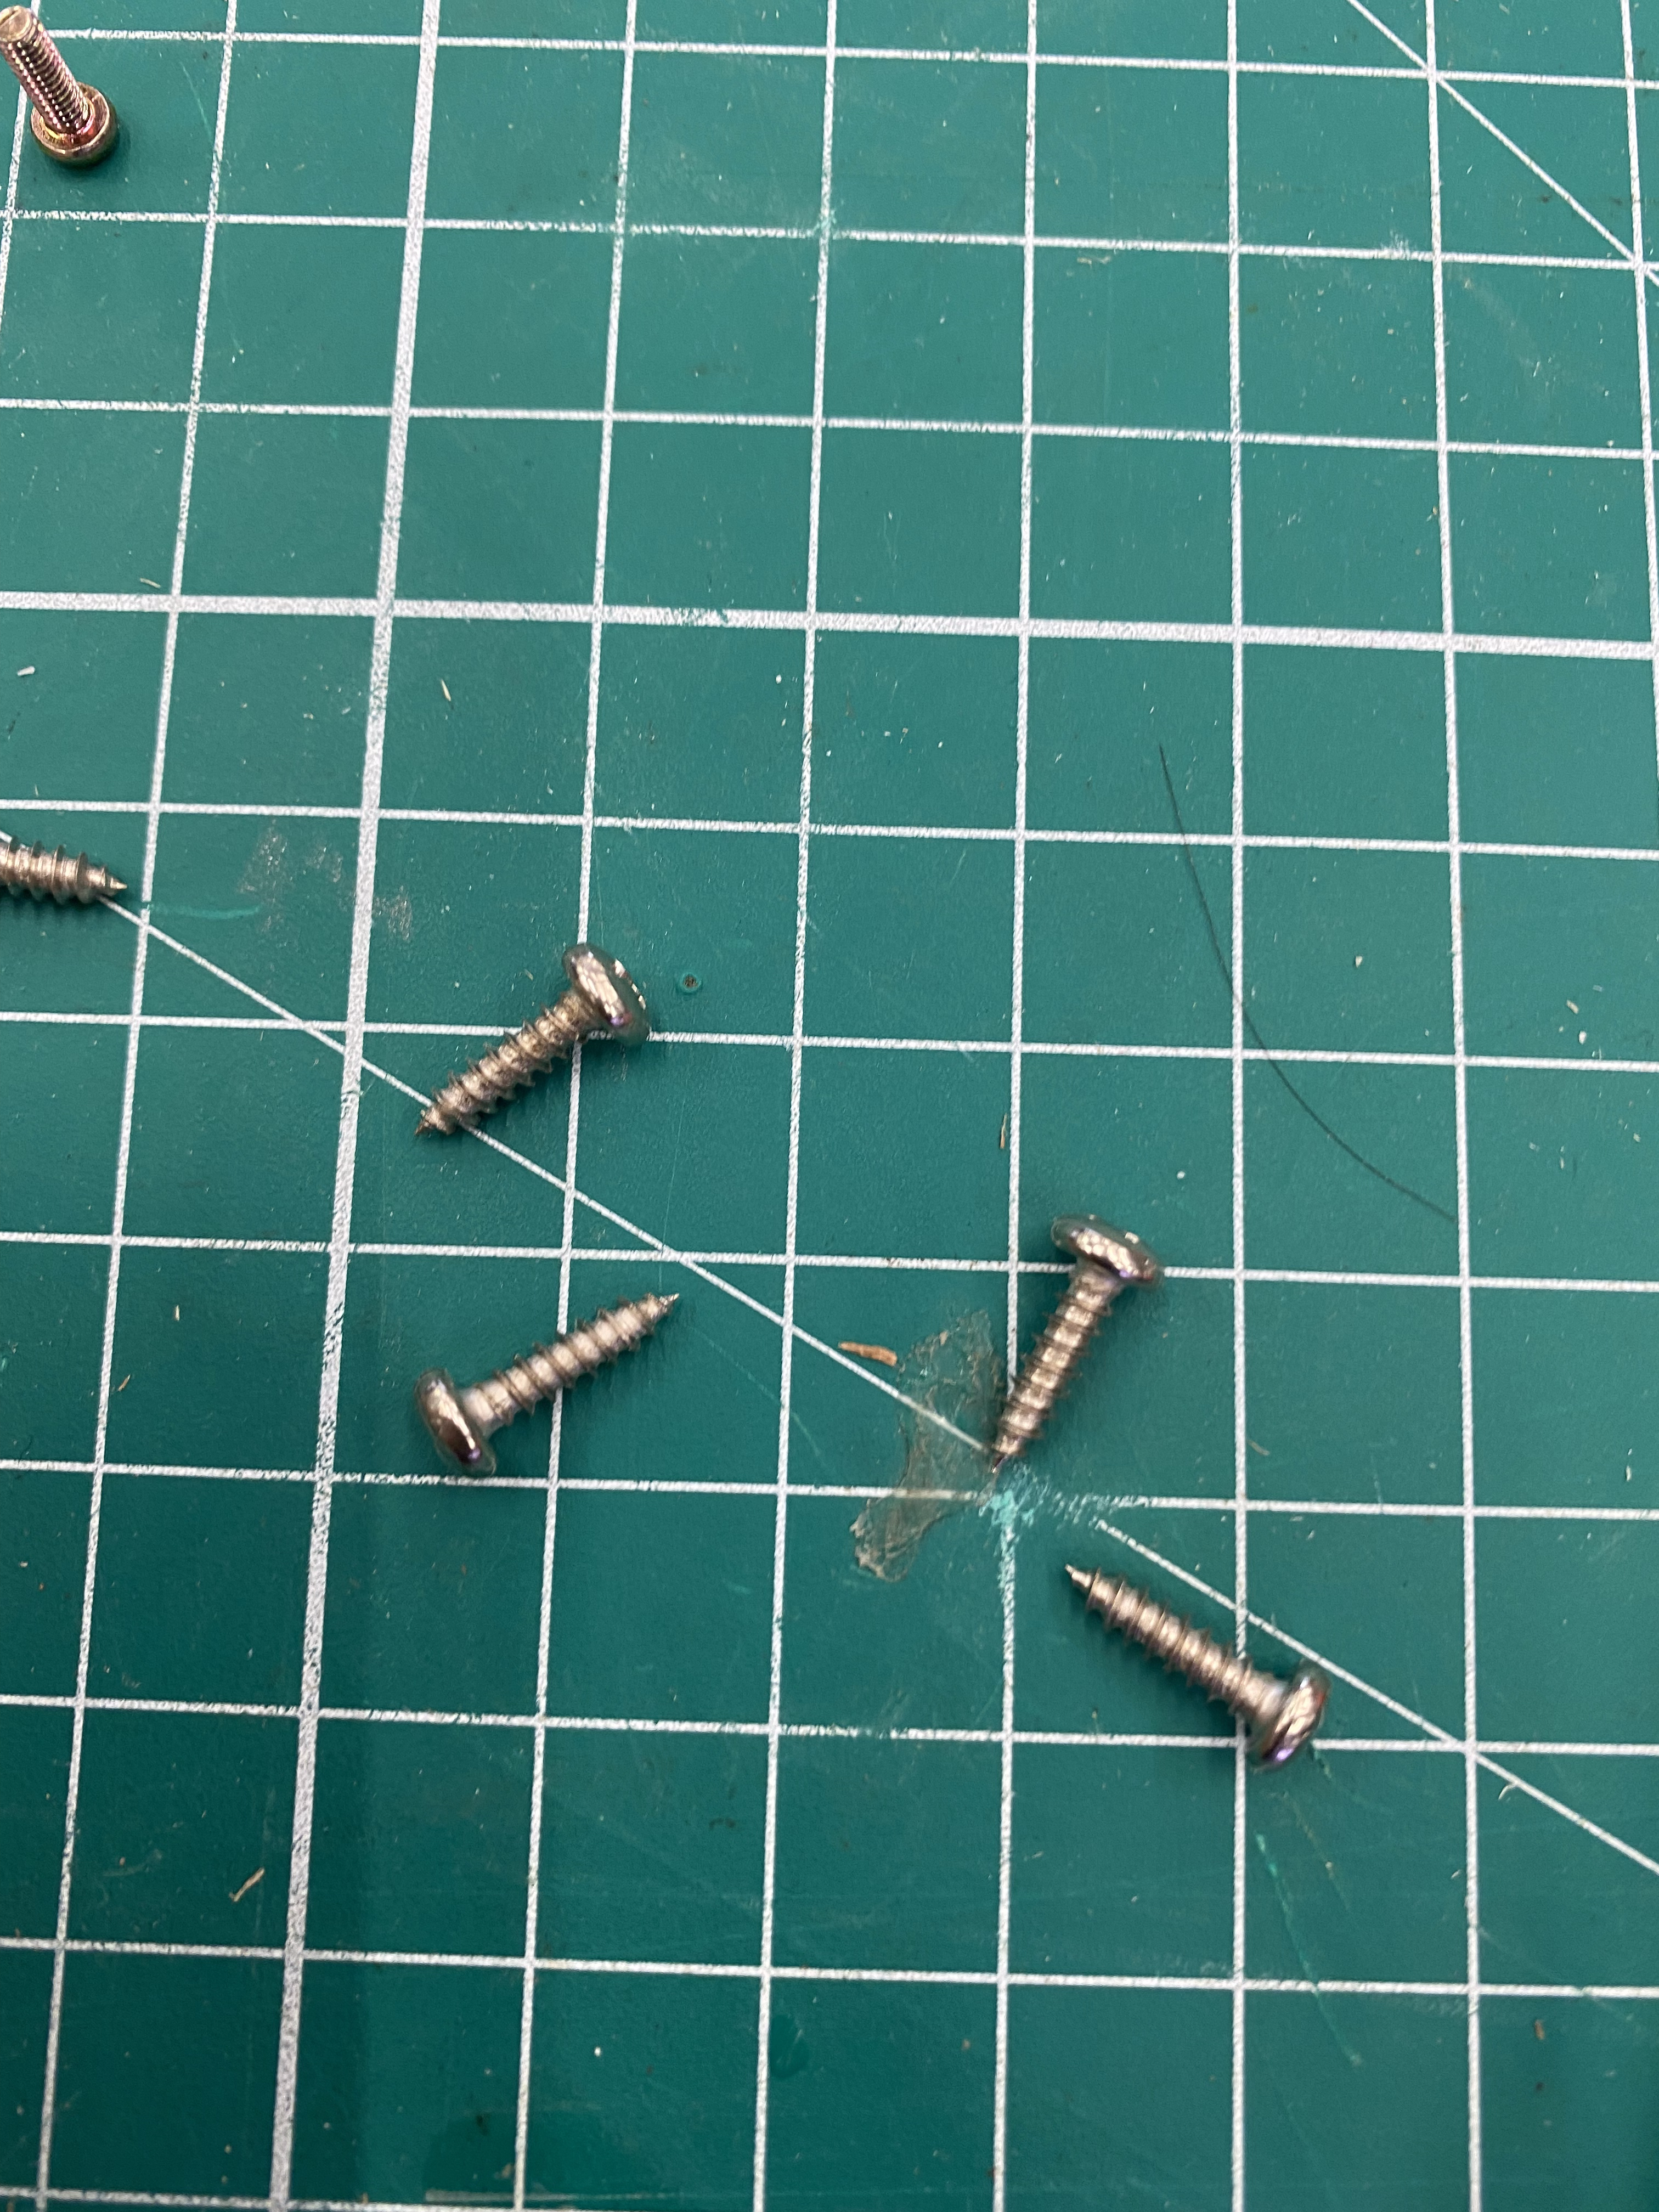
And using a Philips head screwdriver to scerw in.
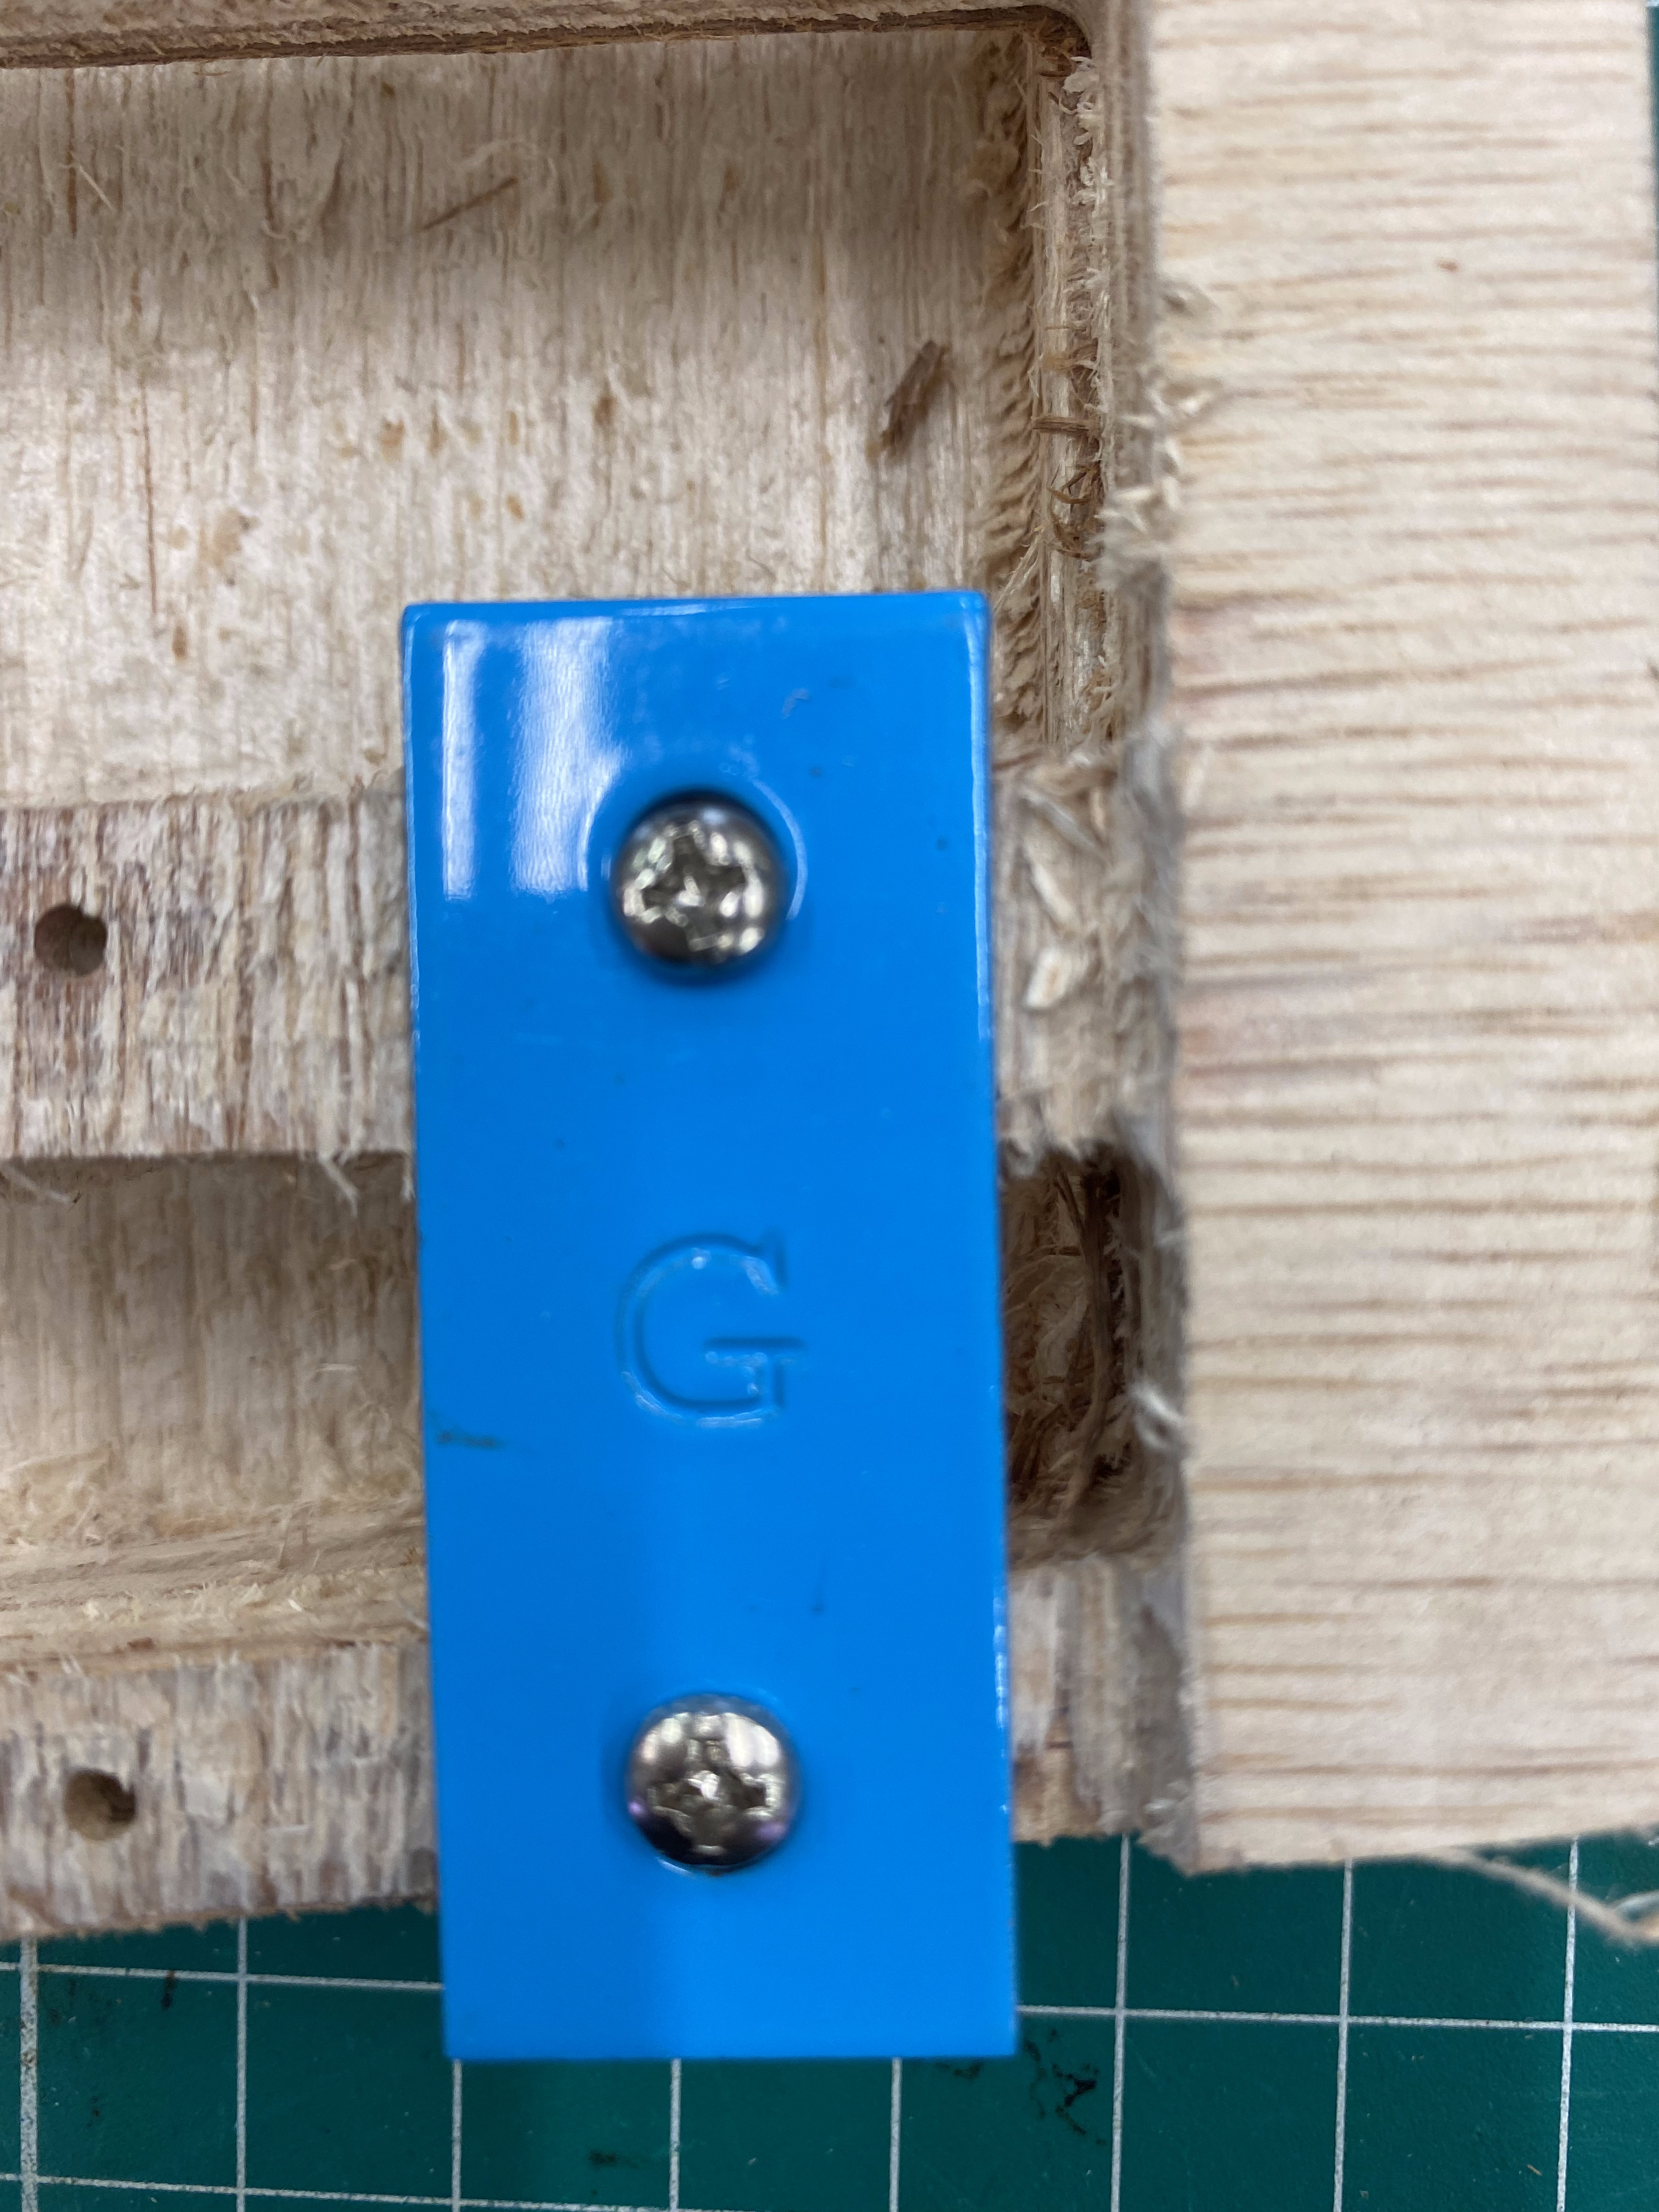
All the plates mounted:
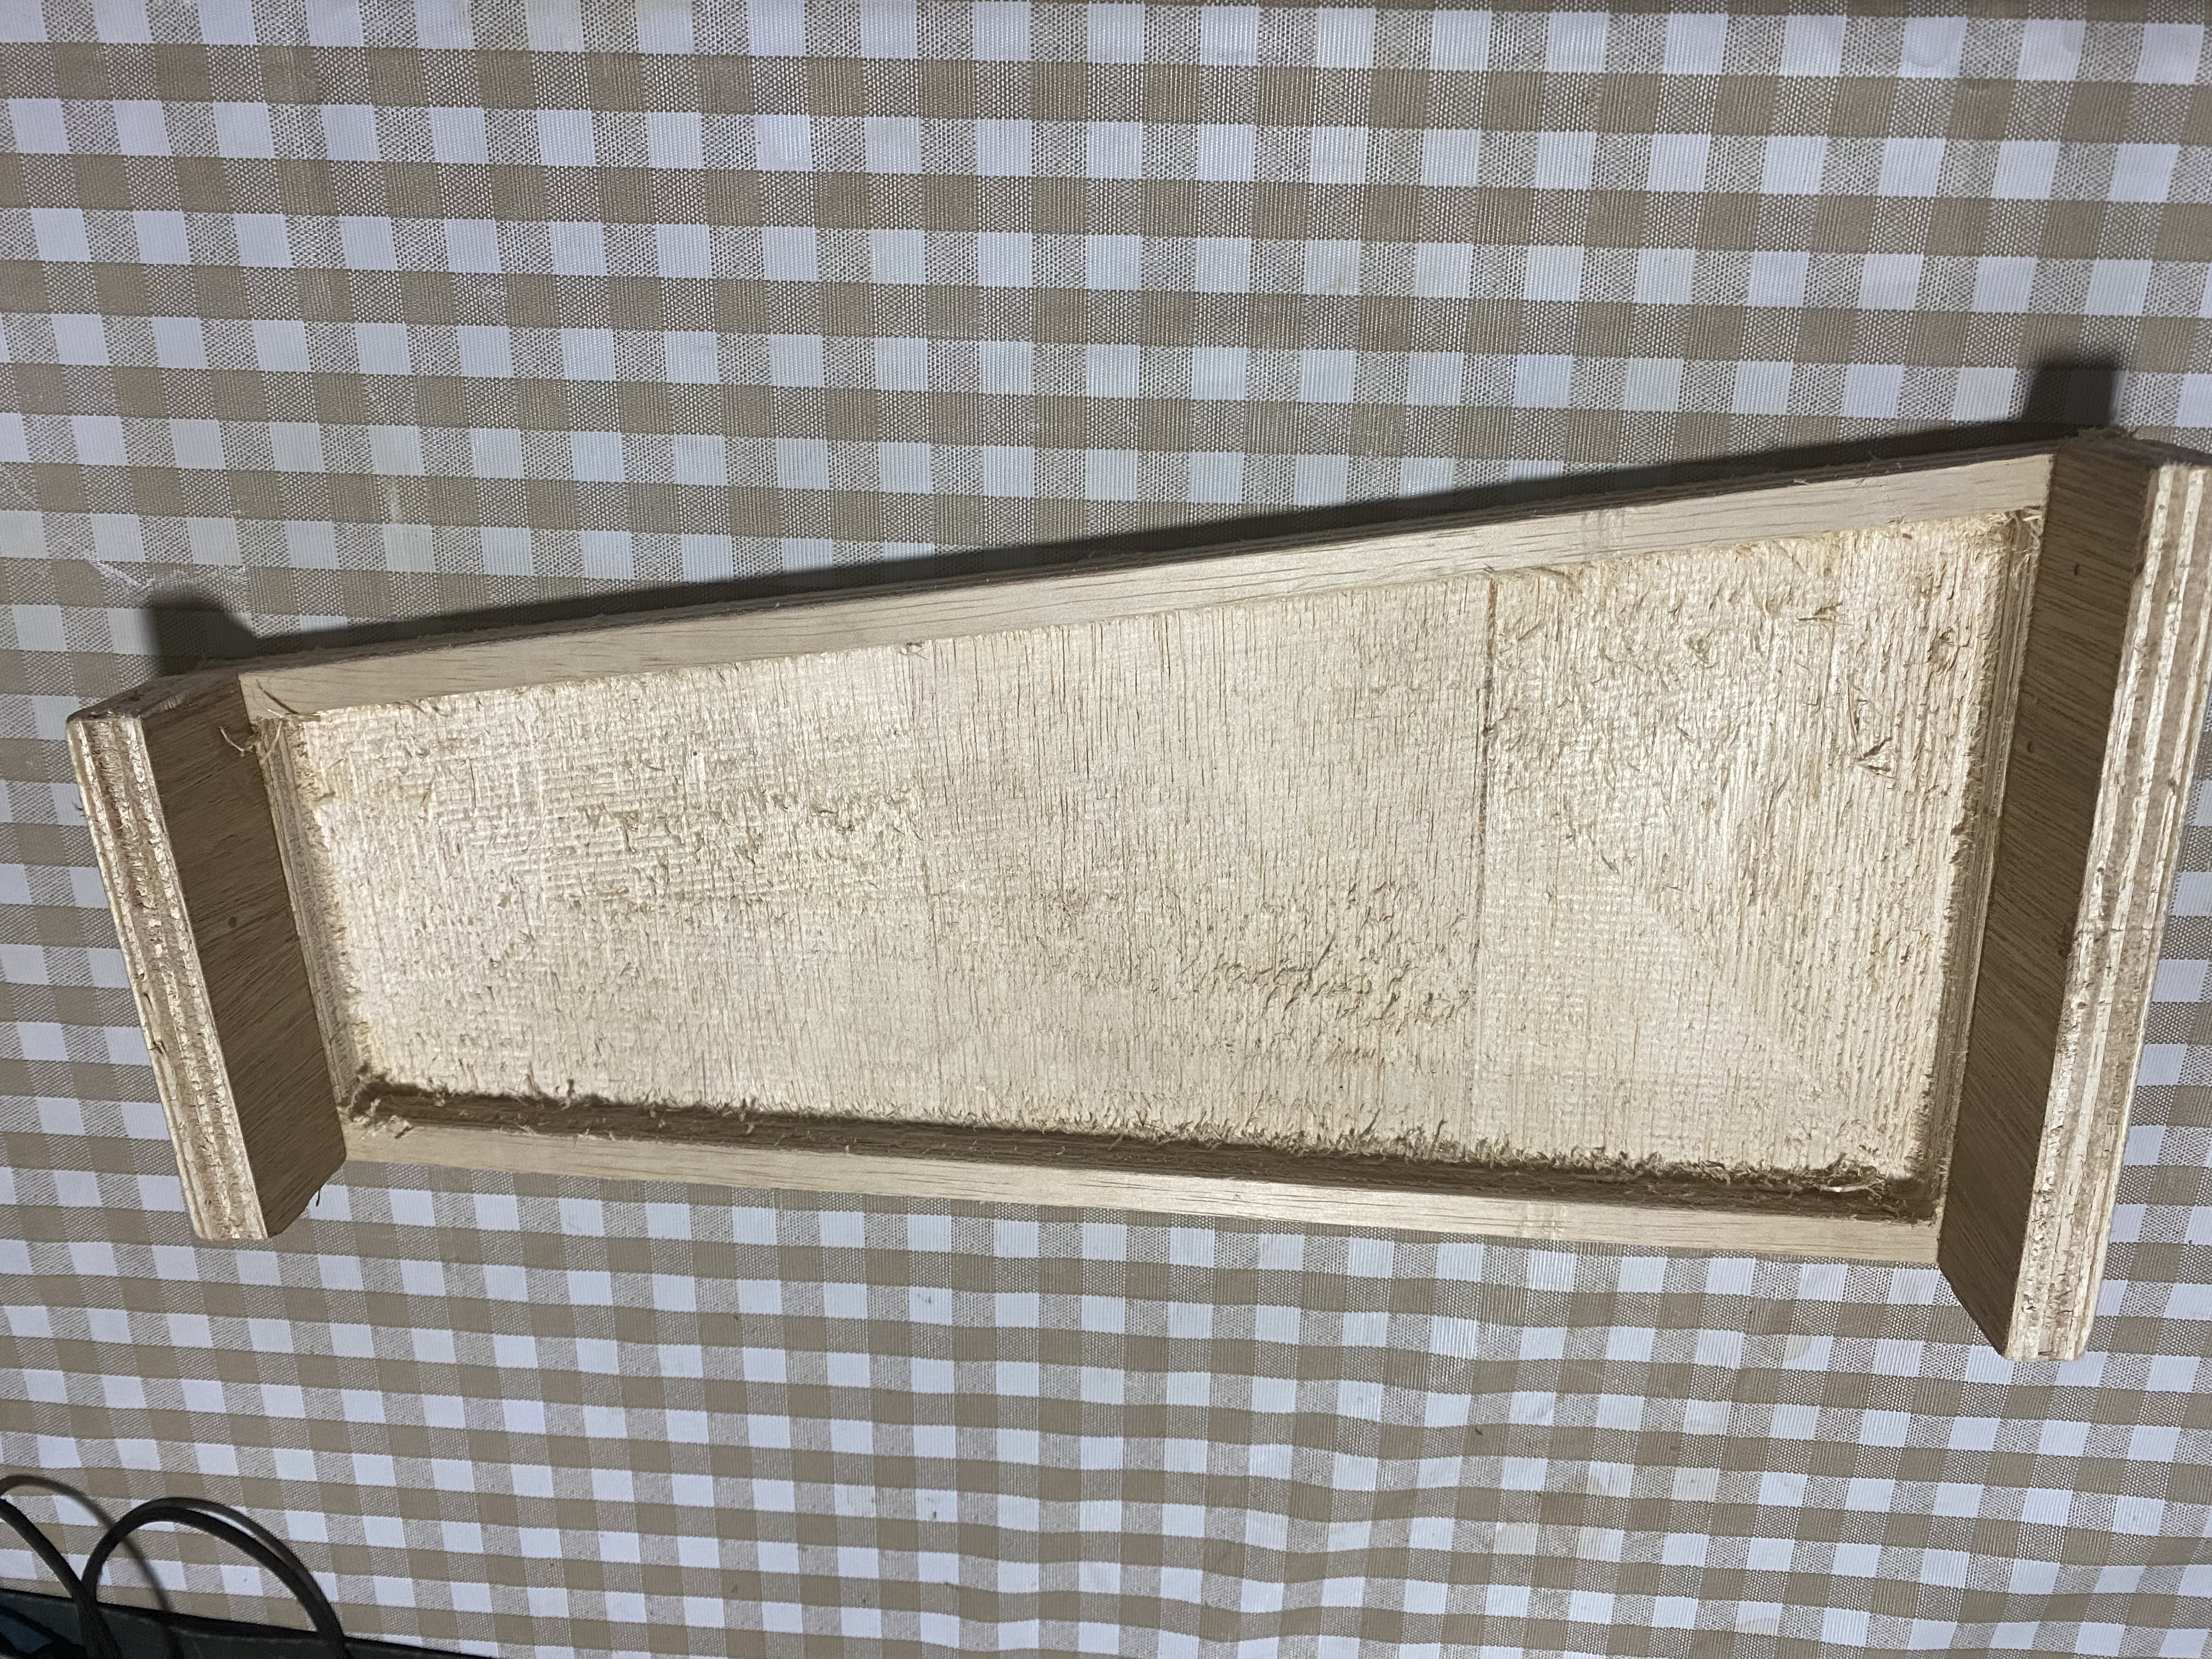
For the bottom piece of the shell I had used Elmers wood glue to glue the wall to the base shell.
Final bottom piece:
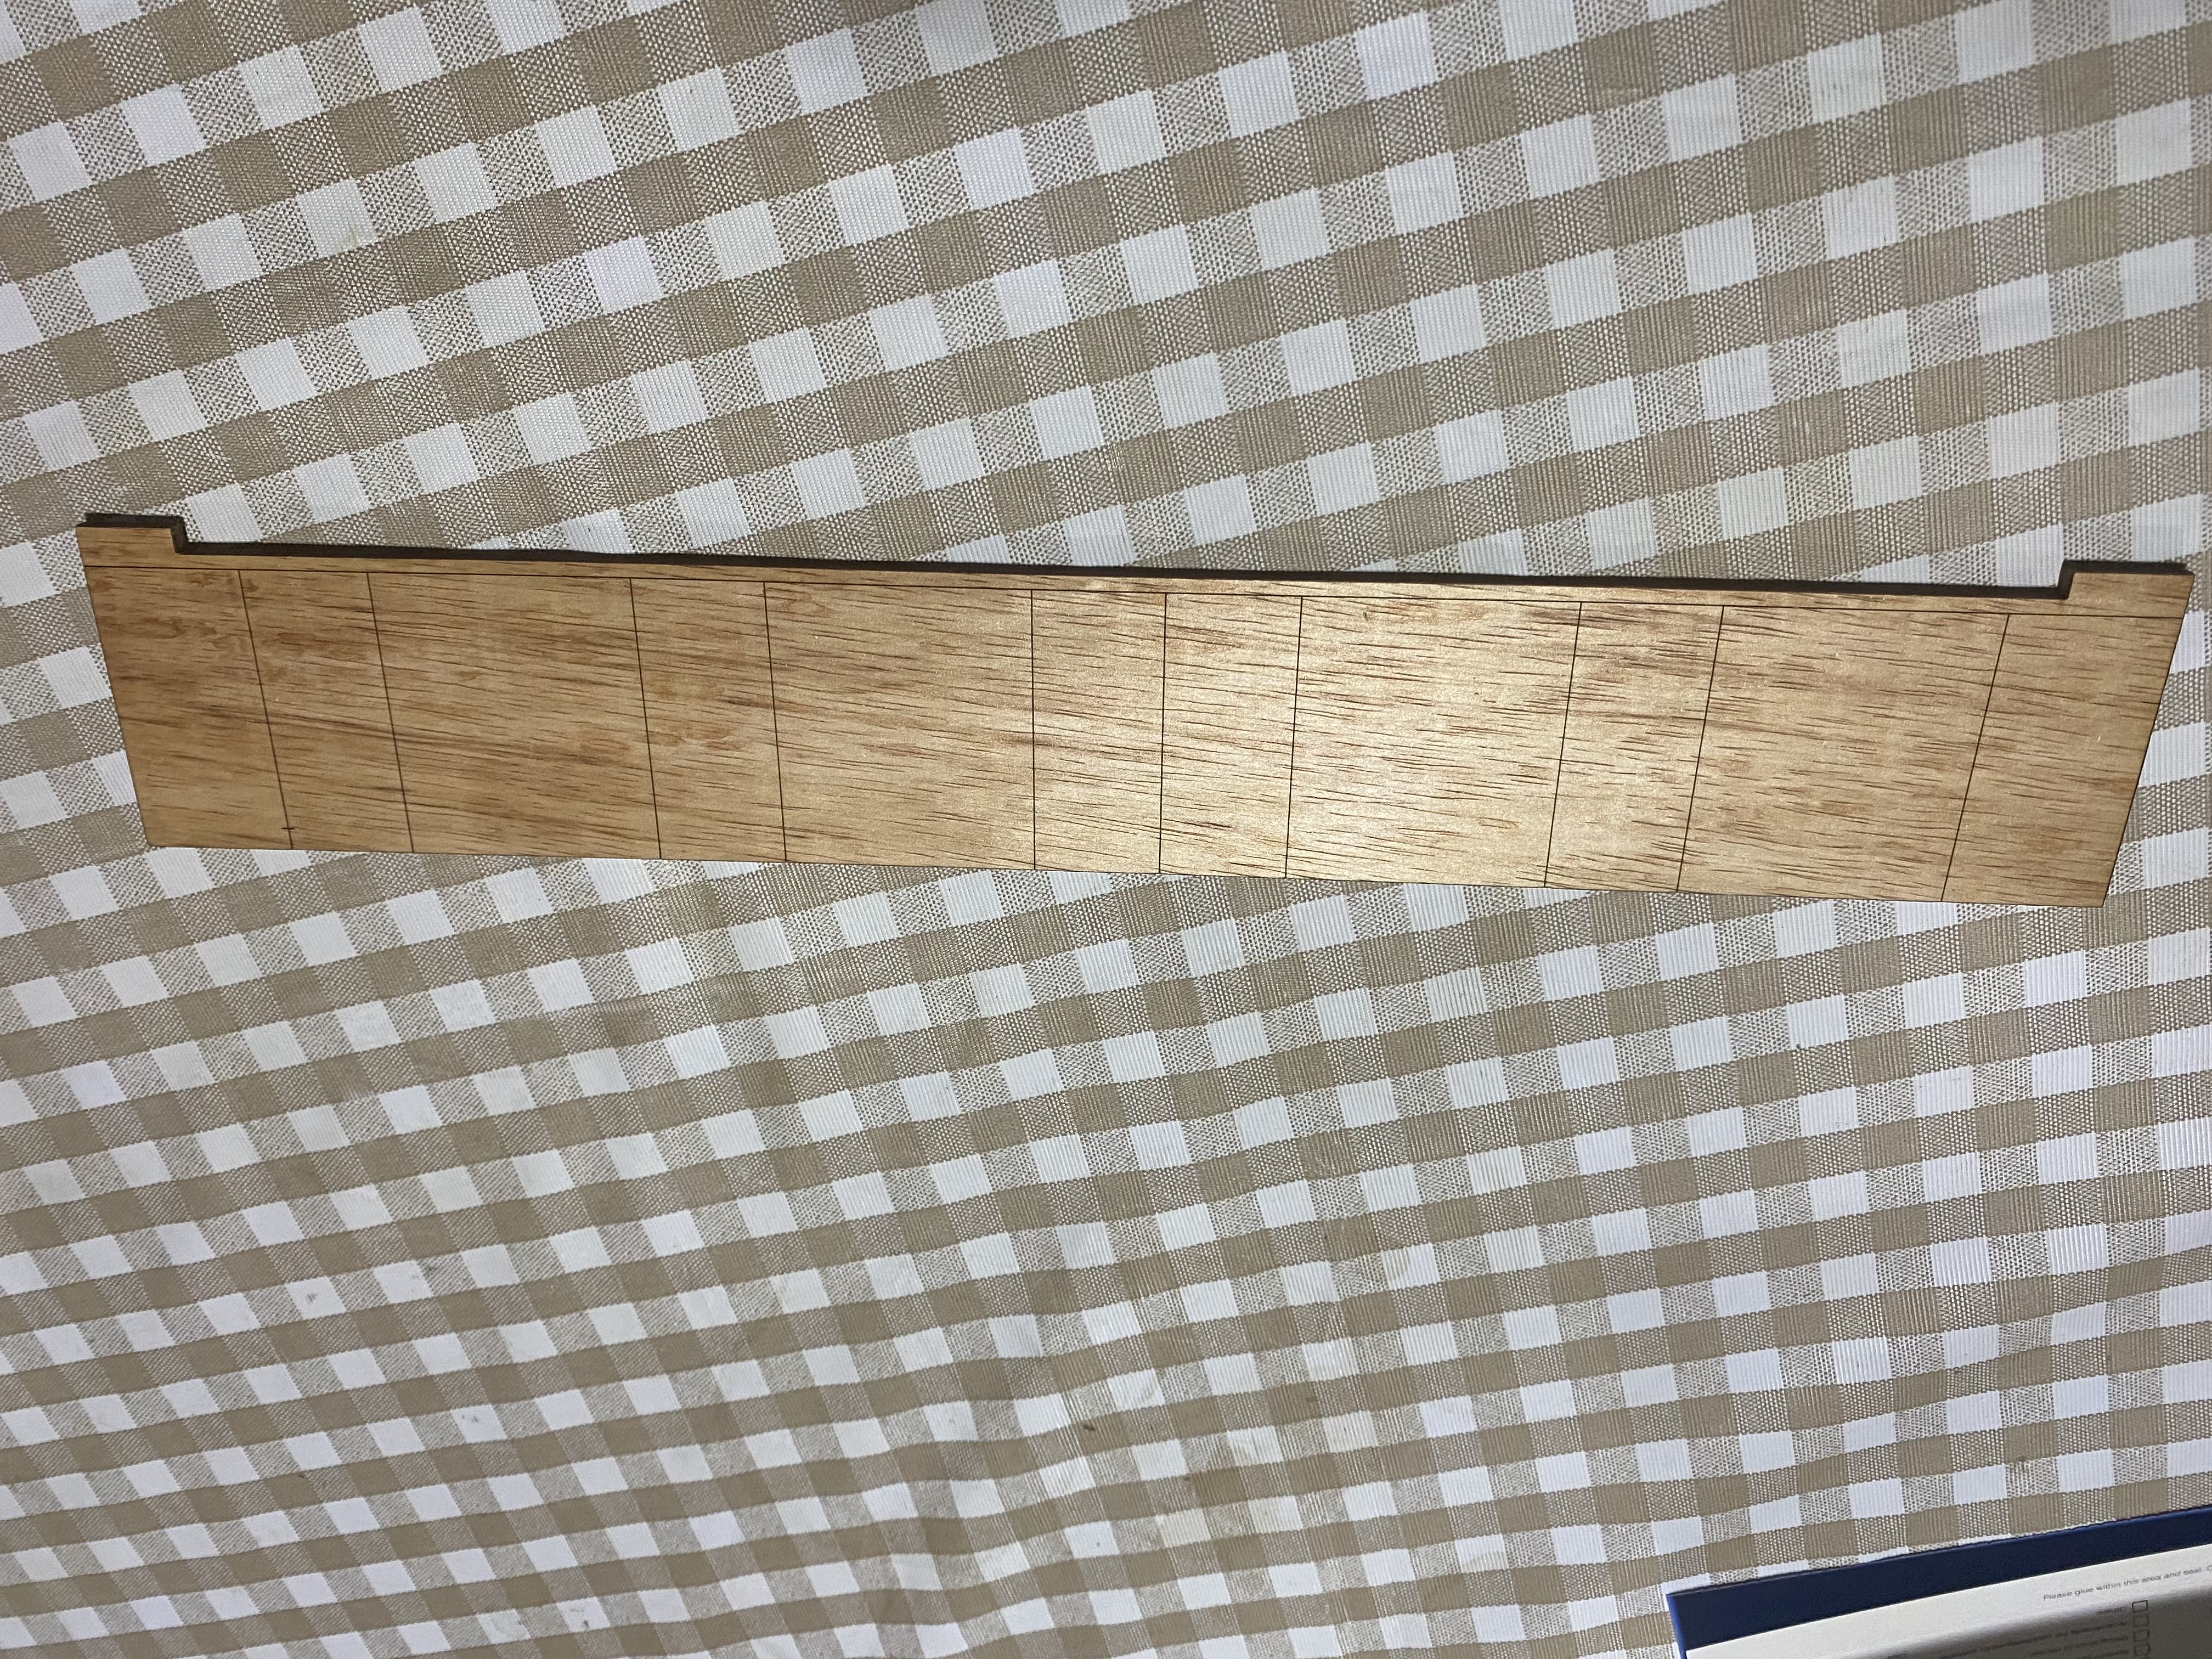
Using laser cut wood to mount the solenoids vertically to hit the plates from below, with laser engraved lines for placement guiding.
Mounting the solenoid using hot glue and tape:

Final build:
