Final Project Electronics & Programming
For the programming, I have used a code provided by fritend1 video on YouTube.
TinkerCAD simulation

Due to a lack of a proper working Arduino Nano model in TinkerCad, this model is done on the Arduino Uno, instead of a Arduino Nano which would be used in the actual circuitry. Firstly, a 6V 4x AA battery setup links to a slider SPDT(Single Pole Double Throw) which has been converted to an active low set up. The 6V from the battery goes into the Vin input pin of the Microcontroller, as the microcontoller can only take in 5V in the 5V USB port or the 5V pin. However, the Vin pin can take in 5-7V, and using an intergrated LM7805 to convert a range of 5-7V to a fixed 5V. Therefore the 6V input has been stepped down to a 5V input for the Arduino.
Next, Pin 2 and 3 has been converted to digital output pins, and Pin 4 has been converted to digital input pin. This means that a signal would be produced and run the Servo motor at the signal port for pin 2 and 3, and a signal input will be taken in by the active low switch configuration at pin 4. For the 2 Servo, they take in 5V at the power pins and grounding wire at the ground pins.
Finally a 330 Ohms resister has been attached to the unused pin of the rocker switch as to prevent intermittent voltage discharge from the switch. Without this resistor, Pin 4 would randomly switch state due to the intermittent voltage discharged.
Coding
Personality Code
// C++ code
#include <Servo.h>
Servo lid; //name of servo for lifting lid
Servo arm; //name of servo for flicking switch


int Switch= 4;

int action = 1;

int pos = 0;

int a = 0;  //arm retract 0

int b = 180;  //lid close 180

int c = 110; //arm extend 110

int d = 100;  //lid fully open 100

int e = c-20; //arm almost full extend 90

int f= 180-d/2; //half lid 130

void setup()
{
pinMode(Switch,INPUT);
lid.attach(2);
arm.attach(3);
Serial.begin(9600);

// Servo Default Starting Position
arm.write(a);
lid.write(b);
}

void loop()
{

// Action Selection starting with 1

if (digitalRead(Switch) == HIGH)
{
    if (action > 8)
    {
    action = 1;
}

    if (action == 1)
    {
    action1();
    }

    else if (action == 2)
    {
    action2();
    }

    else if (action == 3)
    {
    action3();
    }
    else if (action == 4)
    {
    action4();
    }
    else if (action == 5)
    {
    action5();
    }
    else if (action == 6)
    {
    action6();
    }
    else if (action == 7)
    {
    action7();
    }


    action += 1;

}
}

//The Following are actions that are chosen chronologically

void action1()
// slow open lid, extend arm, close arm, close lid (checked)
{
lid.write(f);
delay(1000);

arm.write(c);
delay(500);

arm.write(a);
delay(1000);

lid.write(b);
delay(1000);
}

void action2()
// fast open lid, extend arm, close arm, close lid
{
lid.write(d);
delay(100);

arm.write(c+10);
delay(250);

arm.write(a);
delay(100);

lid.write(b);
}

void action3()
// slowly open lid, fast arm extend, retract and lid close
{
    for(pos = b; pos > f; pos -=1)
    {
    lid.write(pos);
    delay(50);
    }
arm.write(c+10);
    delay(250);

    arm.write(a);
    delay(100);

    lid.write(b);
}

void action4()
// open lid and hold extend arm for awhile, slow retract and fast lid close
{
    delay(250);
    lid.write(d);

    delay(100);
    arm.write(c);

    delay(2500);

for(pos = c; pos > a; pos -=1)
    {
    arm.write(pos);
    delay(50);
    }
    lid.write(b);
    arm.write(a);
}

void action5()
// jebaiting with opening and closing lid, then extend and retract arm
{
lid.write(d);
delay(500);

lid.write(b);
delay(500);

lid.write(d);
delay(500);

lid.write(b);
delay(500);

lid.write(d);
delay(500);

lid.write(b);
delay(2500);

lid.write(d);
delay(100);

arm.write(c);
delay(250);

arm.write(a);
delay(100);

lid.write(b);
}

void action6()
// machine gun rapid open lid, extend arm to alomost touching, retract arm, and finally extend full and close close lid
{
lid.write(d);
delay(100);

arm.write(e);
delay(250);

arm.write(a);
delay(100);

lid.write(b);
delay(250);

lid.write(d);
delay(100);

arm.write(e);
delay(250);

arm.write(a);
delay(100);

lid.write(b);
delay(250);

lid.write(d);
delay(100);

arm.write(e);
delay(250);

arm.write(a);
delay(100);

lid.write(b);
delay(250);

lid.write(d);
delay(100);

arm.write(c+15);
delay(250);

arm.write(a);
delay(100);

lid.write(b);
delay(500);
}

void action7()
//menacing slowly lid open, arm extend, arm retract, lid close
{
    for(pos = b; pos > d; pos -=2)
    {
    lid.write(pos);
    delay(50);
}

for(pos = a; pos < c + 10; pos +=2)
    {
    arm.write(pos);
    delay(100);
    }

    arm.write(c + 10);

for(pos = c + 10; pos > a; pos -=2)
    {
    arm.write(pos);
    delay(100);
    }

for(pos = d; pos < b; pos +=2)
    {
    lid.write(pos);
    delay(50);
    }

    lid.write(b);
}
Useless Machine Troubleshooting and PWM adjustment codeUseless Machine's Arduino Code
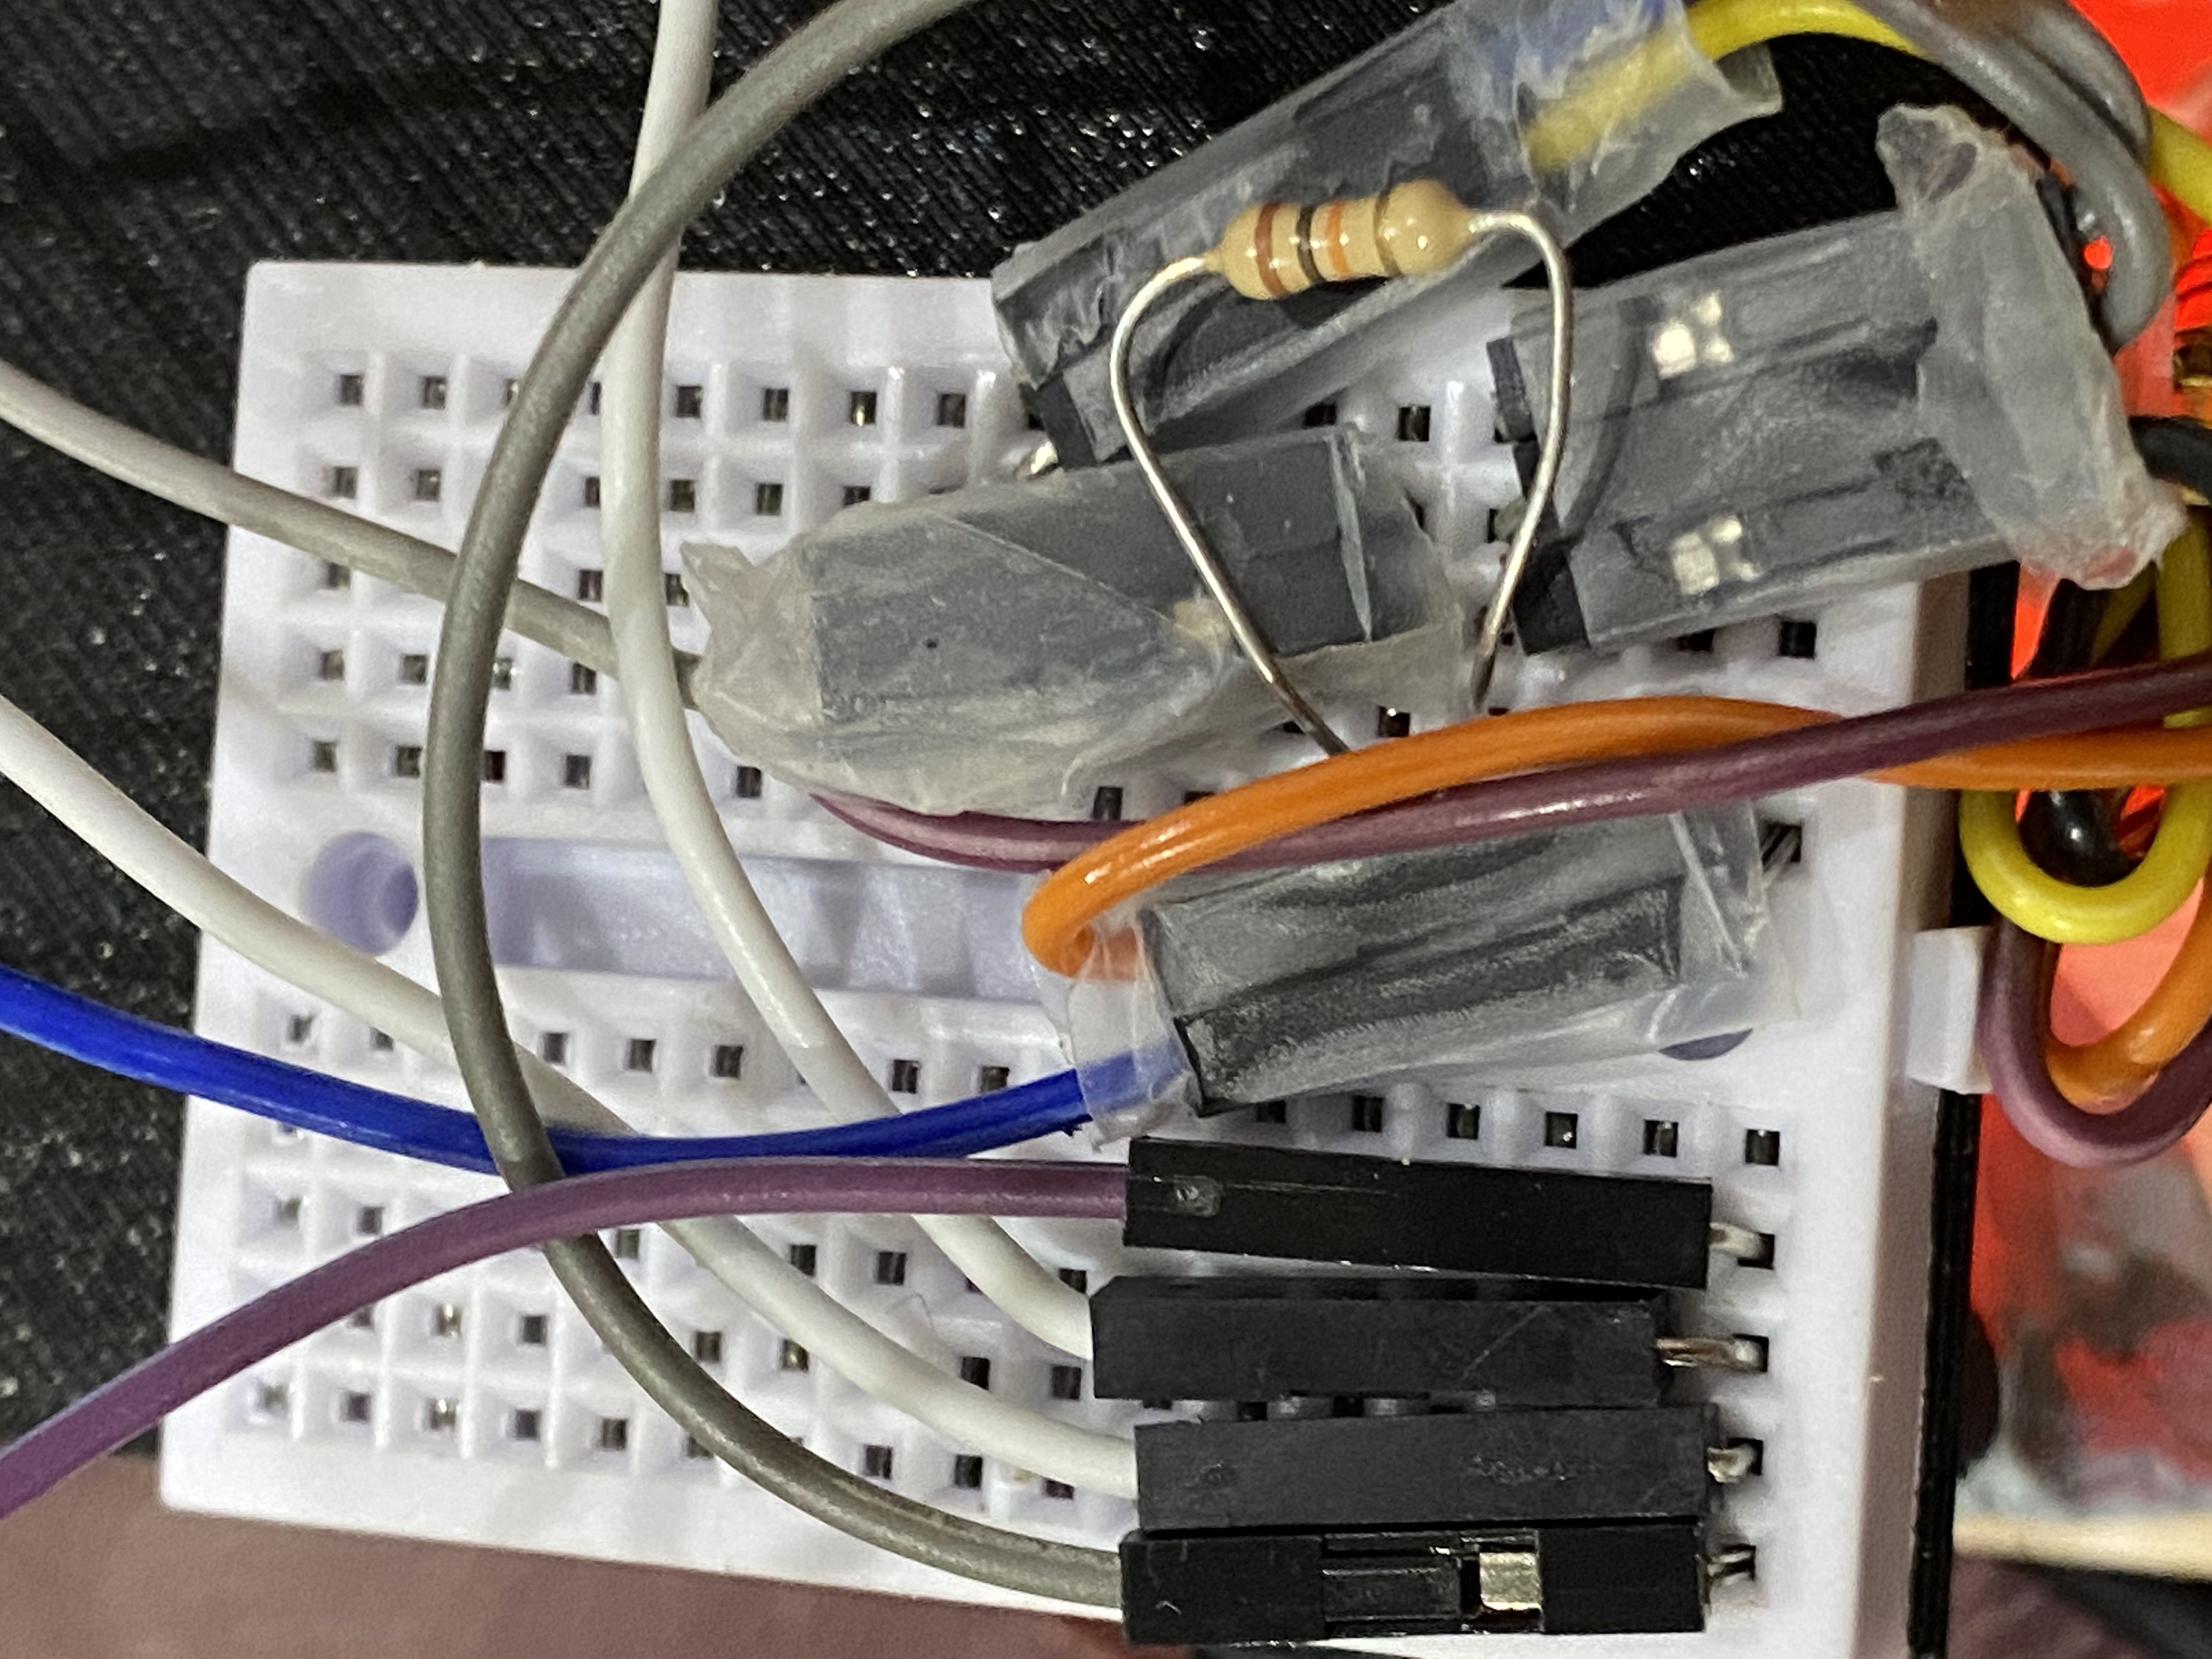
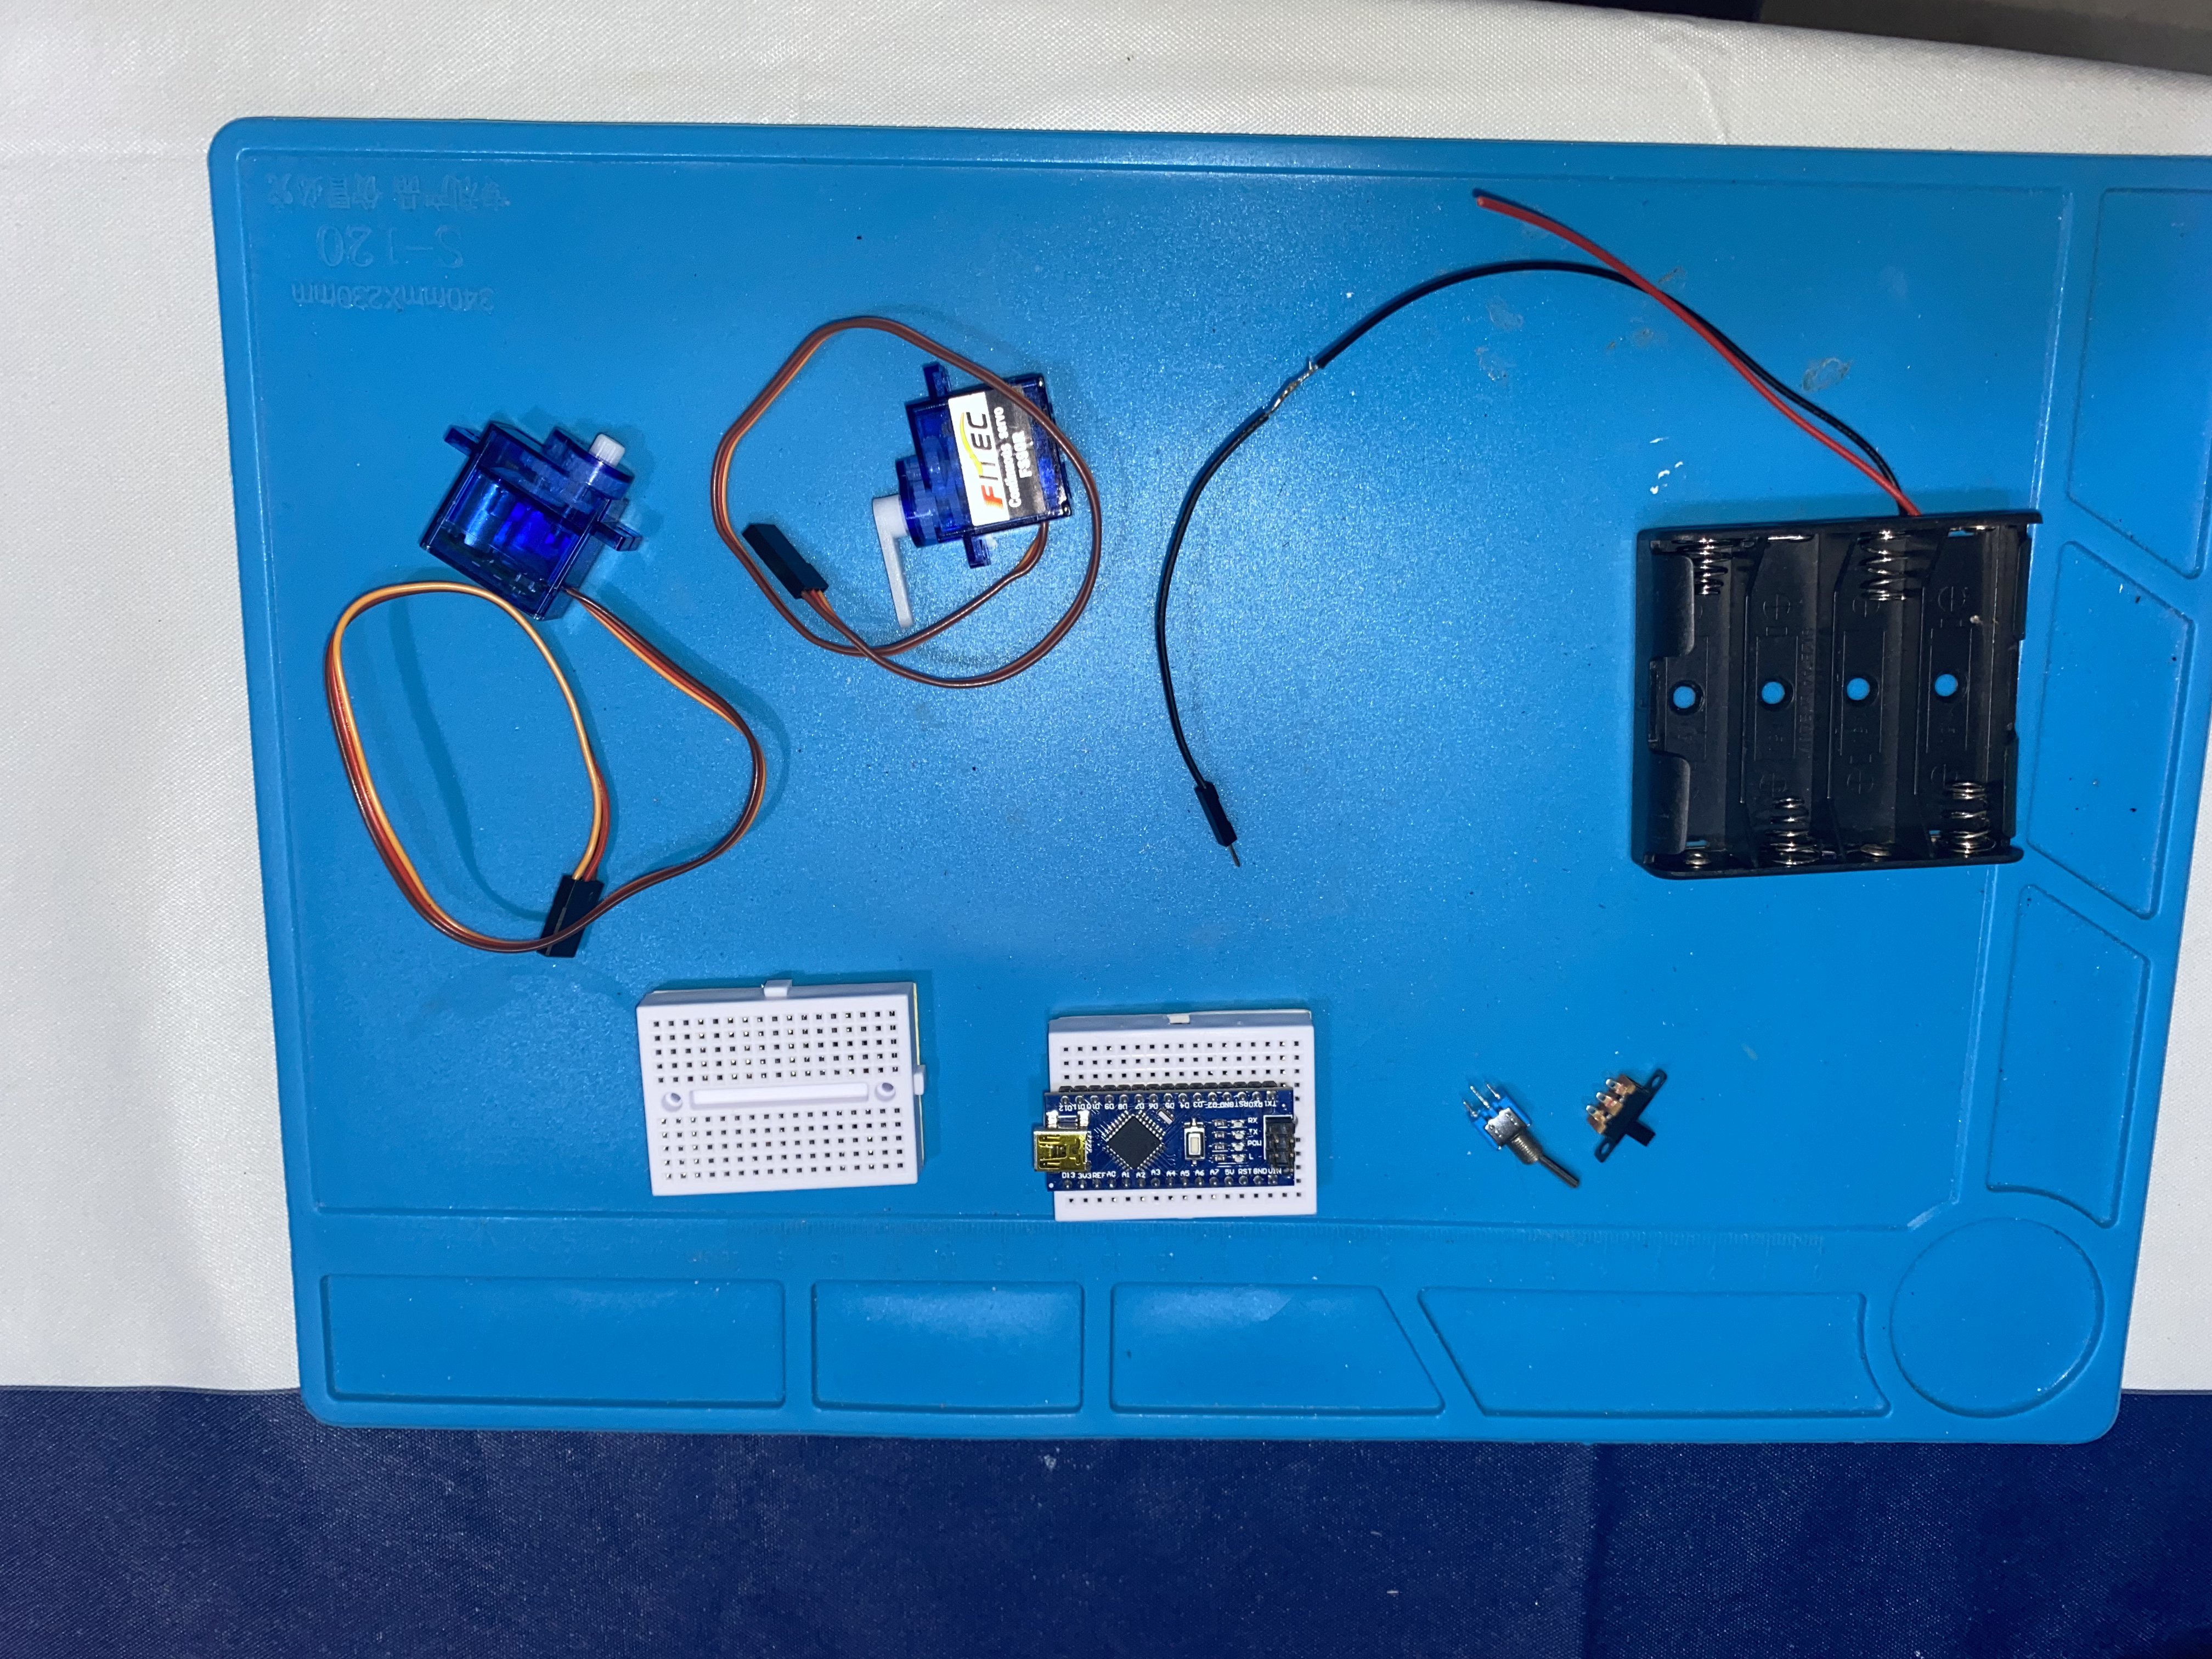
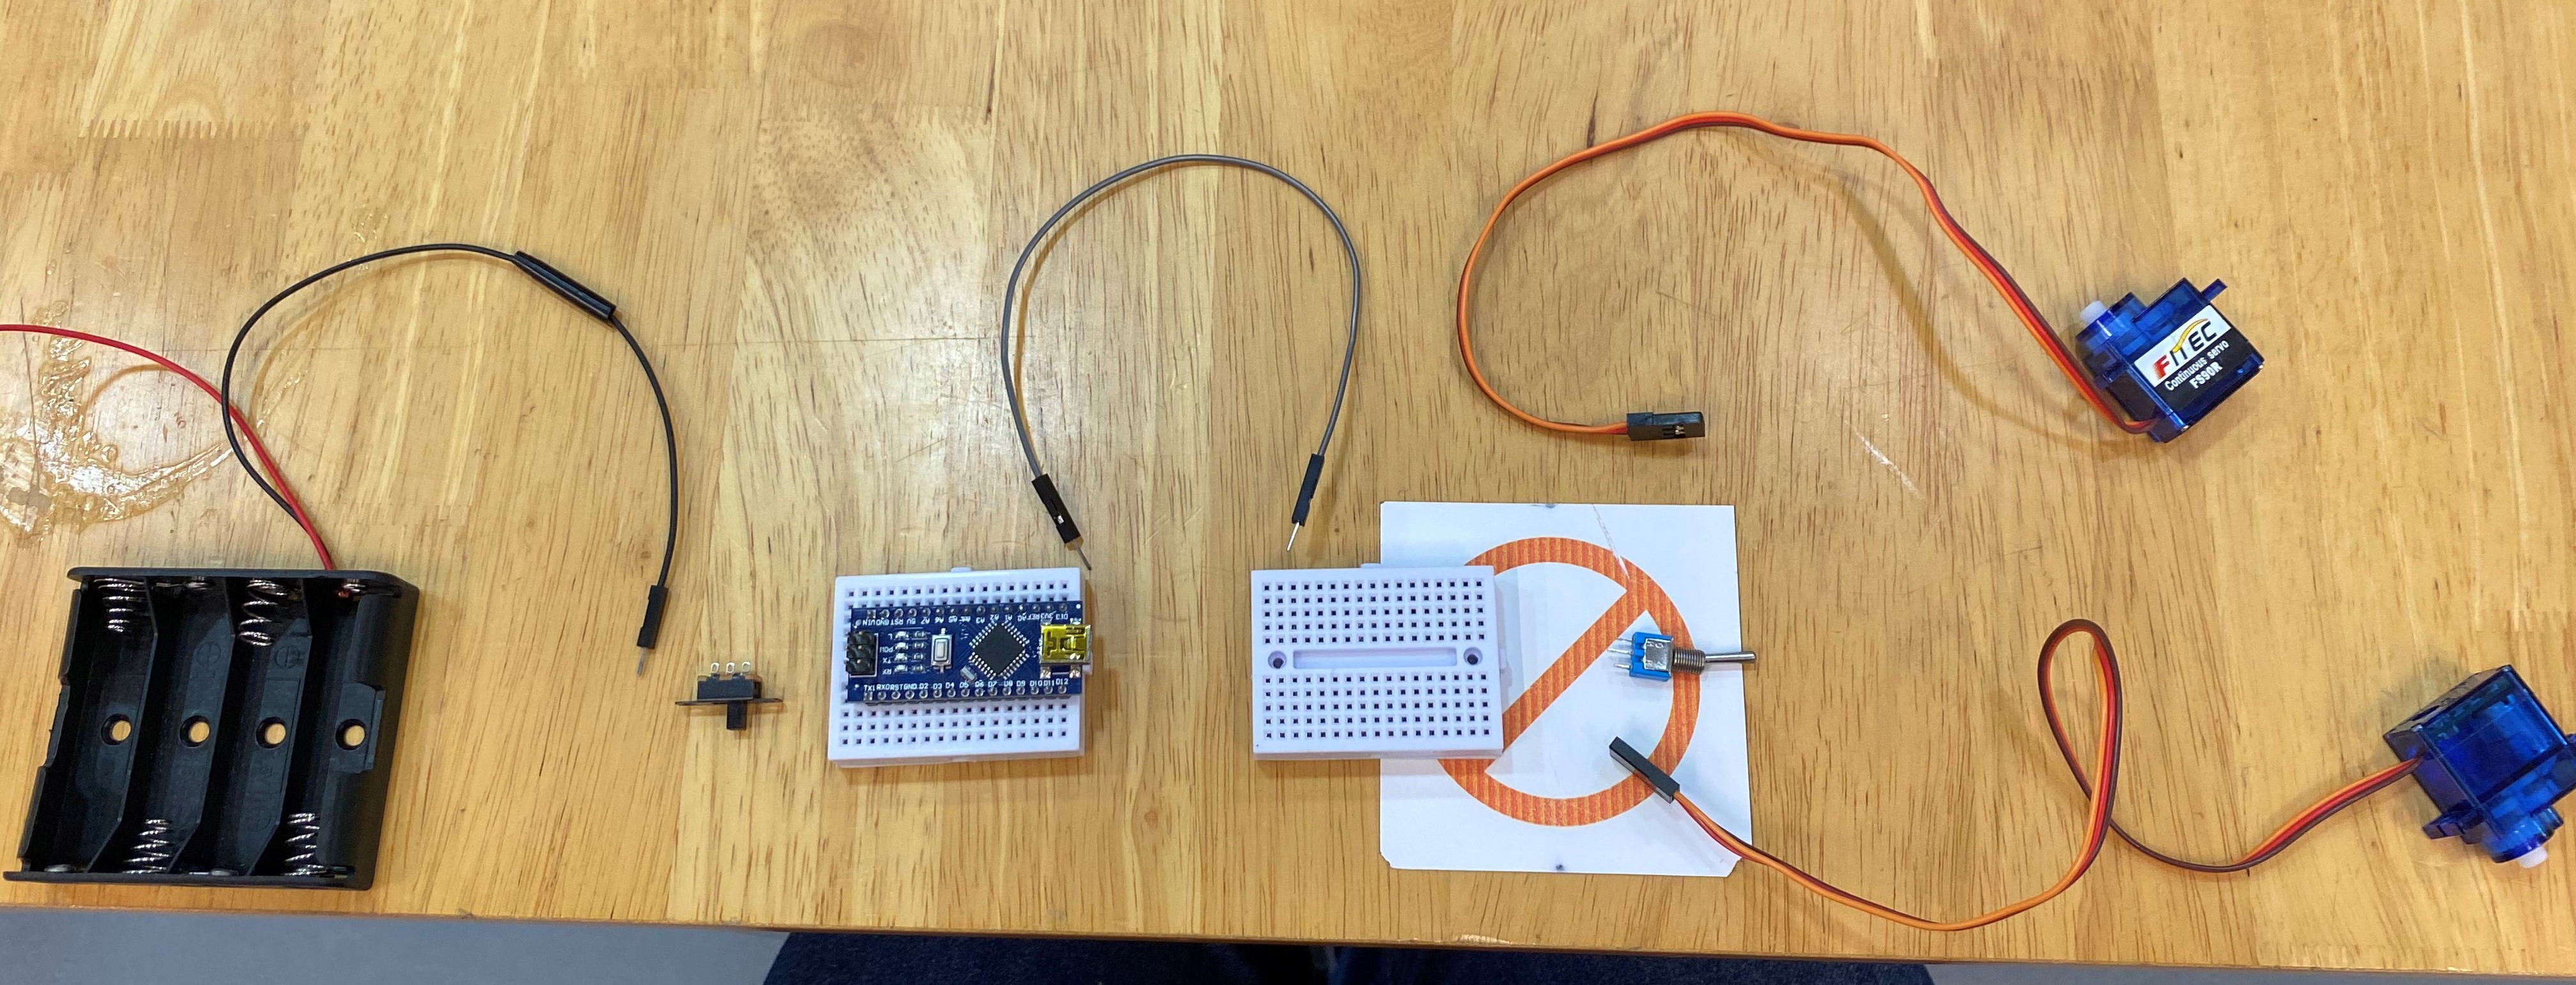
Actual Wiring
Circuit lay out for useless machine:
Flow of circuit for the useless machine:
Soldering of small rocker switch:
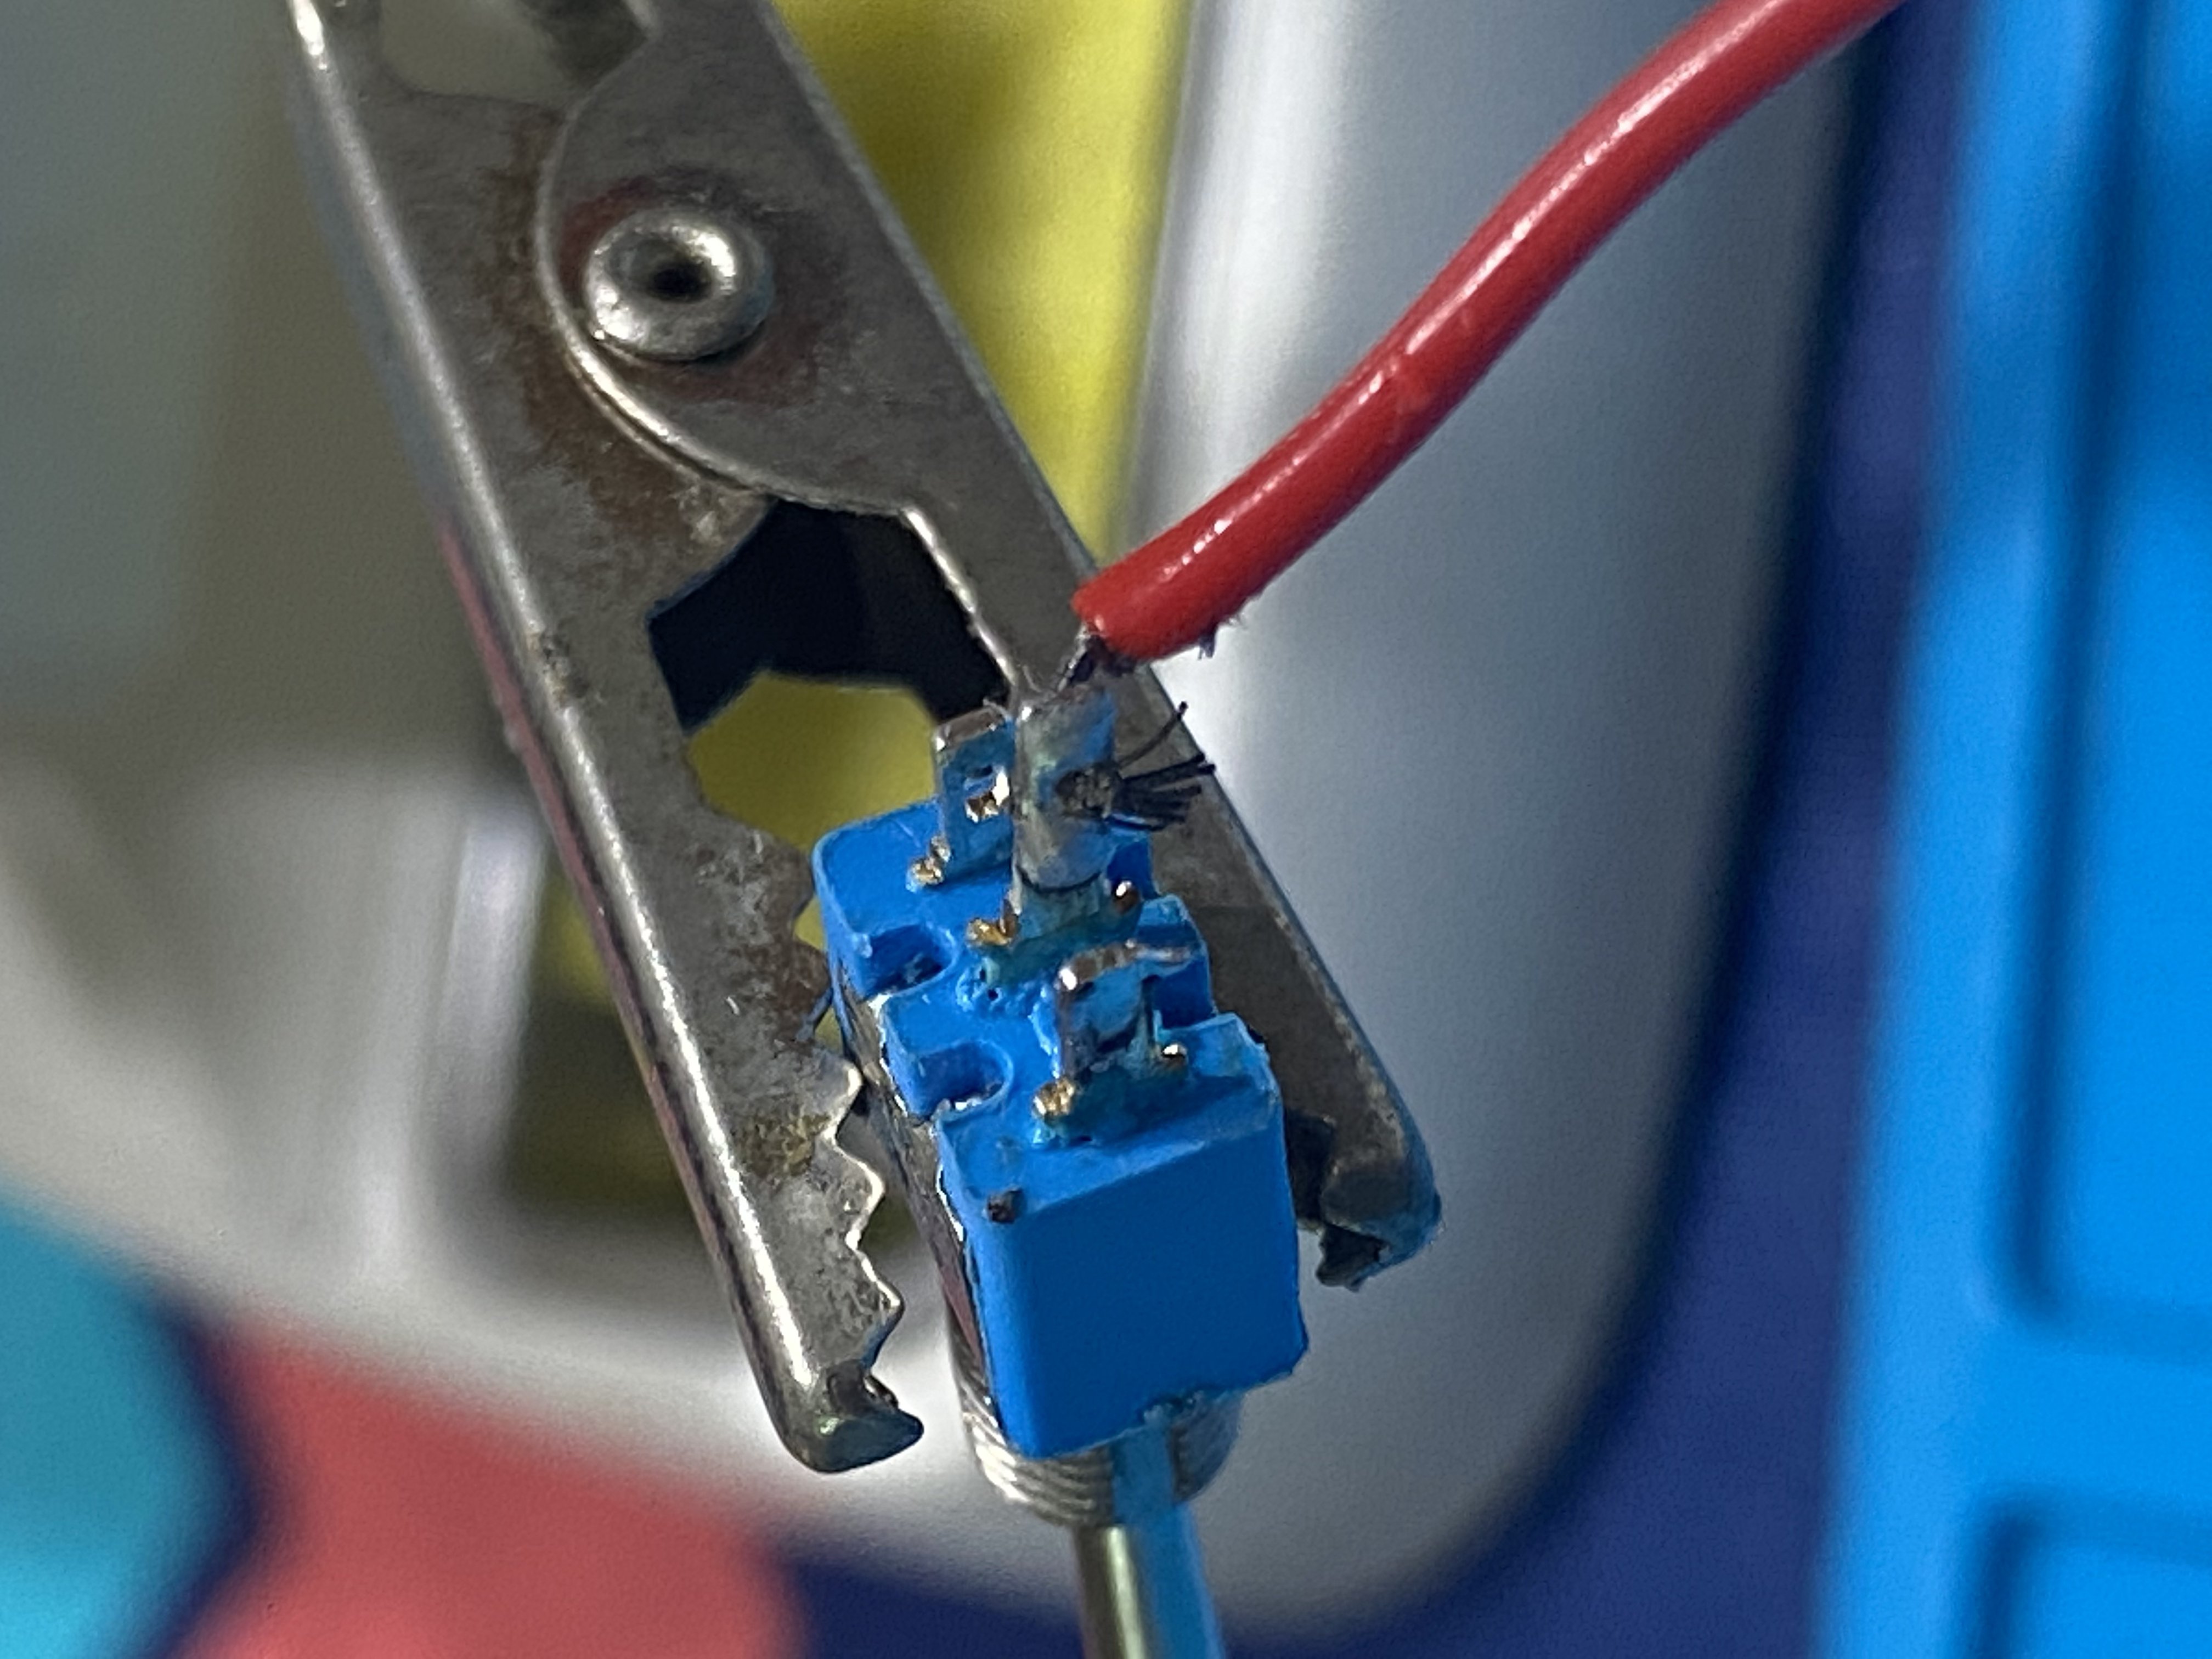
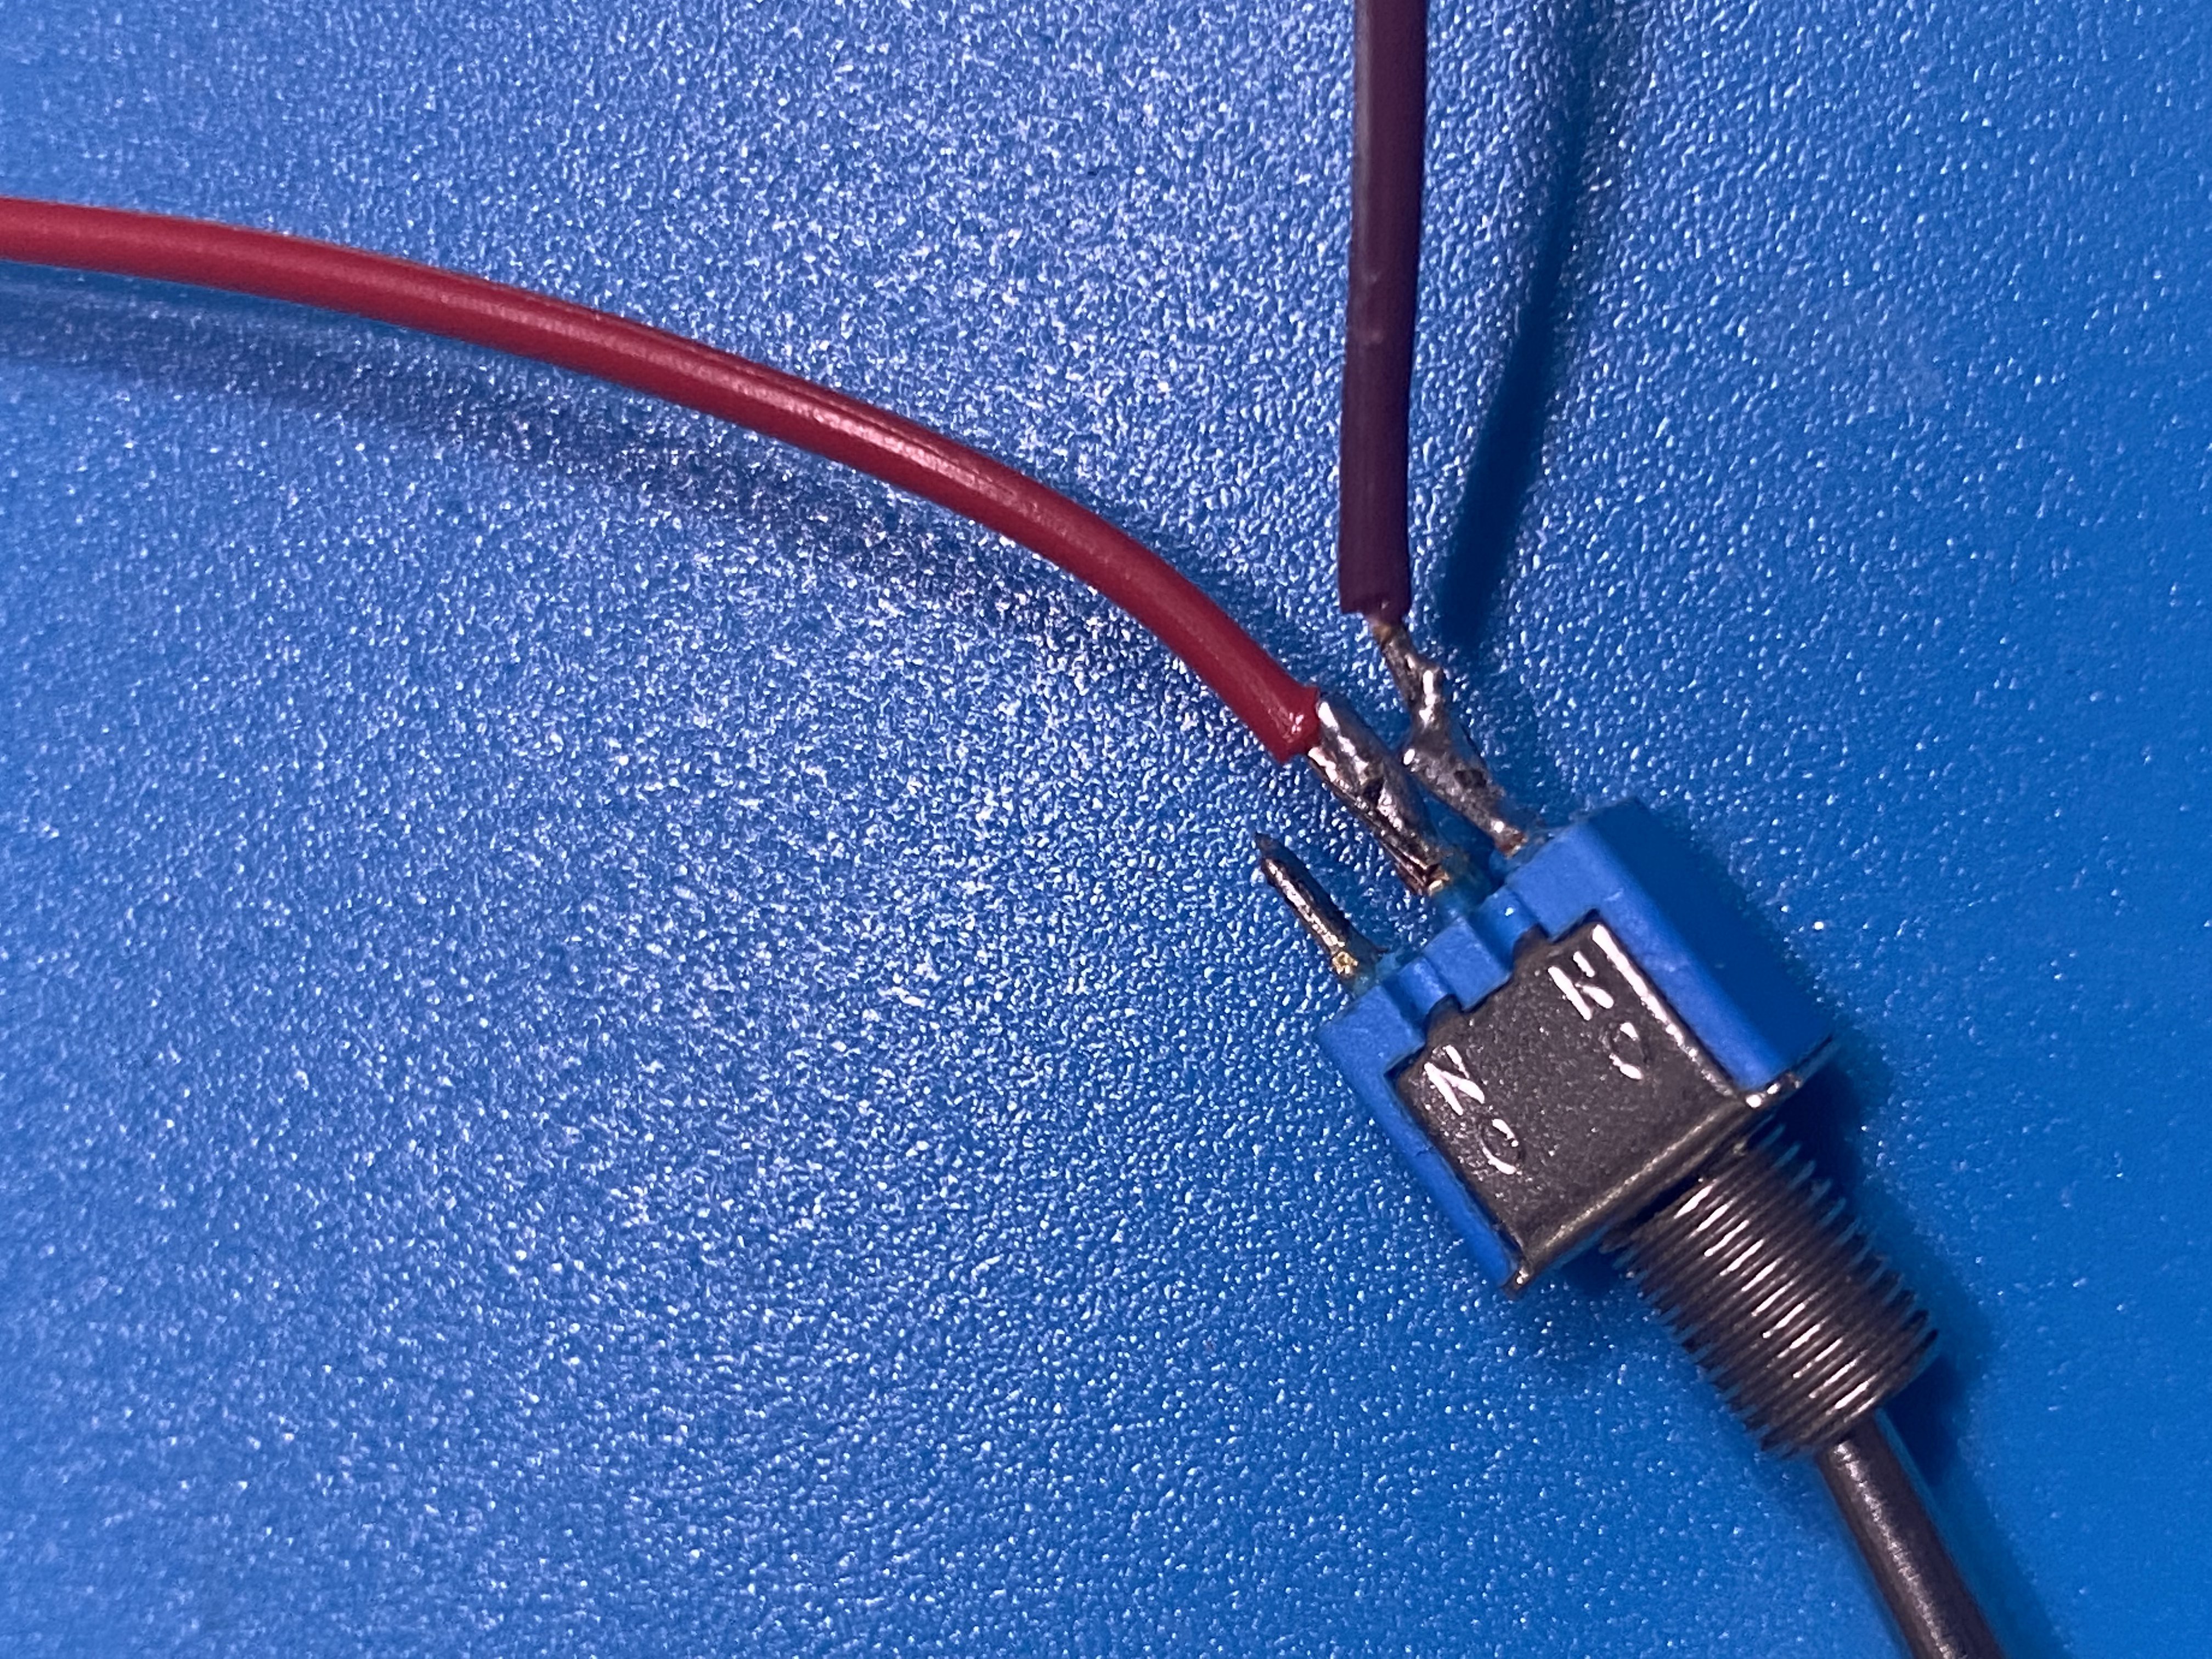
Due to execessive heat from the long duration that the switch was in procimity of the soldering iron, the small rocker switch's plastic outer chasis melted and caused the internal wiring to go haywire and rendering the switch broken.
Therefore a larger rocker switch was used.
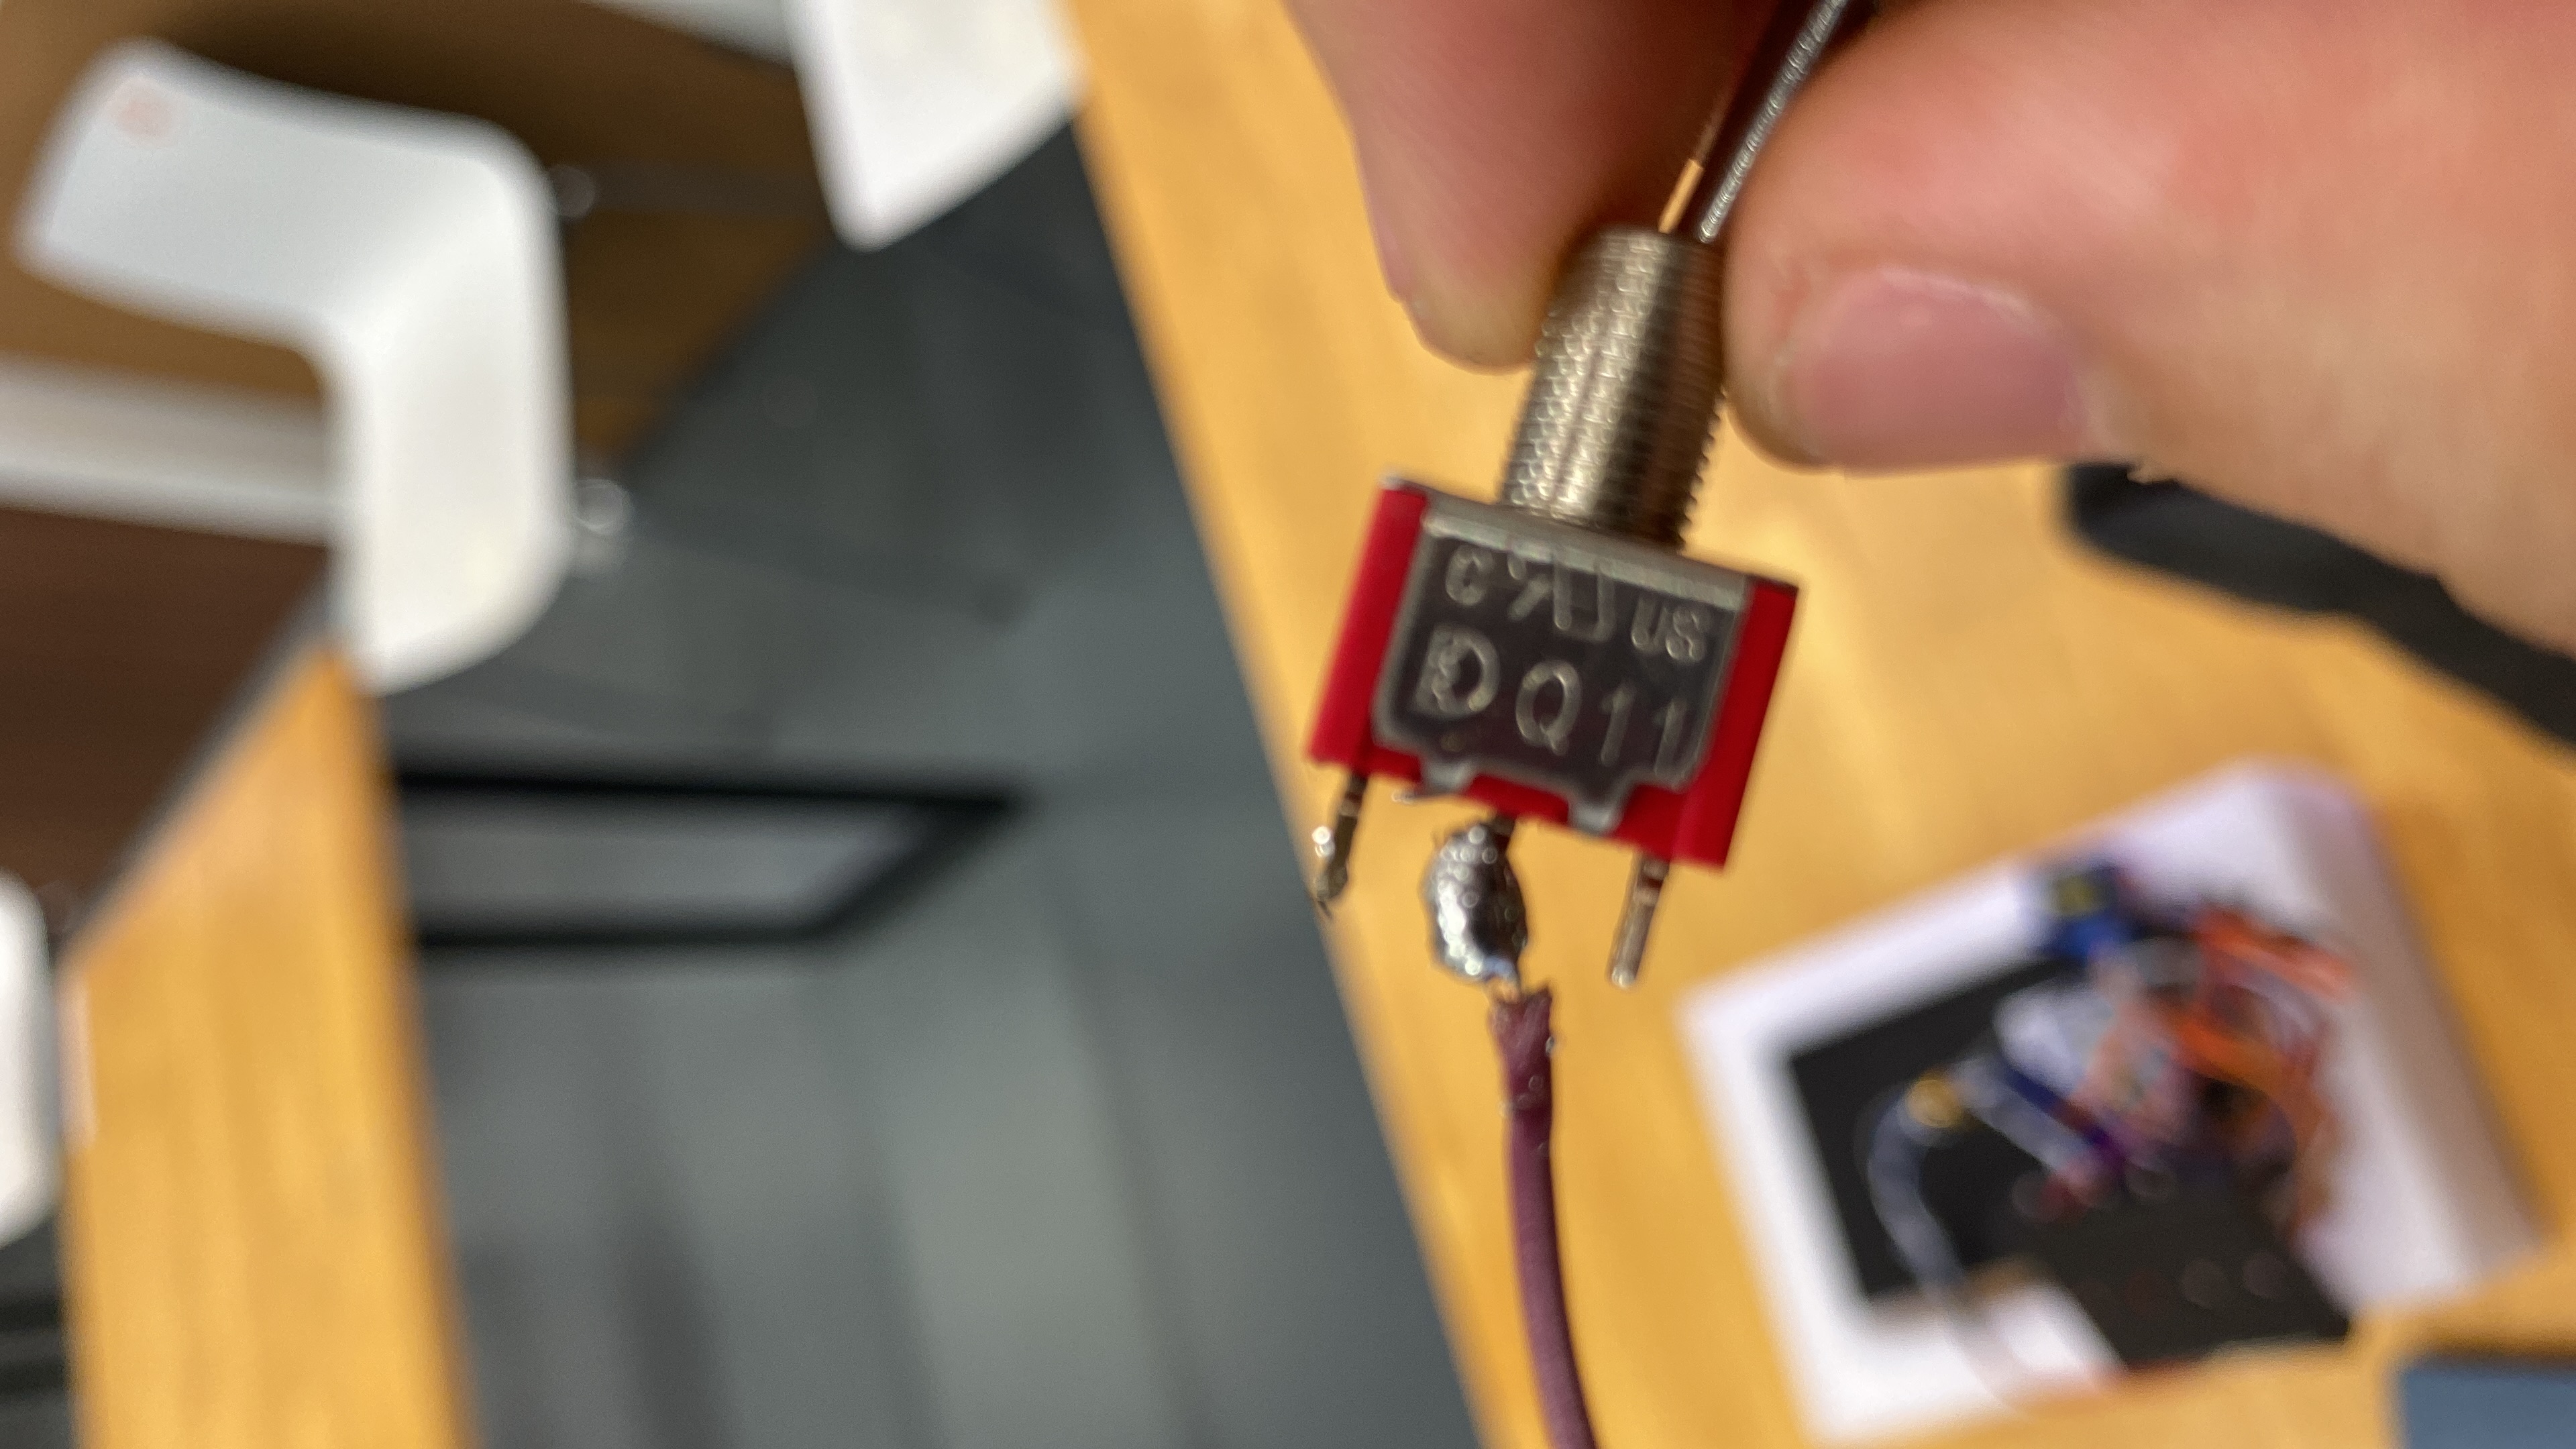
Soldering of slider switch:

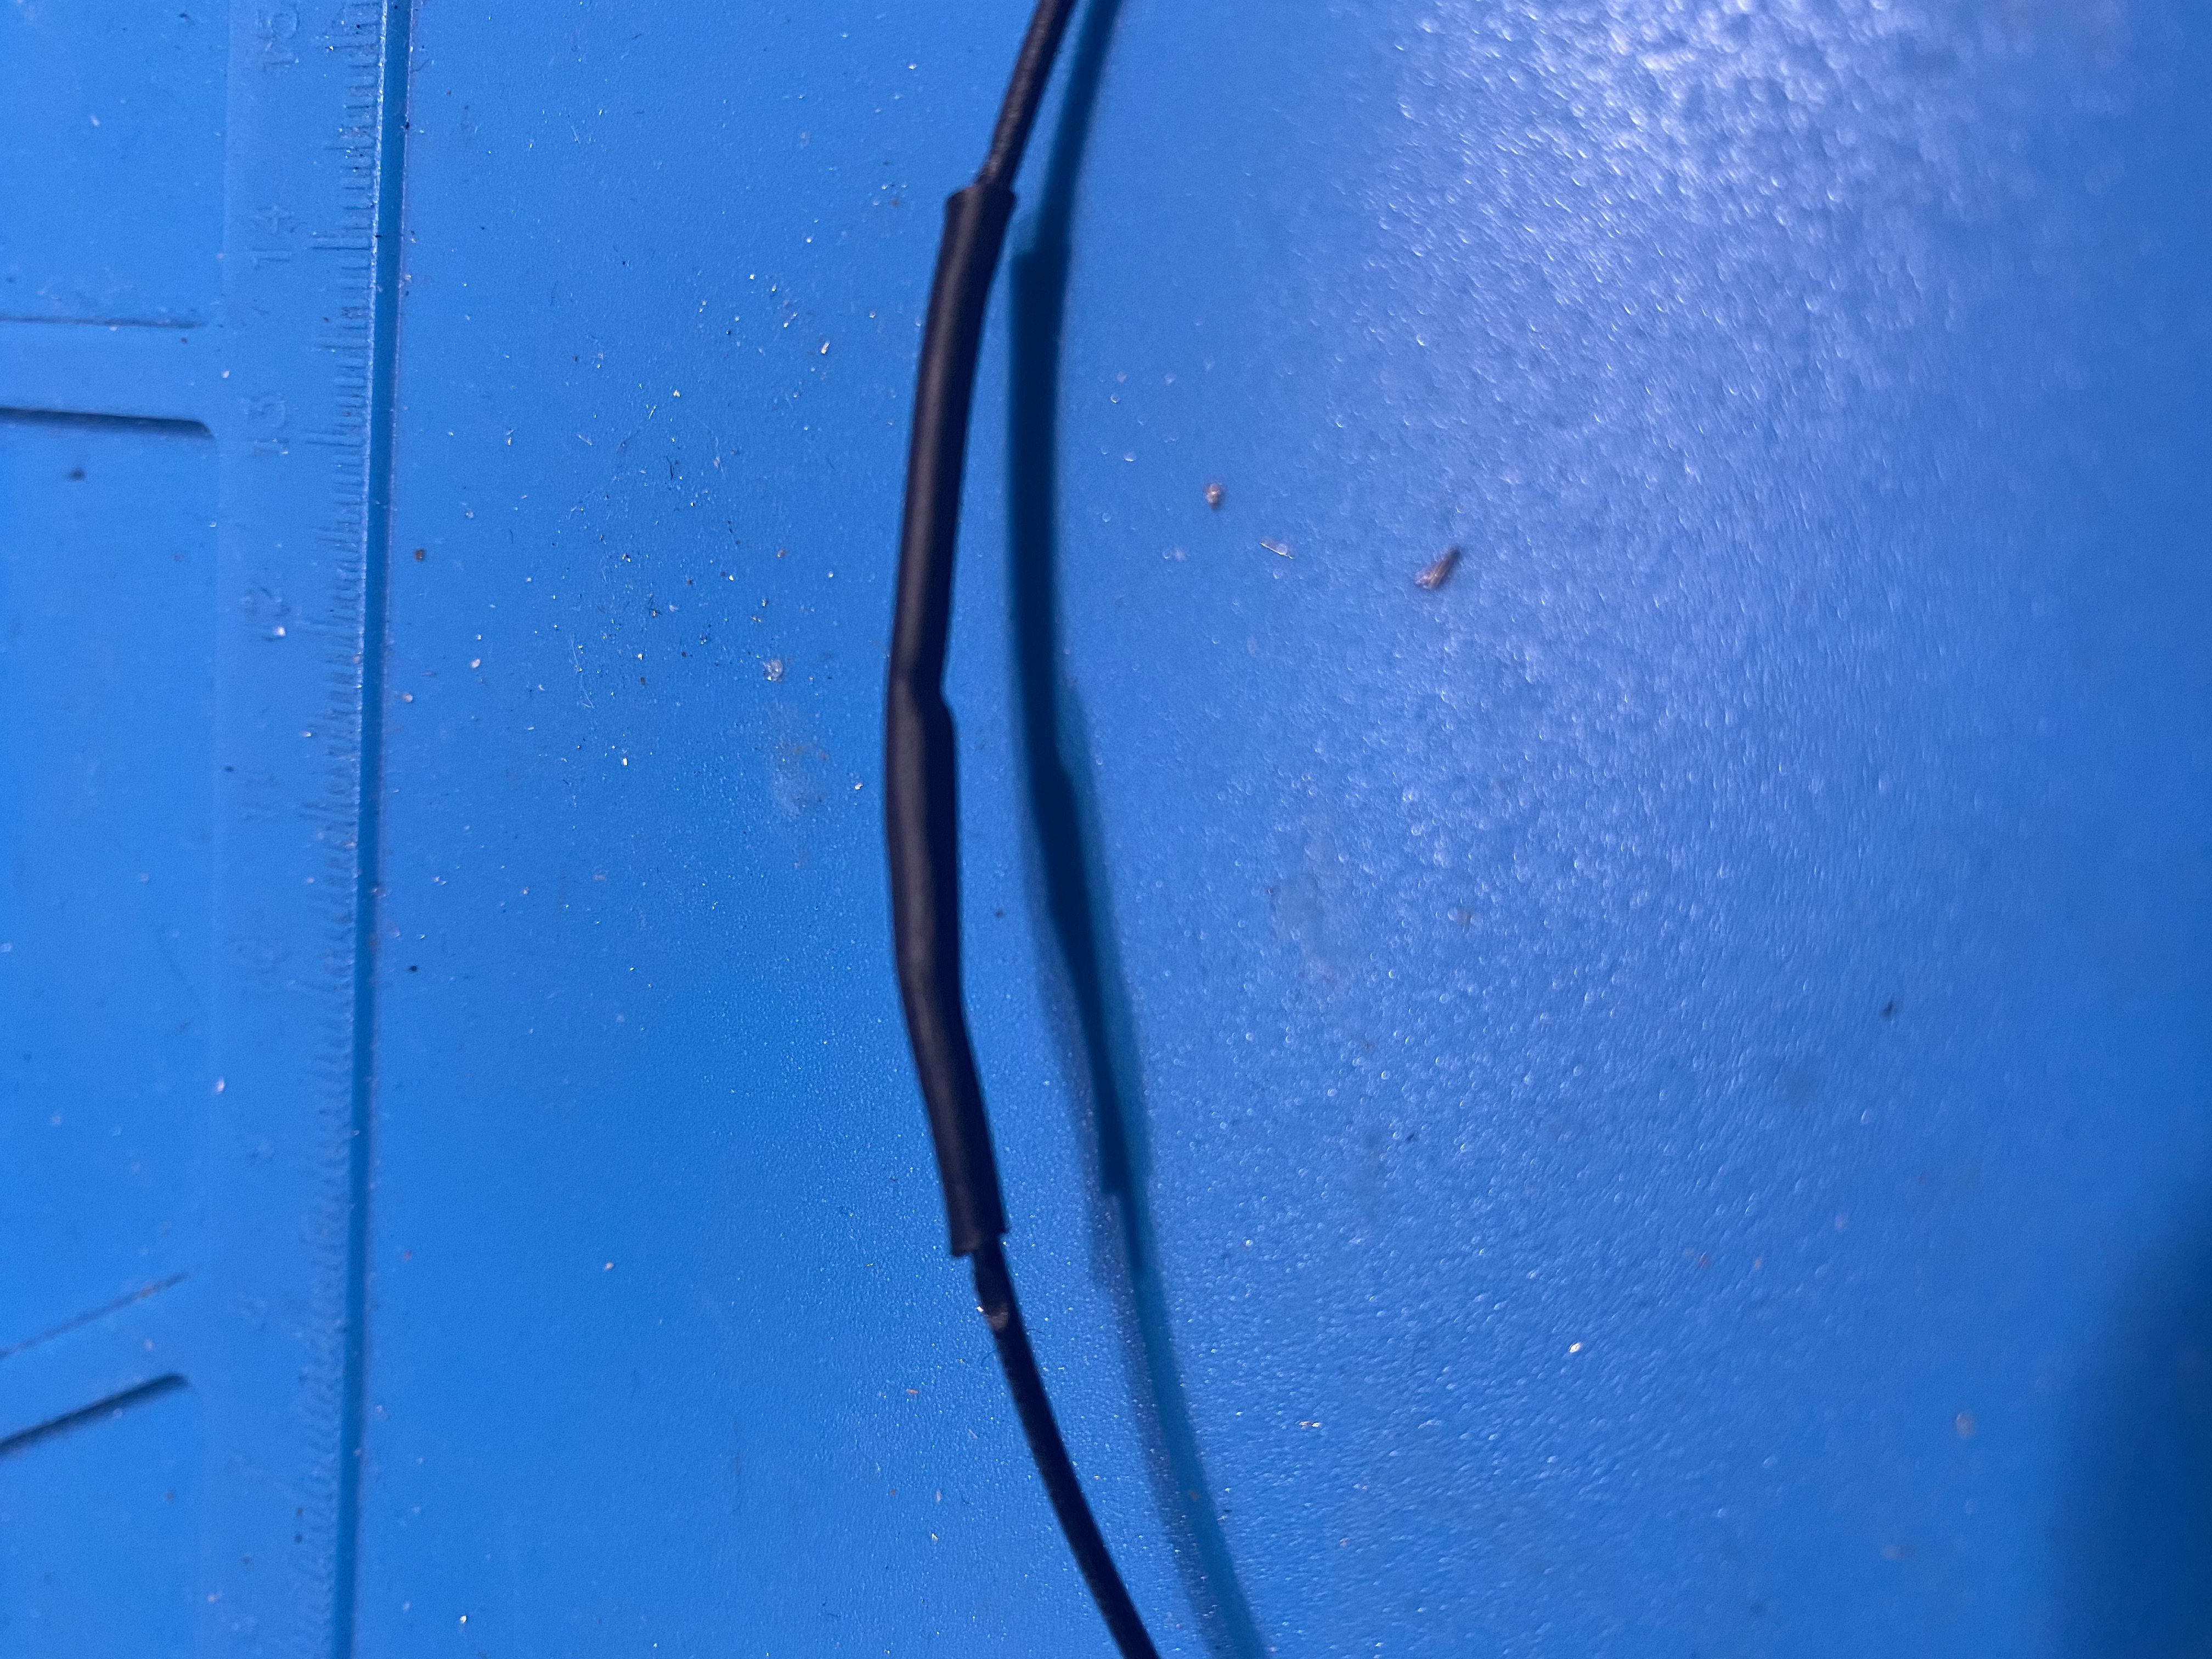
Soldering of battery pack:
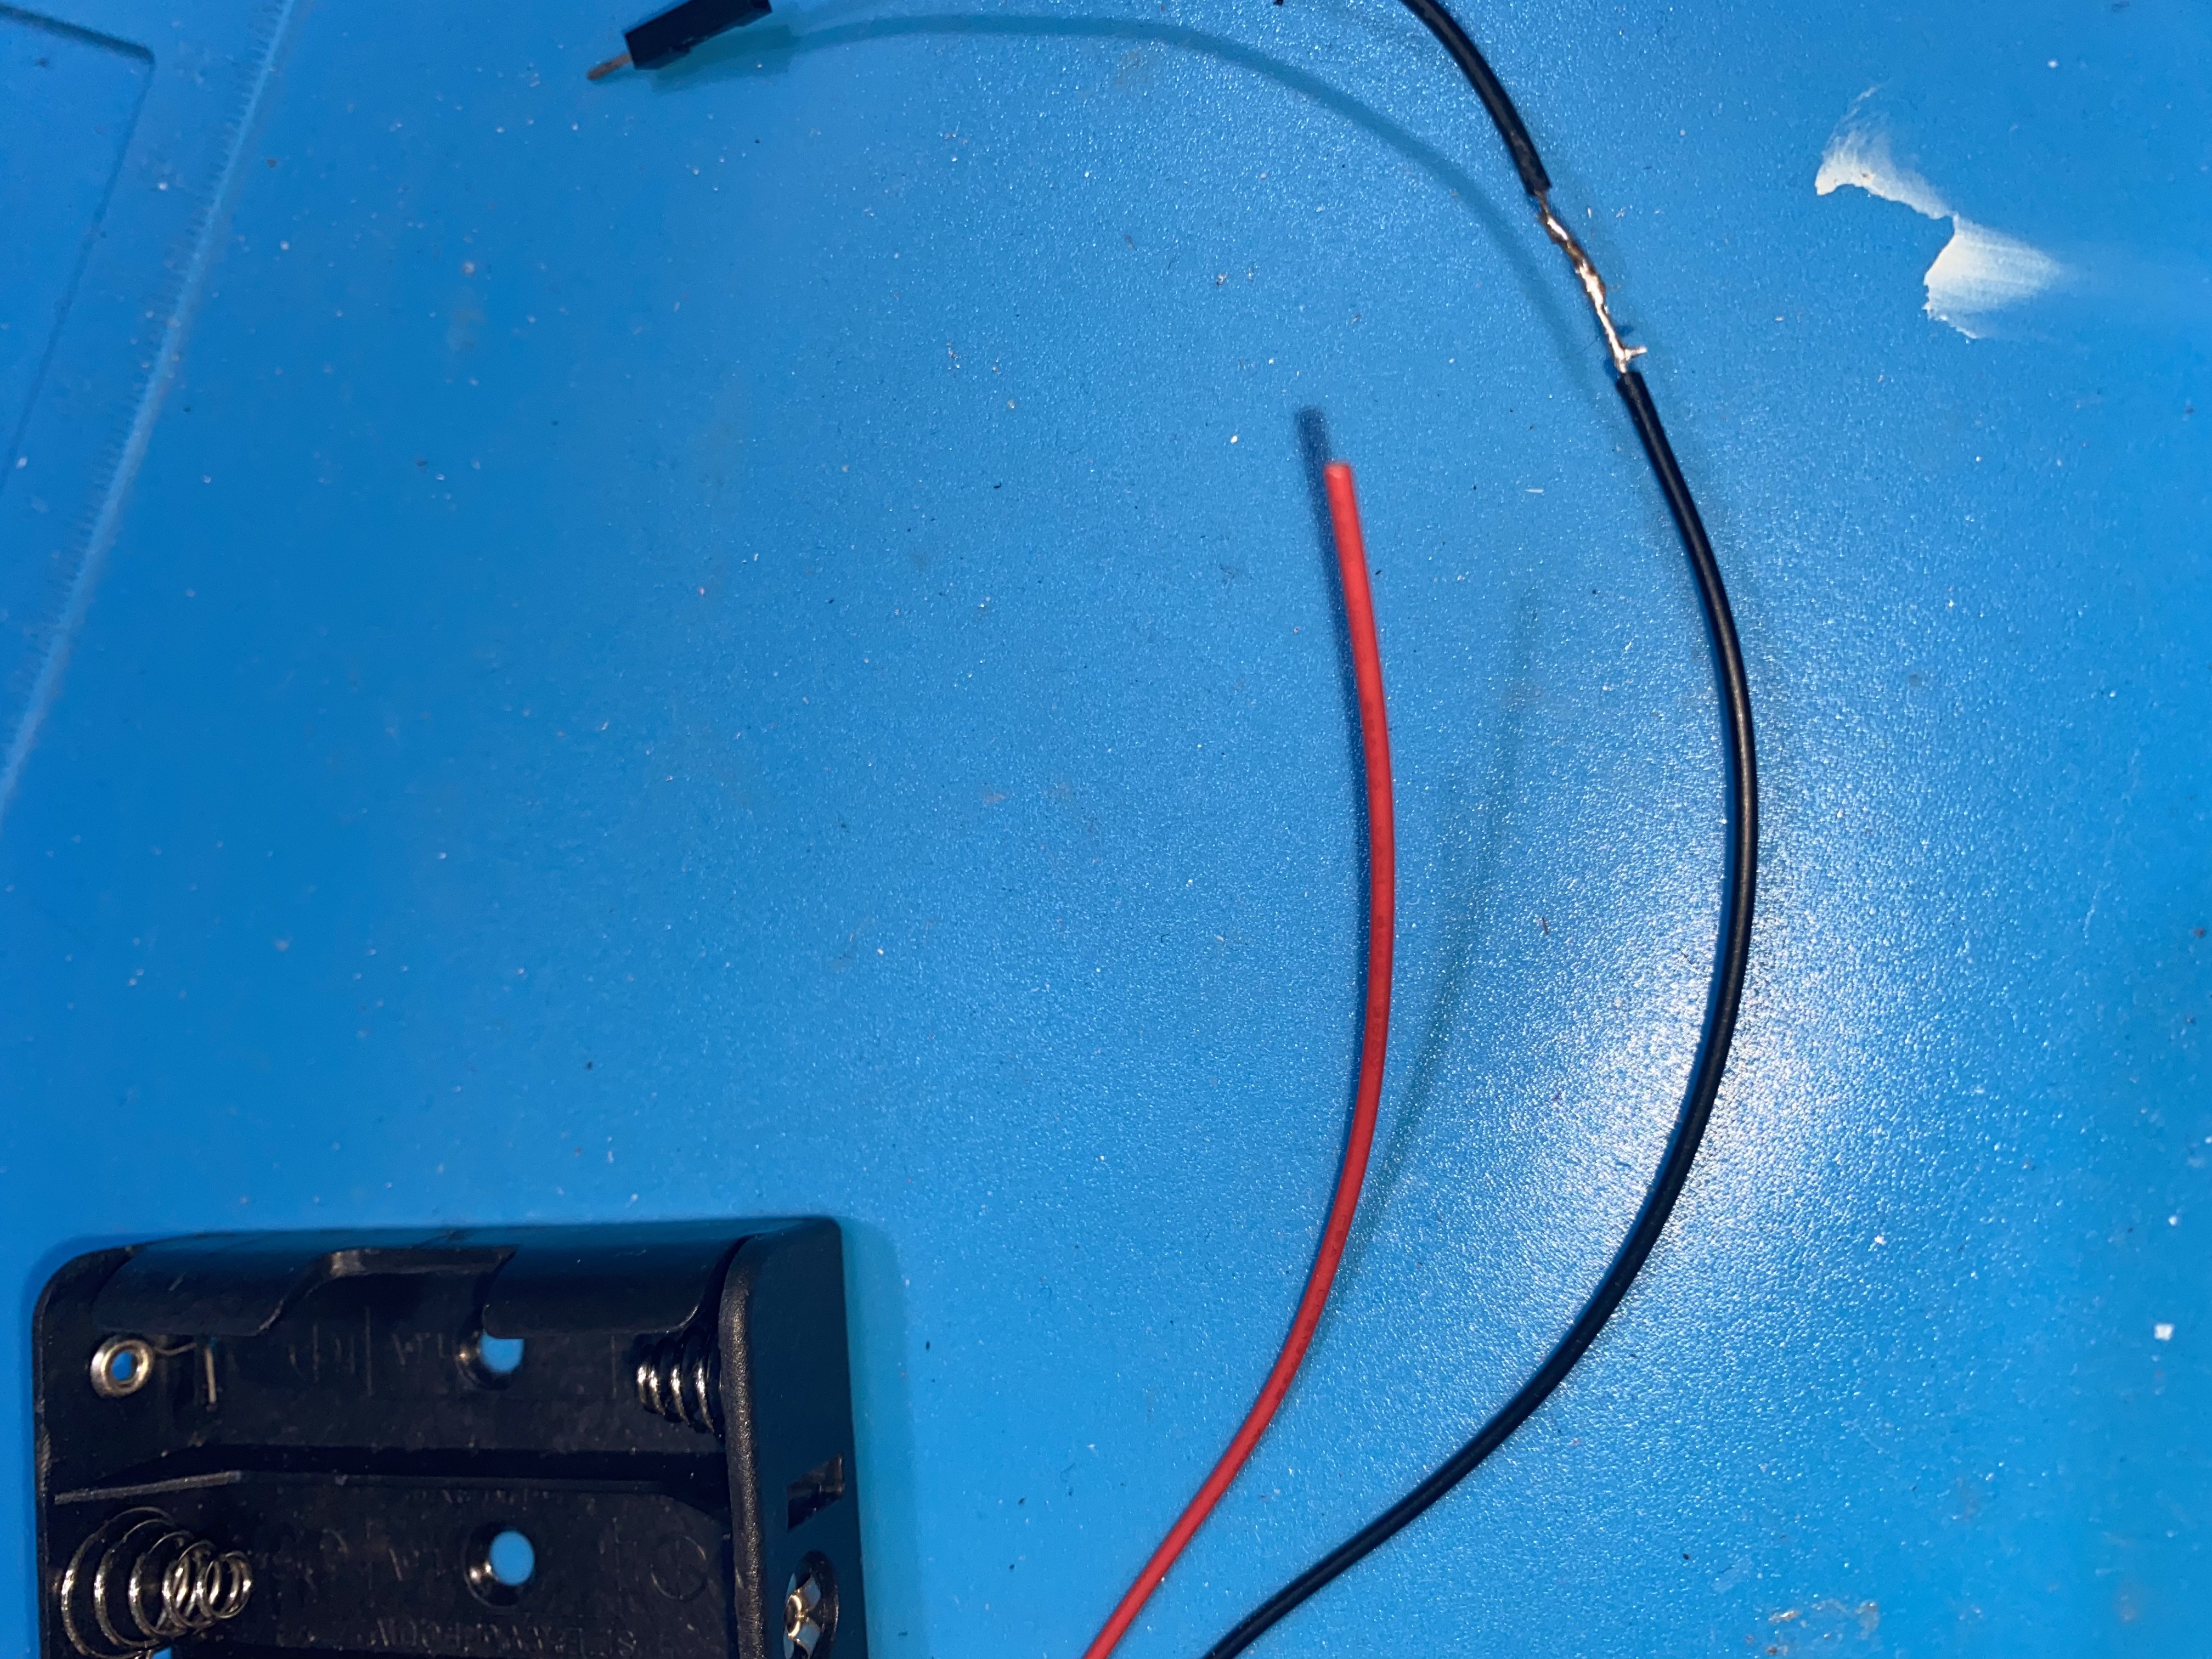
When I received the battery pack, there was a soldered extended male end dupont cable on. Thus to protect the soldering and preventing it from breaking off, I used a heat shrink tube to shrink and protect the joint.
Wrong servo:
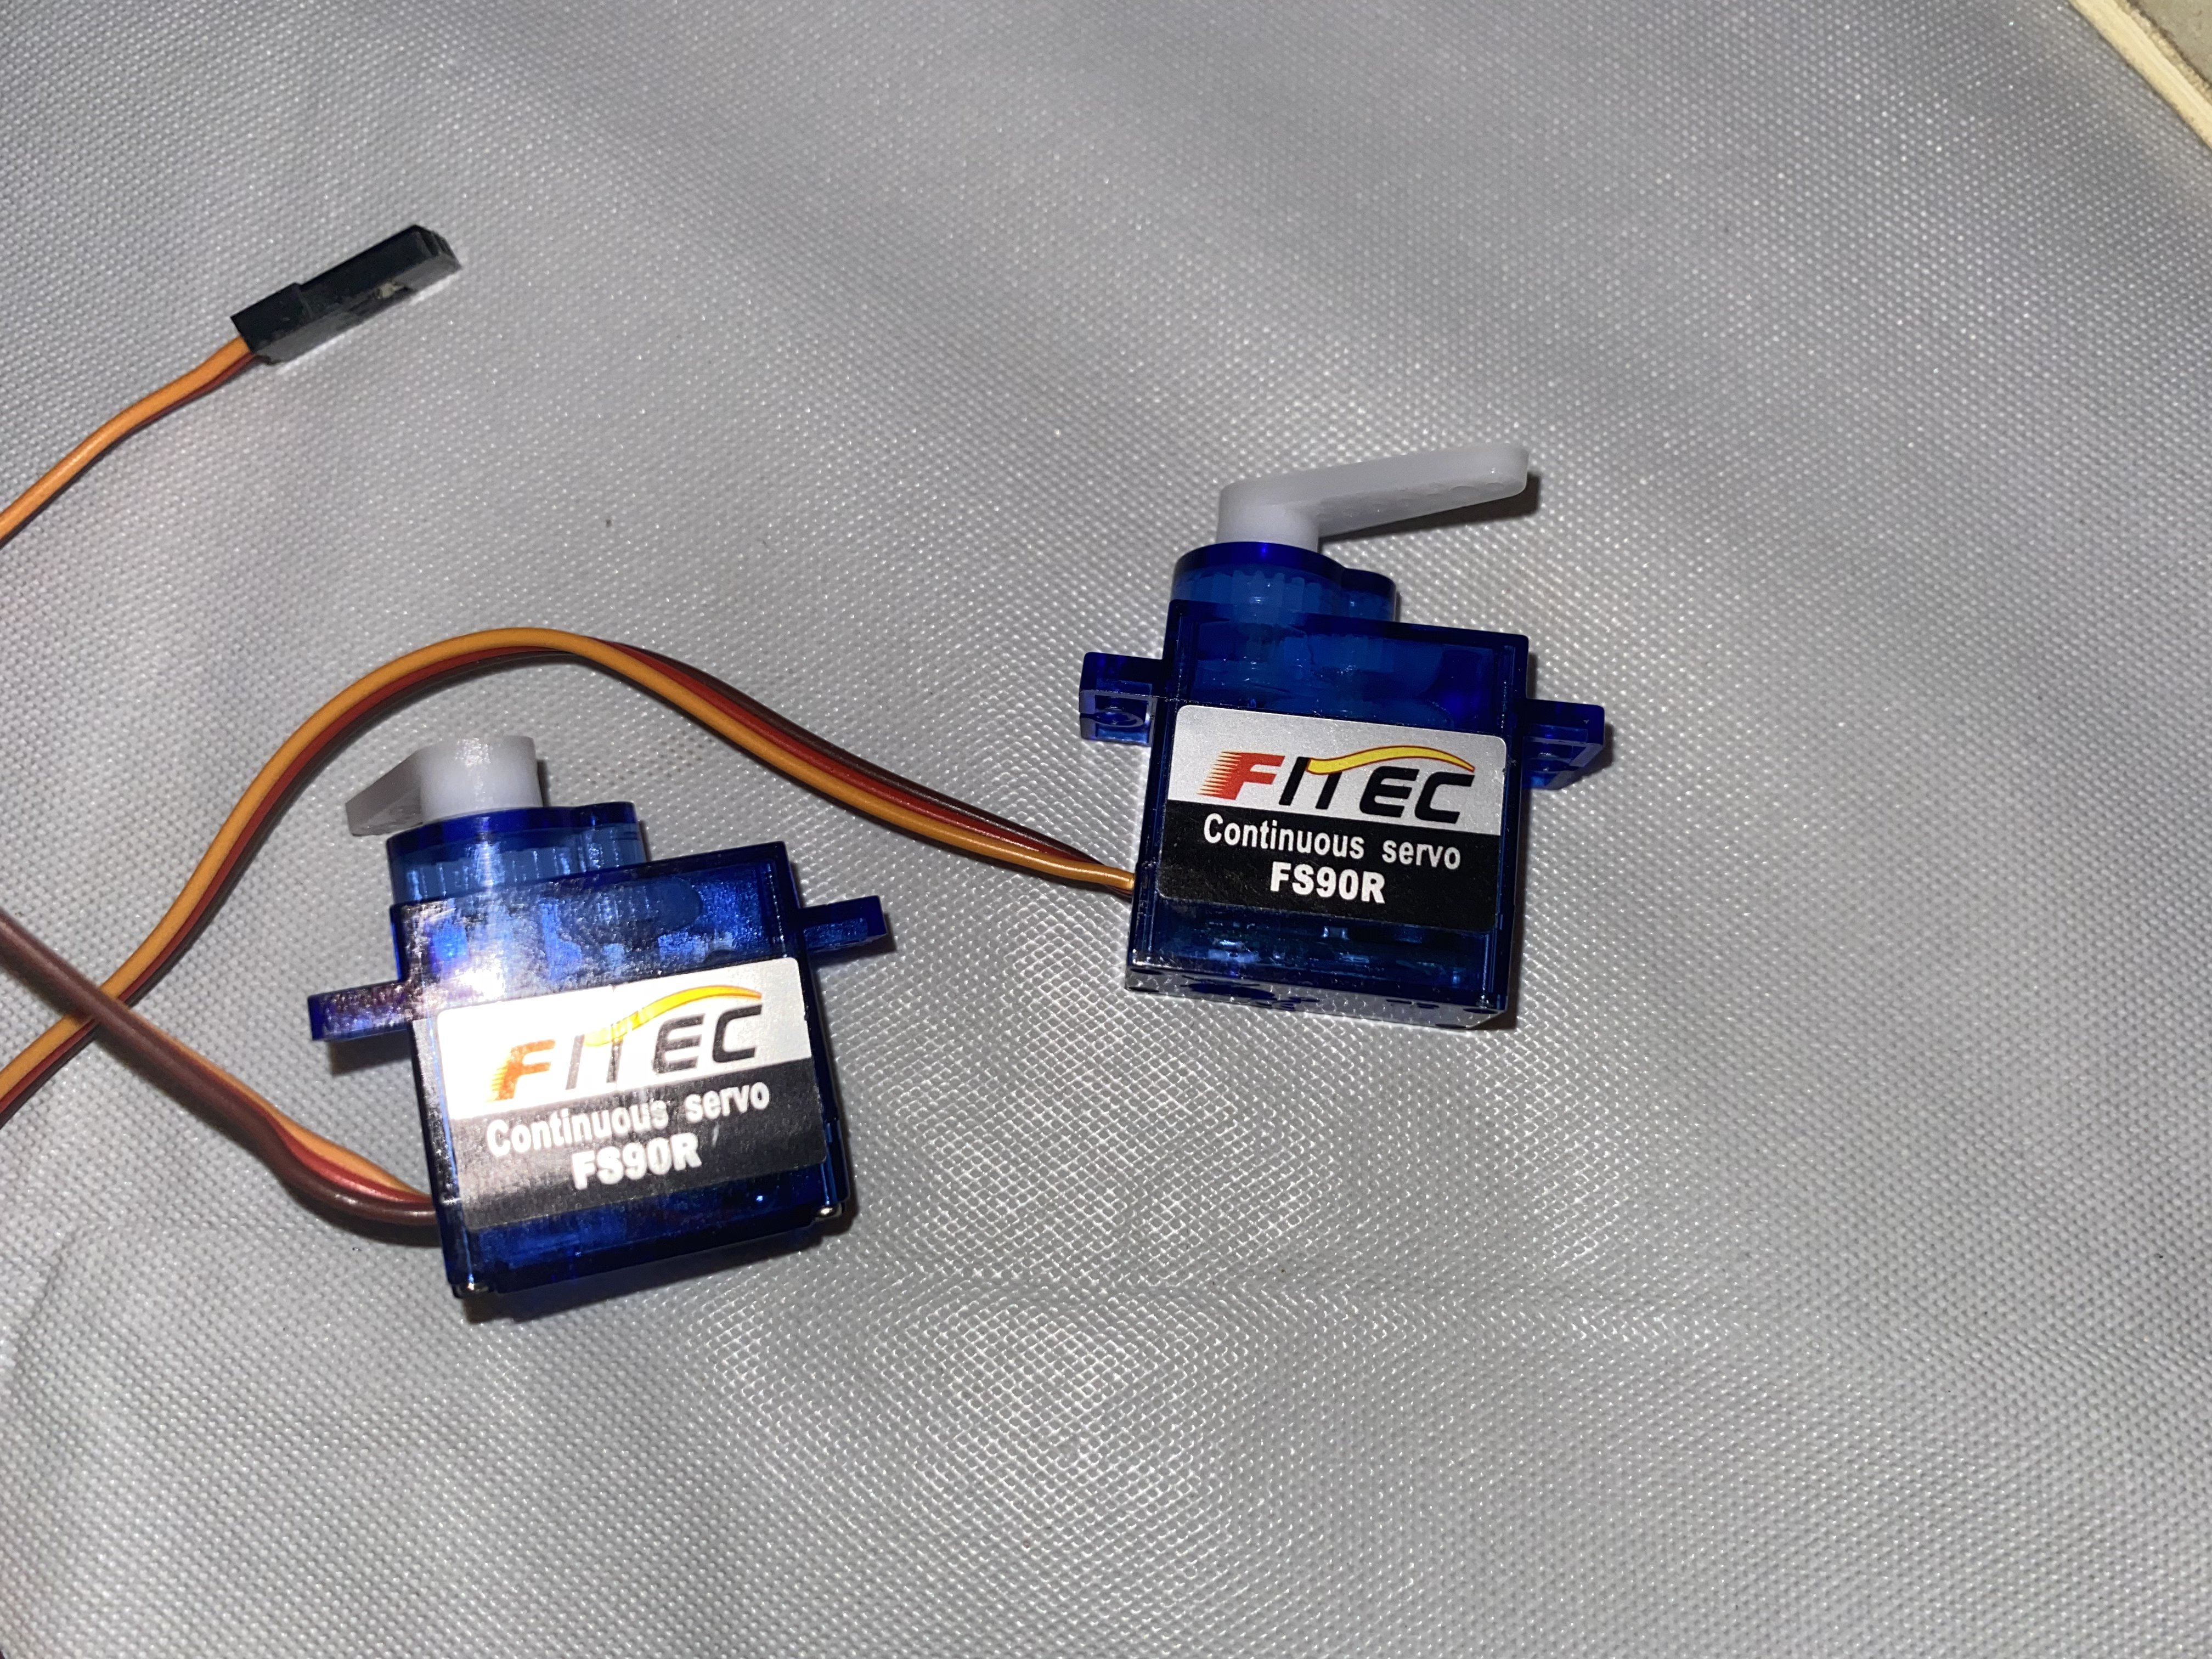
For the useless machine, a Positional servo motor should be used as it can be precisely controlled and moved, which in comparison a Continuous servo motor moves continuously and is difficult to control and reverse the direction.
Breadboard Wiring: